OK this is the fitting of the Xact router motor to my old-style Jessem Rout-r-Lift and router table.
[btw this is a FOG item 'cos Hogarth asked above about the router motor and I used a OF1010 along the way...!]
I have had the lift and table for a while and had fitted a Trend T11 plunge router – I always thought that it was a bit wasteful having all the plunge mechanism sitting there unused. When I saw the Xact router motor on offer, with 15% off, I thought I would take the plunge ha ha.
This router motor seems to be sold under many different labels and I guess they are made in vast quantities in China - doesn't seem any the worse for that.
I had two problems: fitting the motor body to my Rout-r-Lift and getting good dust extraction. It may be of only esoteric interest, but I have shown my solution below.
I did find a write-up of someone who had made an mdf collar for the router motor for this situation; I cannot now find the source, but acknowledge that I stole the basic solution.
The biggest problem I had was finding a way of routing the cut out circle for the collar – this led to me making the small-circle cutter jig for the OF1010 that I have written up here
http://festoolownersgroup.com/festool-tools-accessories/small-circle-cutter-for-of1010-router/msg428723/?topicseen#msg428723
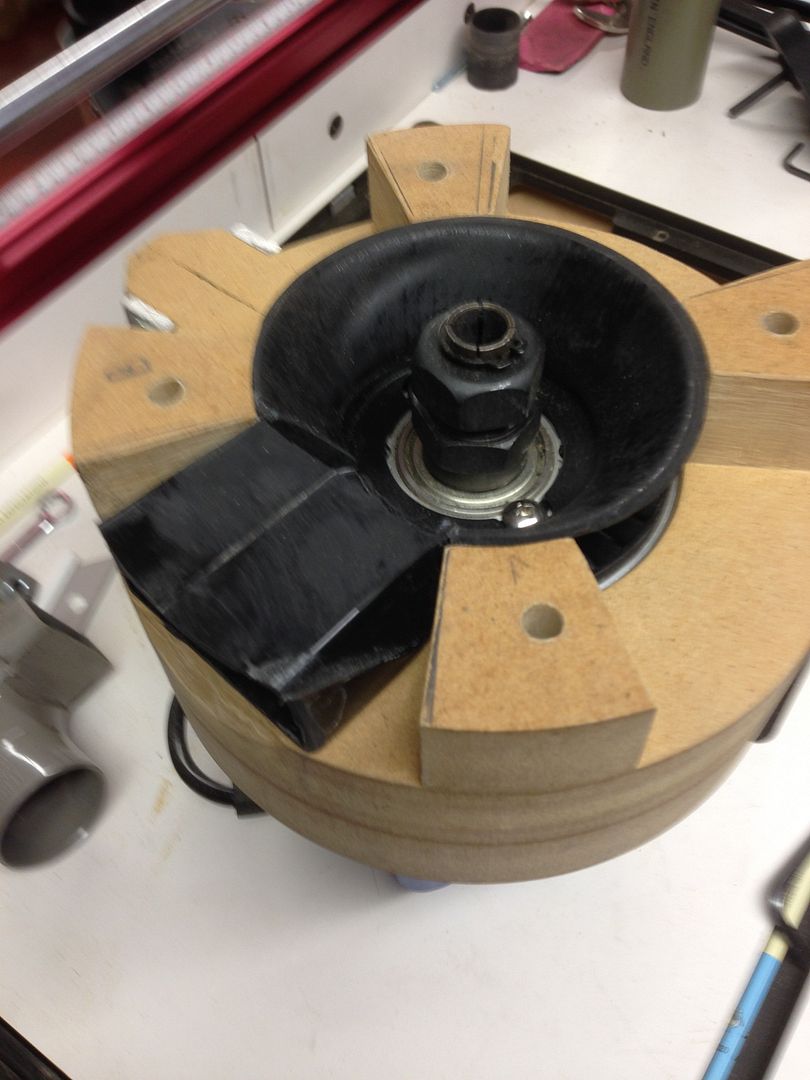
The next problem was how to provide for the cooling airflow from the motor as well as good dust extraction and access to the collet nuts etc. As the pictures show, the cooling airflow comes out of the vent at the cutter end of the motor; it is a pretty strong airflow when running at full speed. I did this by making a cone shaped deflector through which I have fashioned an extraction chute.
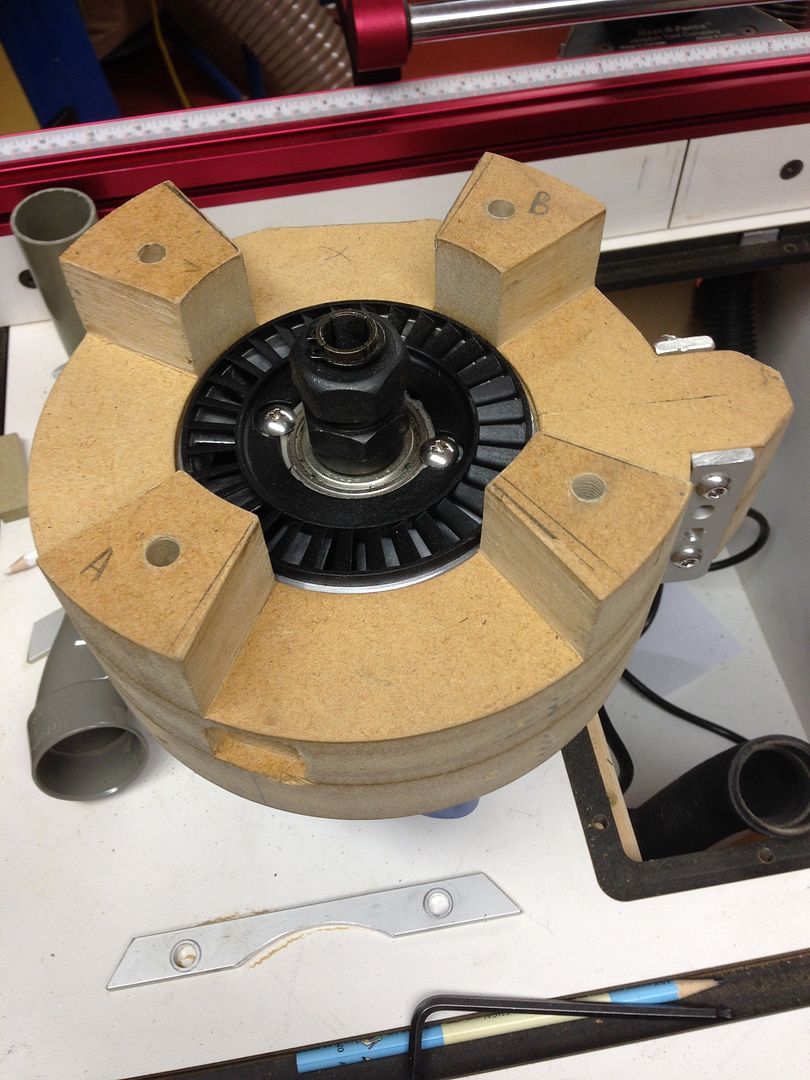
The collar was made out of three thicknesses of 30mm mdf glued together. The circles were cut out as far as possible with the OF1010 then with a bearing guided cutter using the existing router table (yes, you need one to make one…, although alternative methods exist). This was a loose fit over the motor body and then a bandsaw cut made in the projecting wings on the collar; this enables the collar to be clamped tight around the body.
I cut out sections on the top to allow for airflow from the motor and the extraction chute – just had to spend a few ££ on some M8 countersunk bolts to fix the Rout-r-Lift plate (screws might have been ok, but the remaining mdf was potentially weak where I had cut out and I wanted to bolt it tight – I had some strips of aluminium that very handily had a part circular cut out that just about fitted the circumference of the motor body – these I used for clamping bars.
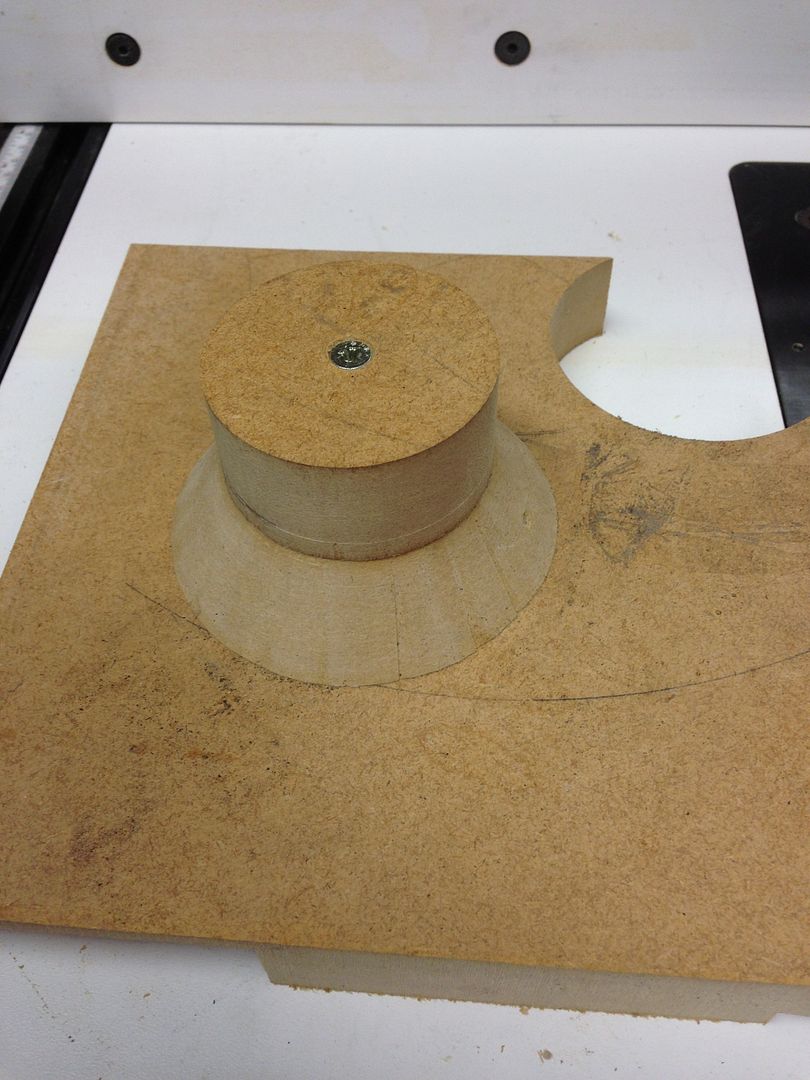
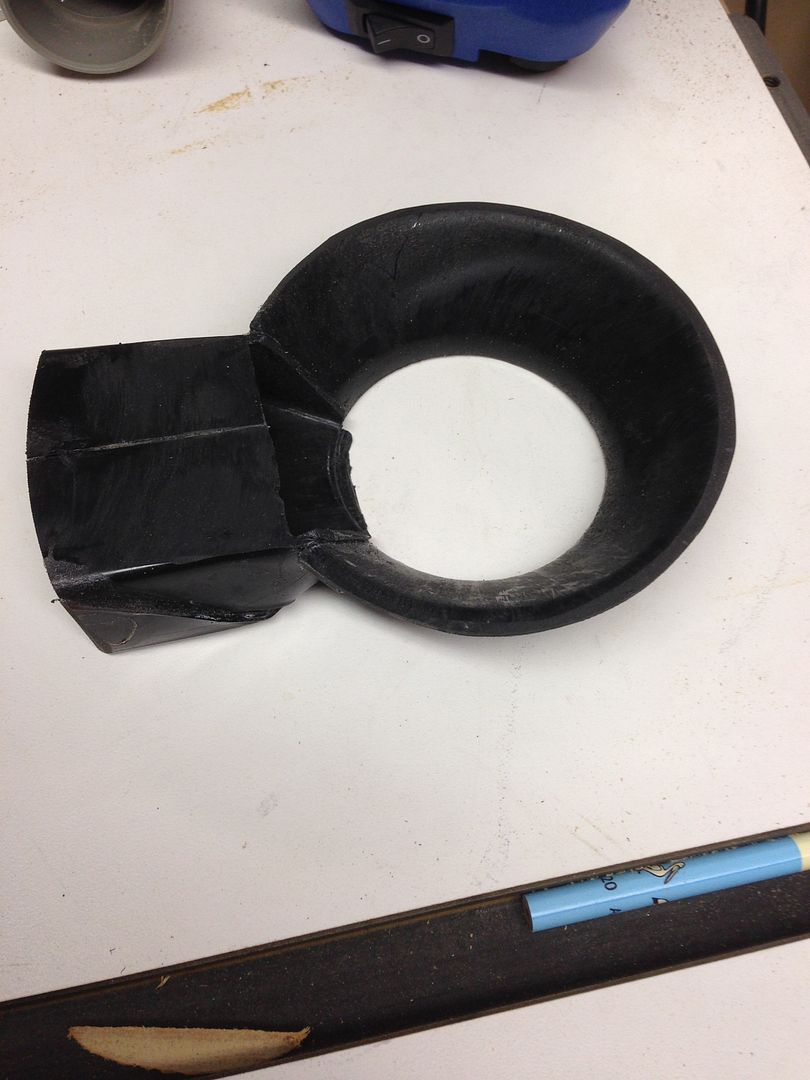
The conical deflector was made by softening some plastic rainwater downpipe over a former (made mostly with said circle cutter) and the dust extraction chute and elbow was fashioned by softening and shaping another bit of pipe and a 40mm drainage elbow – this was a bit of a faff, but once done, works very well.
Anyway, here are some pictures for those sufficiently interested.
The collar fitted and clamped:
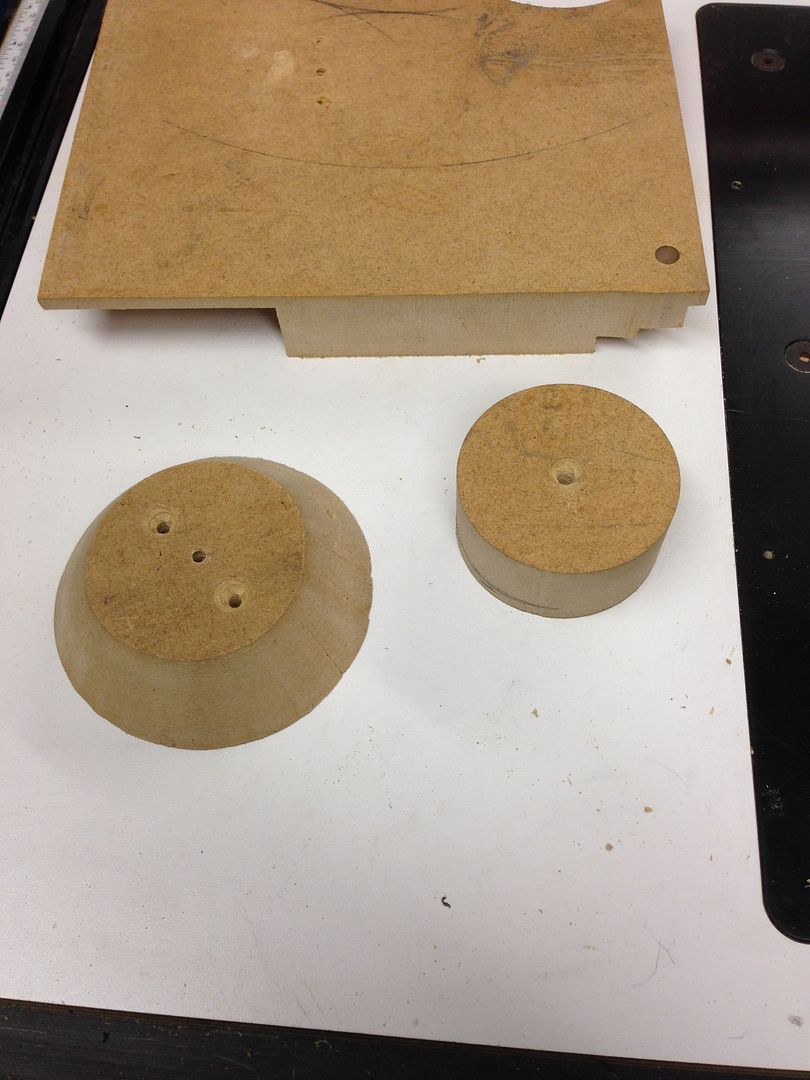
The cone former:
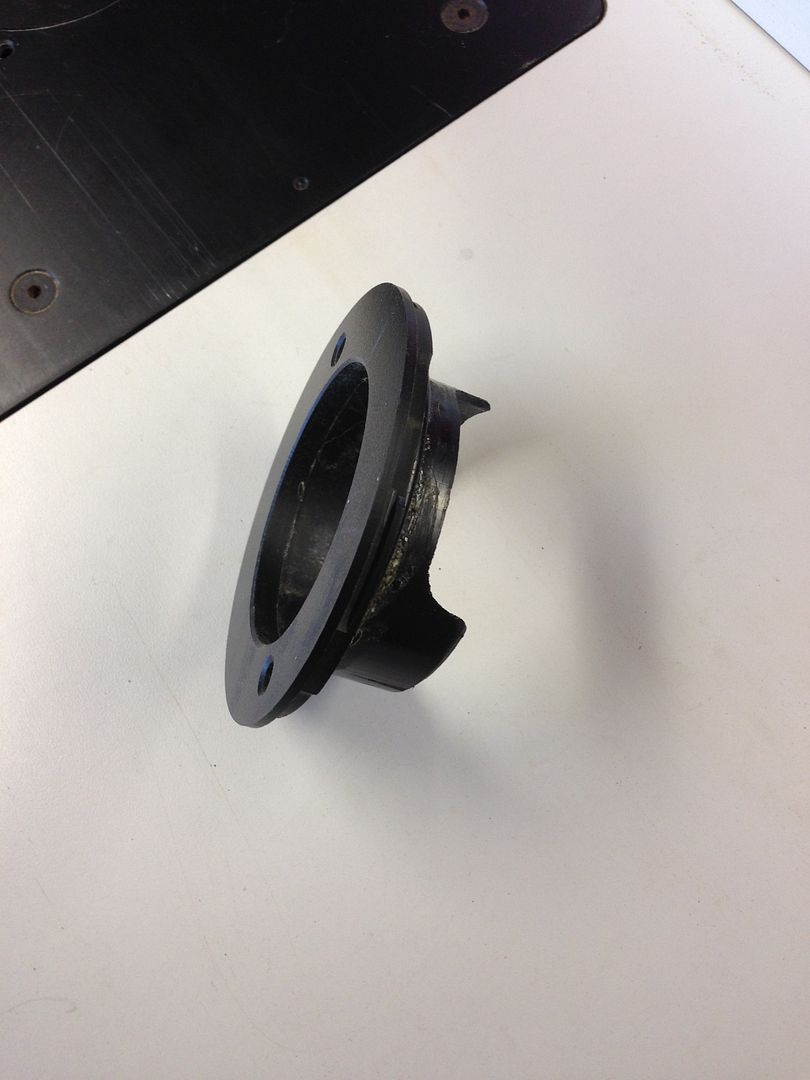
The cone deflector and chute - unfinished (next time a 3D printer job I think...)
The assembled deflector and chute in position:
Bolted to mounting plate:

Mounted on Rout-r-Lift:
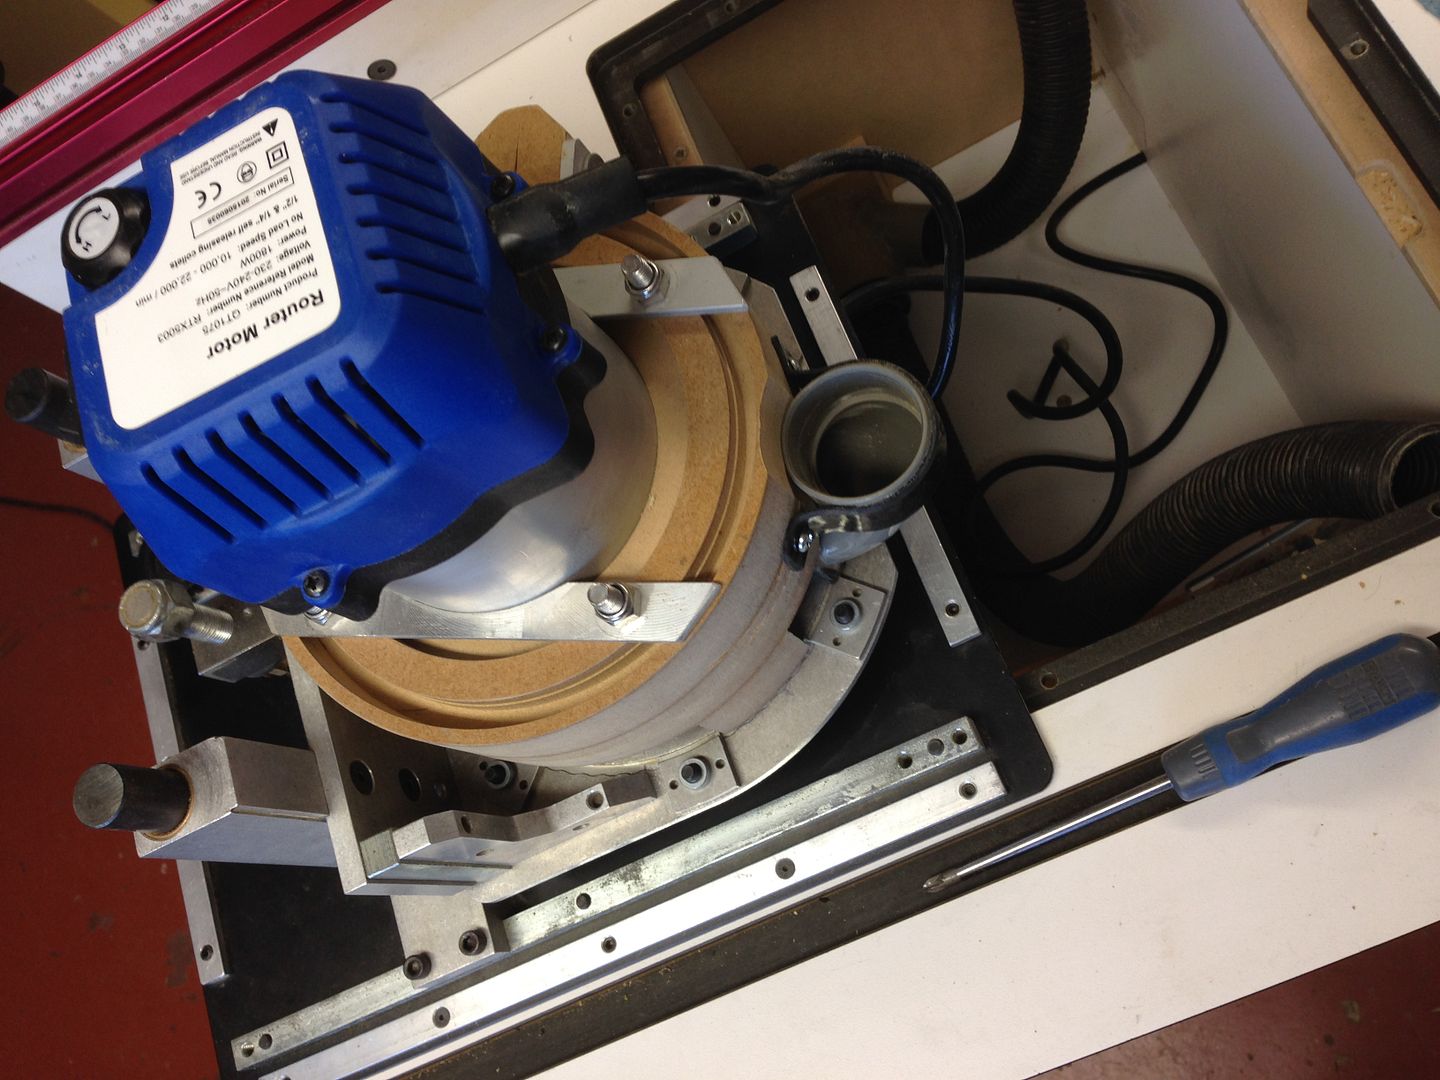
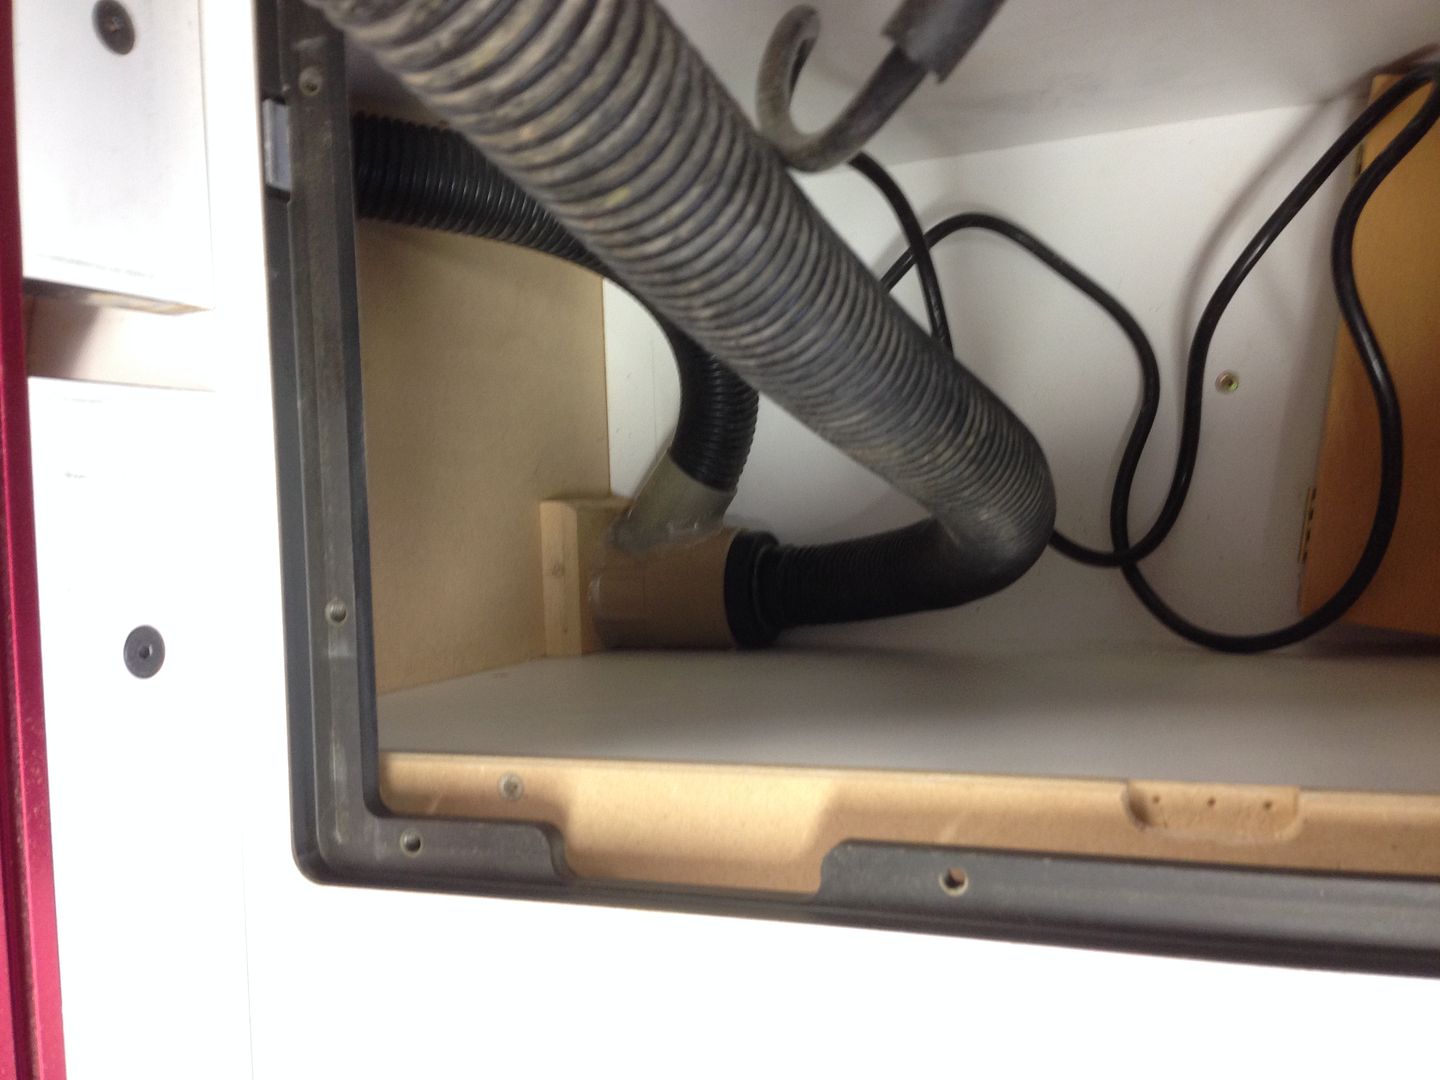
Dust extraction hose connections (one hose to the router the other to the back of the fence; Y-connector made up from sundry bits of pipe ages ago):
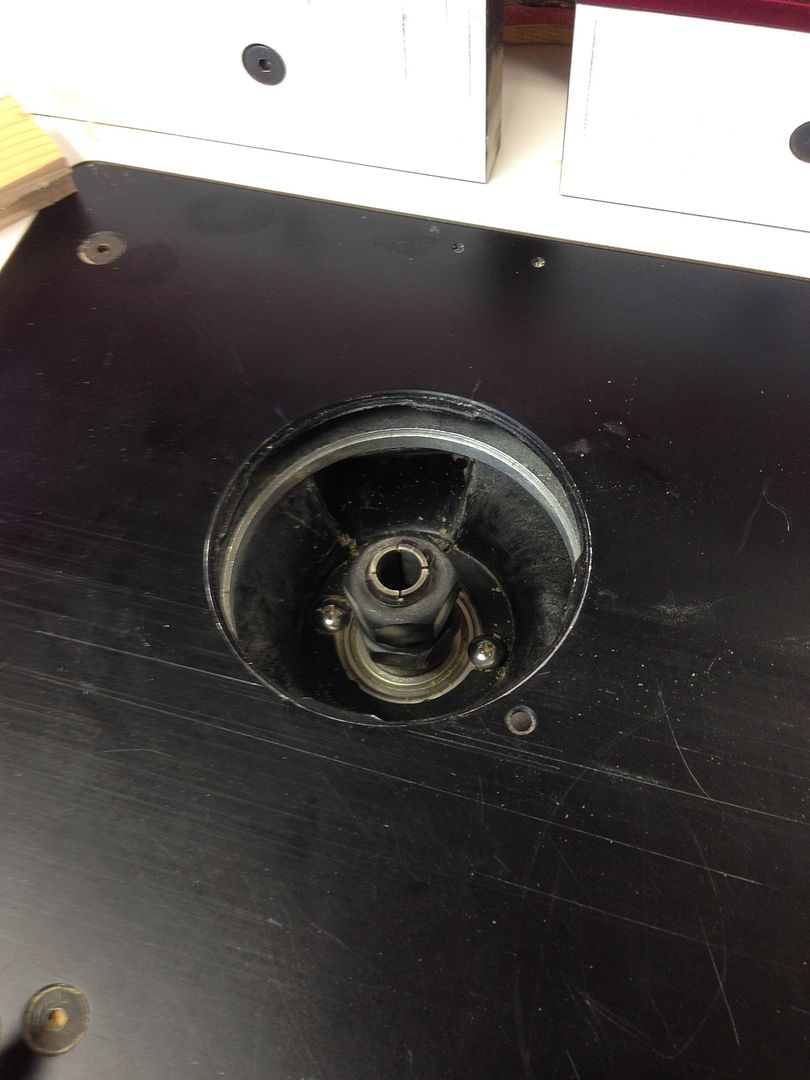
The finished article:
The router plate inserts are supplied flat - I glued on a funnel to the underside of each insert with a cut out to guide the chips to the extraction chute:
It all seems to work rather well and I have struggled thus far to find a combination of positions that deposits any chipping/dust in the space below the router, so the dust extraction is definitely superior to what i had before.
Back to the original question about the router motor - it seems fine, sounds nice - it's quite big (the circumference of the motor body is 4.2" - a standard size it seems, but an interesting combination of decimal and imperial I thought). I mentioned earlier that the instructions indicate 7 speeds of 10,000 to 22,000 rpm, but the adjustment knob has no graduated markings - the knob is just a push fit over a knurled shaft, so I will aim to replace the knob with one on which I can mark the indicated speed settings of 1-7.
The only other thing I noted was that another version of the same motor I saw being sold with a spare set of carbon brushes - might try to get a set from somewhere if that is an indicator they are likely to wear out.
Overall, it looks very good value to me - time will tell how it holds up.
Hope that is of interest to at least someone!
cheers


