Packard
Member
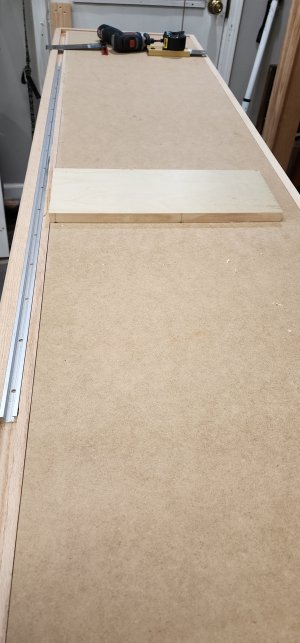
Depending in the situation, weight can replace clamps, as can bungee cords. Also, hot glue gun will grab almost instantly and hold everything together while the woodworking glue dries. You do have to leave a small area dry of glue for the hot glue to work. Hot glue on its own is not satisfactory..
Also, if not much pressure is required, packing tape can hold pieces together as can wire brads.
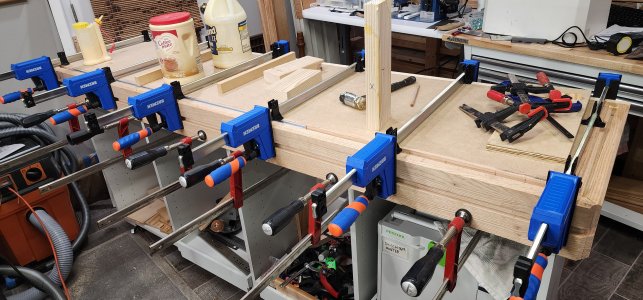
Also, pocket hole screws work well where their appearance is not objectionable. In many cases the pocket holes are either hidden or not visible in cabinet carcasses, and can be added to dowel or domino joinery.
Also, if not much pressure is required, packing tape can hold pieces together as can wire brads.
Also, pocket hole screws work well where their appearance is not objectionable. In many cases the pocket holes are either hidden or not visible in cabinet carcasses, and can be added to dowel or domino joinery.
Last edited: