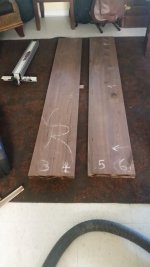
Jethreaux - just read your thread on your table. Fantastic work! I really like how the base turned out. Very nice contrast to the top and the aging is just right in all the right spots.
I just started sanding my top this morning with my RO150 and you're right about the dust collection - hardly any residual dust anywhere after several passes with 80 grit.
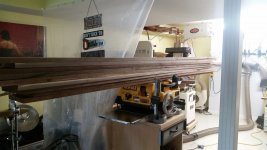
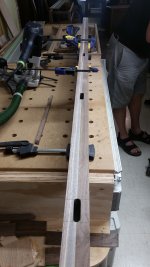
In regard to how I trued up my mating surfaces for the edge glue up: I didn't use the rail in this case. When I put a square against the mating edges I noticed that they weren't perpendicular to the top. I later discovered my table saw saw blade was slightly angled when I ran the boards through to straighten up the faces which resulted in slightly angled rip cuts. (note to self to check and re-check that next time) While the angle wasn't huge, it was enough to cause more separation in the glue joints than was acceptable. Thankfully I didn't get ahead of myself and just start gluing everything right away and noticed the problem during dry assembly.
Since the top and bottom faces of the individual boards were parallel and the bottom of the mating face was slightly wider than the top (creating the slightly angled mating face), I put a top bearing flush cut bit in the router and used the top edge of the mating face as my reference for the bearing to ride against. That yielded a square face perpendicular to the top. I checked everything with a square and it was dead on now. I re-did my dry assembly just to be sure and the seams nearly disappeared. While I was at it I checked for any bowing or cupping across the entire assembly and found a little over 1/32" at the center. The ends were nearly exactly even - nothing a little sanding wouldn't take care of.
-break-
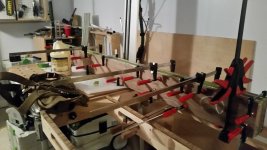
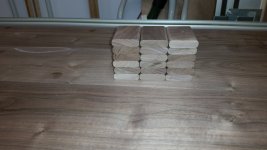
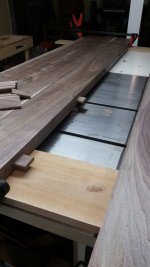
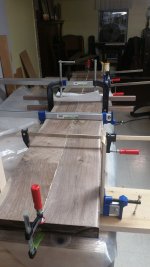
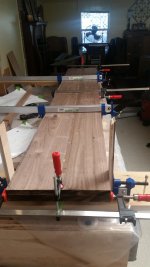
I glued up all of the individual sections over the last few days and the panel is now complete. After I laminated the 4/4 I milled up to create 8/4, I laid out the joinery, cut the mortises, made the tenons, dry assembly (found the angle problem), and then fixed the angle problem. After another dry assembly, I glued up each "section" at a time (each section is two of the laminated beams edge glued with the loose tenons in place). I did each section individually so I could more easily control the alignment of the mating surfaces.
Instead of trying to do 6 boards at the same time (spread glue, put in tenons, align and join faces, maneuver clamps, etc) it was far easier to just do 2.
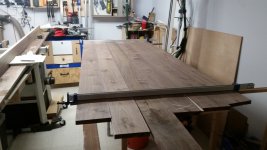
After all 3 were assembled, I repeated the process and glued up 2 of the larger assemblies (now 4 boards wide ~24" total), then glued up the last section.
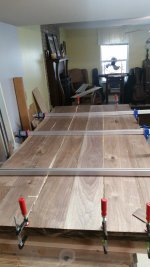
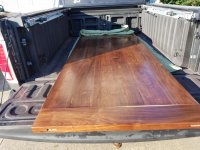
The top is now 36" wide x 82" long.
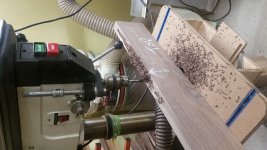
Time to trim up the ends, scraped the squeeze out, and put in some quality sanding and filling time. Luckily the tenons aligned the top of the table almost perfectly so there isn't much to do to account for any differences between the boards. I had hoped this would take care of most of the issues and it worked beautifully. I had originally planned to glue up 2 boards at a time then run those 3 assemblies back through the planer to flush up the tops and bottoms but it turned out that that wasn't going to be necessary. Here are a few pictures of the glue up process. I just started sanding this morning so more to follow shortly.


")