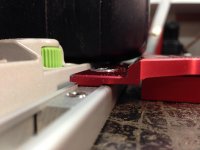
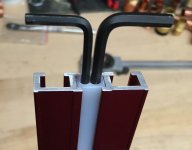
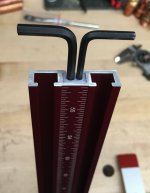
First thing to do is flip the t-slot nuts over. You will instantly gain more thread contact area.
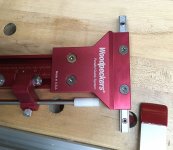
I swapped out the screws for longer ones. See my previous post.
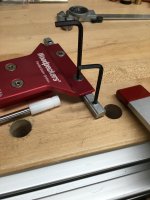
Since I do not like to assemble and disassemble stuff, but rather use it, I built some stops so I don't have to calibrate every time, and leave the bolts and nuts together in the systainer. Saves a lot of time, but also keeps nuts and screws from getting dropped. I put up some photos in the PGS systainer mod thread of how everything is stored. The OP of the thread came up with a nice box for holding the parts.
I swapped out the screws for longer ones. See my previous post.
Since I do not like to assemble and disassemble stuff, but rather use it, I built some stops so I don't have to calibrate every time, and leave the bolts and nuts together in the systainer. Saves a lot of time, but also keeps nuts and screws from getting dropped. I put up some photos in the PGS systainer mod thread of how everything is stored. The OP of the thread came up with a nice box for holding the parts.
") The beauty of forums is we can all share and learn together. I know I learn a lot in reading them.
The beauty of forums is we can all share and learn together. I know I learn a lot in reading them.