I got tired of my miter stand and it was taking up valuable real-estate in the shop; worst part is it wasn't very accurate. After scouring the internet looking for ideas, I finally decided to just put some cabinets on the wall!
It's been a somewhat long process, simply due to the ongoing work I've been doing outside of the wood shop. So, here's the progress I've made and I'll continue to update this until completion (which should be shortly)!
As usual, the pictures:
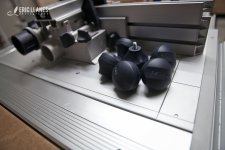
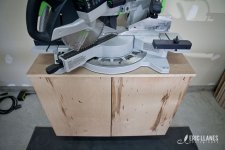
The before:
[attachimg=1]
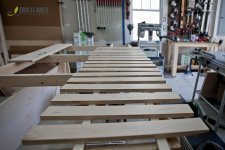
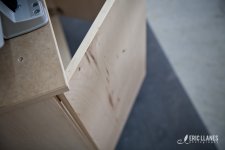
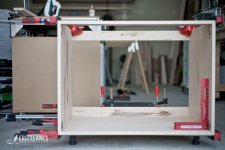
The Center carcass:
[attachimg=2]
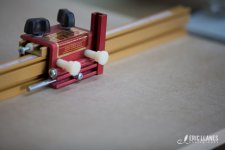
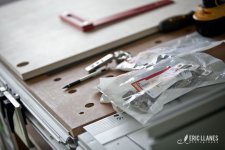
Testing out the corner clamp:
[attachimg=3]
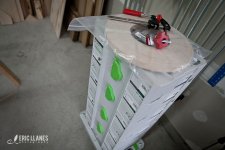
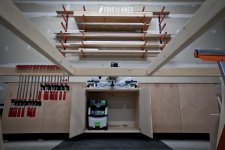
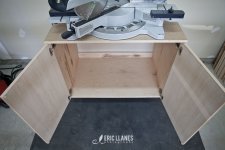
Completed Center section:
[attachimg=4]
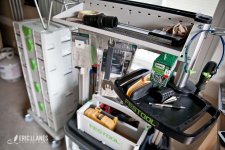
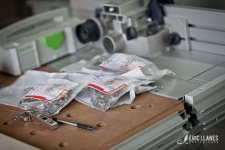
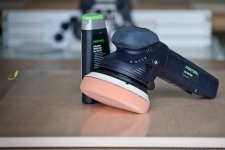
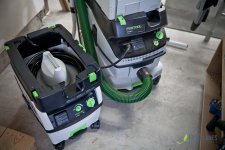
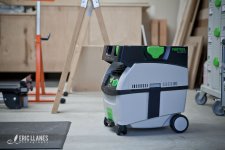
I plan on putting a CT Midi down here:
[attachimg=5]
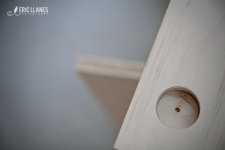
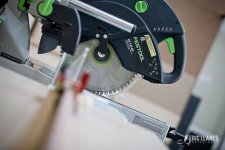
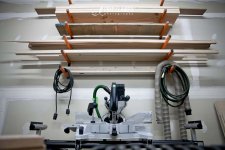
MDF Top:
[attachimg=6]
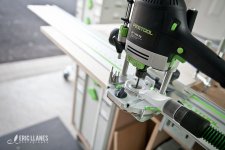
And now on to the Left and Right sections
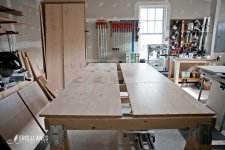
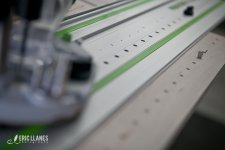
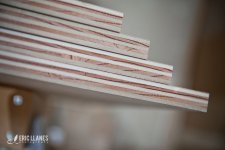
Breaking Down The sheet(s):
[attachimg=7]
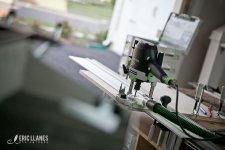
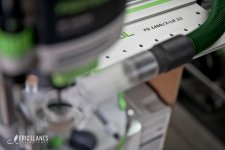
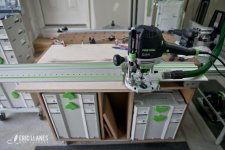
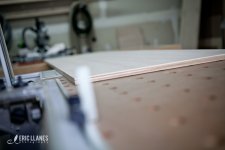
On to the MFT for cross cuts:
[attachimg=8]
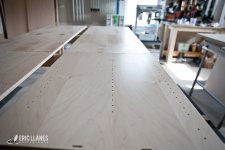
The resulting cuts:
[attachimg=9]
Splinter Free:
[attachimg=10]
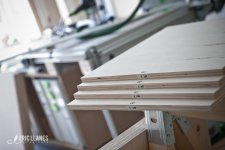
Marked for Domino referencing:
[attachimg=11]
It's been a somewhat long process, simply due to the ongoing work I've been doing outside of the wood shop. So, here's the progress I've made and I'll continue to update this until completion (which should be shortly)!
As usual, the pictures:
The before:
[attachimg=1]
The Center carcass:
[attachimg=2]
Testing out the corner clamp:
[attachimg=3]
Completed Center section:
[attachimg=4]
I plan on putting a CT Midi down here:
[attachimg=5]
MDF Top:
[attachimg=6]
And now on to the Left and Right sections
Breaking Down The sheet(s):
[attachimg=7]
On to the MFT for cross cuts:
[attachimg=8]
The resulting cuts:
[attachimg=9]
Splinter Free:
[attachimg=10]
Marked for Domino referencing:
[attachimg=11]
Attachments
-
 ELP_1537_Before.jpg82.7 KB · Views: 3,392
 -
 ELP_8591_PW-3.jpg97.7 KB · Views: 3,319
 -
 ELP_8568_PW-2.jpg80.7 KB · Views: 3,298
 -
 ELP_8562_PW-1.jpg84.7 KB · Views: 3,302
 -
 ELP_6907_MFT.jpg91.7 KB · Views: 3,315
 -
 ELP_6892_PG.jpg89 KB · Views: 3,388
 -
 ELP_8579_Miter Center Section Corner.jpg95.6 KB · Views: 3,308
 -
 ELP_8575_Miter Center Section Open.jpg98.1 KB · Views: 3,381
 -
 ELP_8574_Miter Center Section Closed.jpg98.5 KB · Views: 3,364
 -
 ELP_8532_Corner Clamp.jpg91.1 KB · Views: 3,352
 -
 ELP_8525_Miter Center Section.jpg98 KB · Views: 3,351