Picktool
Member
- Joined
- Apr 2, 2014
- Messages
- 172
Q on the floor locks
Do the floor locks lift the table off the floor or can you put a thicker pad
underneath to prevent it from moving. Are they adjustable?
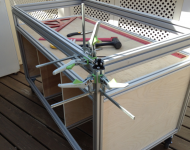
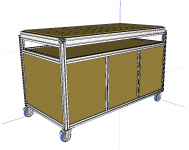
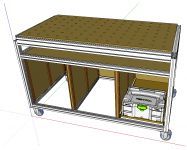
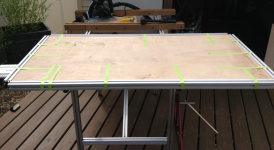
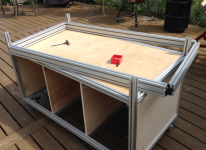
I'll be making a rolling MFT table and would like to move it around but
also lock it in place, so i'm thinking of using 2 of them 1 for each end.
It should be pretty heavy by the time I finish.
Anyone have experience using them?
Thanks
-Ronnie
Do the floor locks lift the table off the floor or can you put a thicker pad
underneath to prevent it from moving. Are they adjustable?
I'll be making a rolling MFT table and would like to move it around but
also lock it in place, so i'm thinking of using 2 of them 1 for each end.
It should be pretty heavy by the time I finish.
Anyone have experience using them?
Thanks
-Ronnie
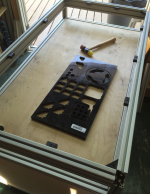
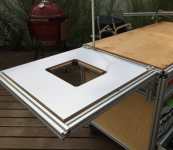
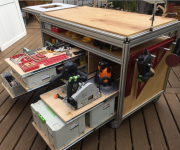
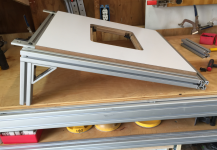
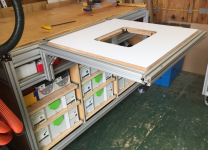
rvieceli said:Got it on the back.
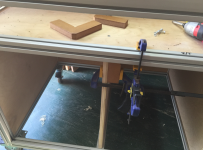
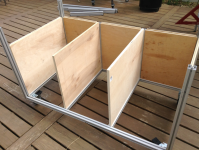
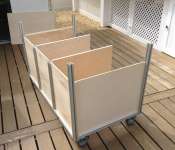
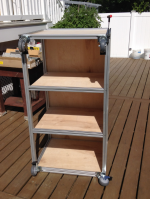
I was also thinking about the extrusions that hold the under shelf for the milling as well.
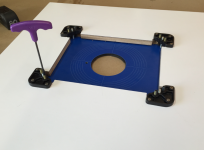
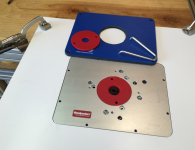
You might also want to put some kind of floor locks on.
http://www.globalindustrial.com/c/material-handling/casters/floor-locks


![ScreenClip [6].png](/data/attachments/20/20971-631b5093e7a86b2961bfa04b52398e56.jpg?hash=BHayMW048a)
![ScreenClip [2].png](/data/attachments/20/20970-87fff9e45d861357f5bac022252ff904.jpg?hash=A10VxqXS2d)
![ScreenClip [5].png](/data/attachments/20/20968-fb35b93fe5fc57151f55cc0dc8041d6b.jpg?hash=aGUN7paOBW)
![ScreenClip [4].png](/data/attachments/20/20967-77945207507a18d718f17c730b9ebe5e.jpg?hash=rmYz3cfeI3)
![ScreenClip [3].png](/data/attachments/20/20966-1e34ba8177f05ccc59a21acd58d62035.jpg?hash=rsoh7xwBYr)


![ScreenClip [1].png](/data/attachments/25/25824-aa66cab02d8006c7221070230b115ae6.jpg?hash=xQdvbObe_4)
![ScreenClip [12].png](/data/attachments/30/30436-89b340d67f3056fab39c7cc3f2ce0979.jpg?hash=b-X-boS38R)
![ScreenClip [10].png](/data/attachments/30/30434-00d45a2f1493b1846761bd9e56c78e1e.jpg?hash=83NNW1w6bd)
![ScreenClip [7].png](/data/attachments/30/30432-8608e8697e45b6ba0666a0be32ca6f64.jpg?hash=oeVBDdKJg4)
![ScreenClip [5].png](/data/attachments/30/30430-6eaa86817f1f694914b097553976e972.jpg?hash=iuTJT1ZJSL)
![ScreenClip [8].png](/data/attachments/30/30425-b10f50838ceb0d6cdb082e4c98697f97.jpg?hash=GB1Jalmwy-)
![ScreenClip [13].png](/data/attachments/30/30442-35a79b97c0dad798ca5645c9e34c79b3.jpg?hash=O6Hx_yiUBs)