Michael Kellough
Member
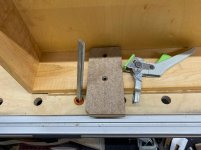
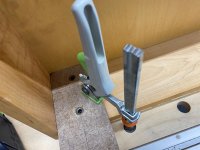
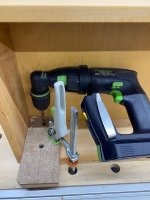
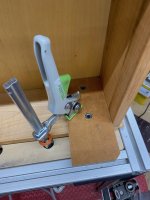
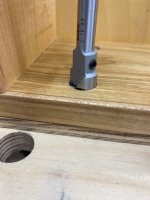
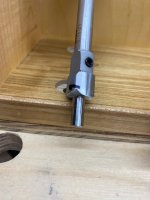
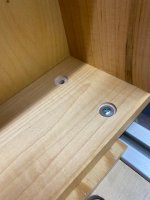
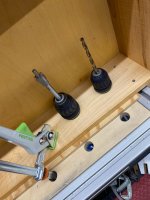
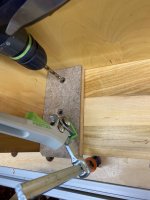
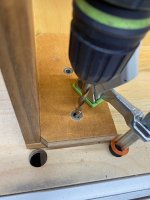
There are many ways to do anything, up to a point. When you get to that point, where it seems the only option is to disassemble back to a state where options still exist, then, if you’re clever enough you’ll come up with a solution like the one [member=44099]Cheese[/member] has presented here.
All the could’a, should’a, would’a options might have prevented him needing to think his way out of the box. I’m glad he’s done it.
I still want to know what the extra 10 feet of drill rod is for.
All the could’a, should’a, would’a options might have prevented him needing to think his way out of the box. I’m glad he’s done it.
I still want to know what the extra 10 feet of drill rod is for.