Cheese
Member
Gregor said:I'm still curious what you plan on doing with the domino connectors in the stretchers.
Apart from that: thanks for the interesting topic.
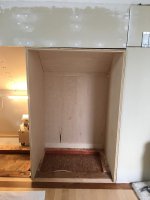
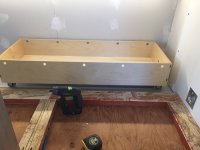
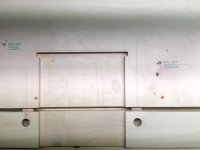
The first cabinet has to be removable.......
[attachimg=1]
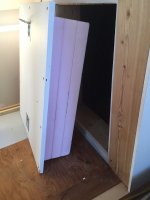
........because this is behind it. Access to the attic where there are some electrical connections I may want to revisit.
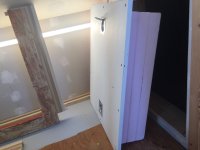
[attachimg=2]
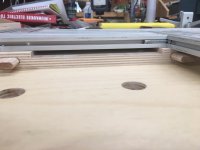
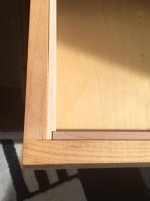
So the Domino connectors will retain the face frame/trim that will be removed if the cabinet needs to come out.
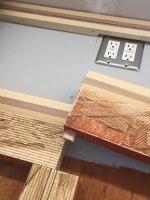
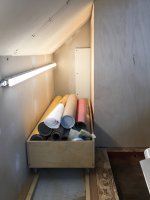
Also behind the cabinet is a trolley system I built to utilize the extra space for storage.
[attachimg=3]
[attachimg=4]
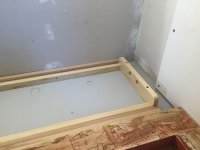
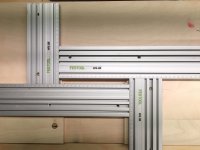
So the track for the trolley and the sub base for the cabinet also needs to be removable for attic access. A few judiciously placed screws and some Dominos for proper alignment took care of that.
[attachimg=5]
[attachimg=6]
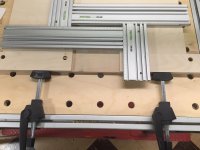
[attachimg=7]
One side of the track is attached to the sub base so removing that will allow the attic "plug" to be removed. Here you can see the sub base and the trolley track standing up.
[attachimg=8]