Richard/RMW
Member
- Joined
- Jul 11, 2010
- Messages
- 2,947
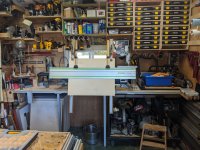
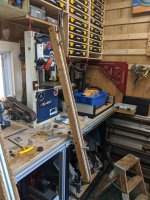
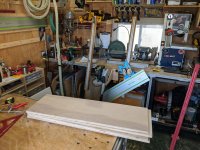
This has been on the project list for a long time. Originally I was going to make it free-standing, later I decided to find a way to fit it inside the shop footprint. After spending an hour rummaging thru the 80/20 boneyard today I found some pieces that added up to a Version 1.0 attempt. Ripping:
[attachimg=1]
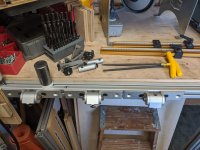
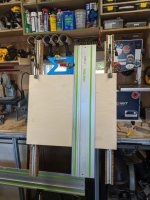
Crosscutting, where I'll use the 3rd set:
[attachimg=2]
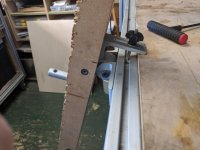
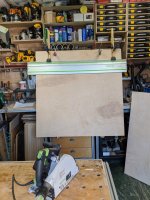
Basic setup:
[attachimg=3]
[attachimg=4]
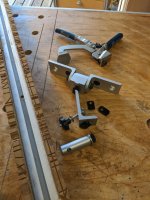
Hardware for one set:
[attachimg=5]
4 screws hold them together. Disassembled the hardware be slid along the work surface for storage:
[attachimg=6]
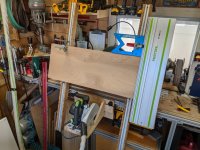
This setup uses the 1515 sacrificial cutting thingies I already have, they get used constantly. I seldom cut on the MFT surface anymore, mostly I just plop a couple of these on the work surface and use the Rip Guides or TSO square for everything.
Full disclosure: I haven't attempted a cut yet. There is enough length to rip a full sheet of ply, I made up 3 sets of hardware and hope to try it out tomorrow.
RMW
[attachimg=1]
Crosscutting, where I'll use the 3rd set:
[attachimg=2]
Basic setup:
[attachimg=3]
[attachimg=4]
Hardware for one set:
[attachimg=5]
4 screws hold them together. Disassembled the hardware be slid along the work surface for storage:
[attachimg=6]
This setup uses the 1515 sacrificial cutting thingies I already have, they get used constantly. I seldom cut on the MFT surface anymore, mostly I just plop a couple of these on the work surface and use the Rip Guides or TSO square for everything.
Full disclosure: I haven't attempted a cut yet. There is enough length to rip a full sheet of ply, I made up 3 sets of hardware and hope to try it out tomorrow.
RMW