Started sanding and beveling the edges on all the pieces today. This is now like a Las Vegas lounge joke.... "I'll be here all week".
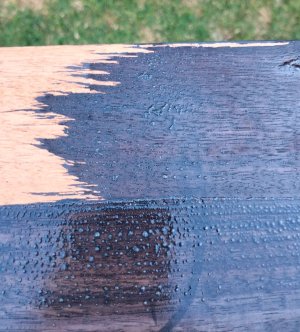
For the corner posts, I matched the bevel depth to the glue line of the QS veneer, and the line just disappears! Magic QS faces on all four sides! Then I just used 220 grit to lightly soften the remaining 45 degree edges.
UJK has these really nice "bench hooks", but I just modeled and 3D printed my own. Not as nice as the anodized aluminum, but I think they work just as well and only cost me $ 0.70 to print. Worked great for capturing those small corbels while I smoothed out the curves with an interface pad on the RO90.


")