Did this job around a year ago, but never had the chance to get finished pictures of it until yesterday. This is on one of those jobs that it believe could not be done without a TS55. I was able to cut the angles on site, with little or no touch up needed once the cabinets were joined together.
All in all one of the most technically difficult (and highly stressful) installs I've ever done.
After I had a panic attack, I had to come up with a plan. As Otter said in Animal House: "No, in this case, I think we have to go all out. I think that this situation absolutely requires a really futile and stupid gesture be done on somebody's part."
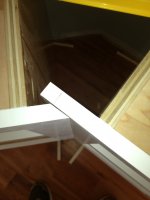
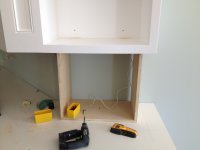
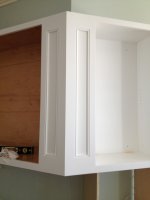
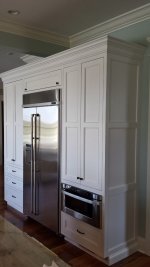
Initial layout was easy, just started on the range/hood wall so I could get some fixed points in order to layout the faceframes so I could start mitering the bad boys. Once I set (plumbed/leveled) a cabinet, I would transcribe the face of the cabinet down onto the floor, then I would set the next cabinet where it was supposed to go and transcribe that line. Intersect the points, bam! Now I know where on the face frame to cut, and at roughly what angle to cut it.
[attachthumb=#1]
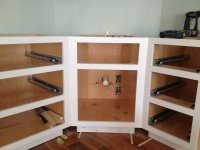
No need to cut miters on both cabinets on an inside miter...the faceframes were then screwed together from behind.
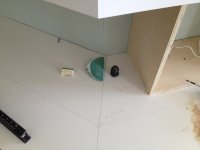
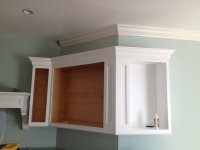
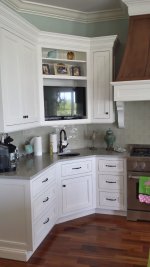
[attachthumb=#2]
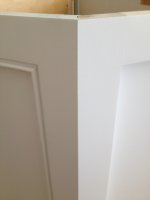
Tight as a tick using the 55.
Lather, rinse, repeat.
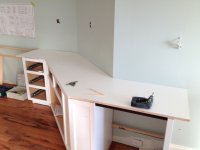
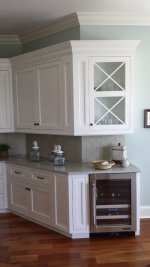
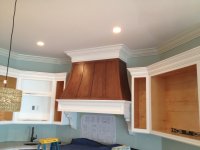
[attachthumb=#3]
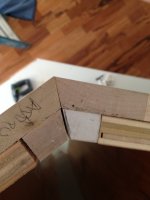
Now on to the outside miters. Same process of figuring miters. Better to err on over-cutting the angle so the points touch at the front of the miter instead of the backs.
More to come when I can find the time.
All in all one of the most technically difficult (and highly stressful) installs I've ever done.
After I had a panic attack, I had to come up with a plan. As Otter said in Animal House: "No, in this case, I think we have to go all out. I think that this situation absolutely requires a really futile and stupid gesture be done on somebody's part."
Initial layout was easy, just started on the range/hood wall so I could get some fixed points in order to layout the faceframes so I could start mitering the bad boys. Once I set (plumbed/leveled) a cabinet, I would transcribe the face of the cabinet down onto the floor, then I would set the next cabinet where it was supposed to go and transcribe that line. Intersect the points, bam! Now I know where on the face frame to cut, and at roughly what angle to cut it.
[attachthumb=#1]
No need to cut miters on both cabinets on an inside miter...the faceframes were then screwed together from behind.
[attachthumb=#2]
Tight as a tick using the 55.
Lather, rinse, repeat.
[attachthumb=#3]
Now on to the outside miters. Same process of figuring miters. Better to err on over-cutting the angle so the points touch at the front of the miter instead of the backs.
More to come when I can find the time.


")