rvieceli
Member
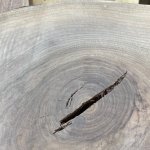
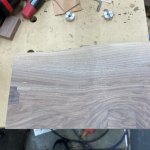
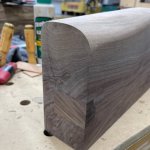
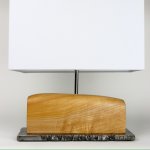
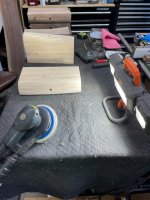
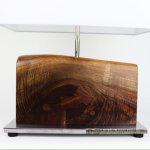
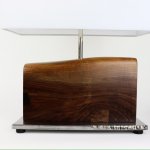
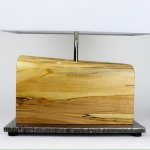
A small piece of walnut making its way through the shop. This will end as a horizontal form table lamp on a textured steel base. Here’s some progress shots.
[attachimg=1]
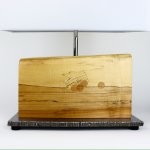
Problem child but wonderful grain and good color.
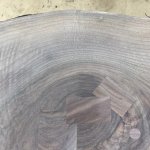
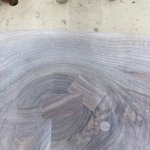
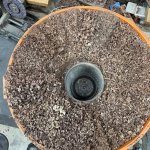
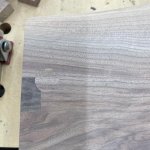
Some repair progress
[attachimg=2]
[attachimg=3]
[attachimg=4]
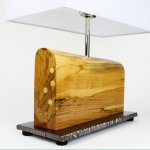
[attachimg=5]
[attachimg=6]
That last one fixed a small split on the end
Ron
[attachimg=1]
Problem child but wonderful grain and good color.
Some repair progress
[attachimg=2]
[attachimg=3]
[attachimg=4]
[attachimg=5]
[attachimg=6]
That last one fixed a small split on the end
Ron