Crazyraceguy said:
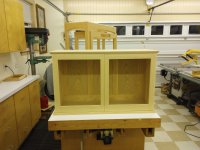
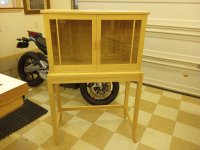
That looks really nice. I have a question about the divider strip in the doors. I see that they are not there in the pic that appears to not have glass yet. Are they just applied to the surface?
Thanks.
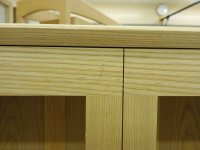
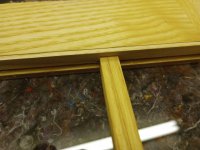
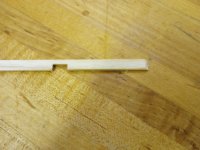
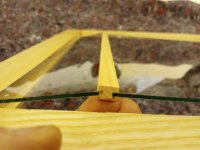
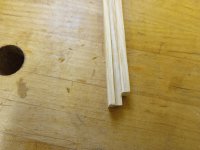
The dividers are not fixed to the door or glass. Instead, they are “floating”, held in place by a combination of the glass panels (2 per door) and glass retaining strips. There’s a 1/8” groove cut along the full length of each long side of the divider to capture the glass panels. There’s a notch crosscut into the front of each end of the divider (top and bottom), enabling it to “half lap” into the door rabbets housing the glass. The two glass panels capture each divider (holding it in place), and the retaining strips then hold the glass in place.
Regarding the retaining strip/divider configuration, I’ve made them two ways: the first is to make the horizontal retaining strips full length, cutting a notch in the retaining strip that straddles the divider (top and bottom). The second (less secure way) is to simply butt the retaining strips tightly against the divider – the glass holds the divider, and the retaining strips hold the glass in place only. These doors are made the latter way, necessitated by the fact that I simply didn’t have the door thickness to make wide retaining strips (This is the first time I’ve done it this way, but it seems just as secure and is much easier).
It can be difficult to visualize based on a description (especially mine). I’m starting another one, so I’ll get photos of the divider.
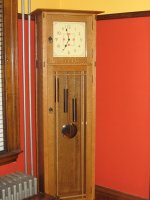
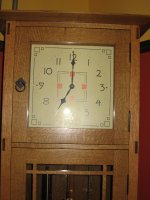
I also made a clock and China cabinet for my dining room about 20 years ago where I simply applied the dividers to a single sheet of glass with silicone, saving a lot of fuss but visible from the back side of the door. They are still in place today (below). I often thought about criss-crossing the dividers on display cases similar to this (just two per door though, biased toward the side and bottom). If I do, I’ll fix them with silicone.
View attachment 1
View attachment 2