blaszcsj
Member
- Joined
- Feb 21, 2015
- Messages
- 545
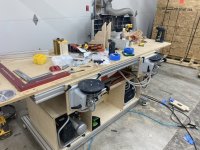
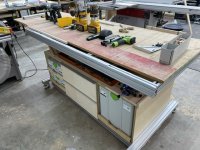
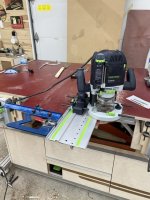
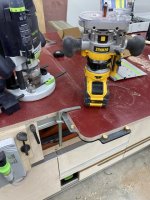
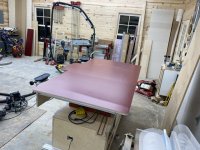
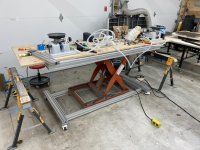
Started working on my new work bench the last couple weeks. I wanted to be able to adjust height of to to suit application ( loading/unloading/work height/infeed table, etc)
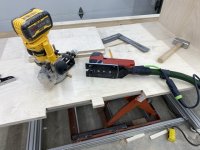
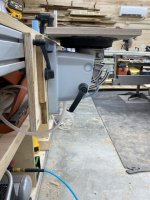
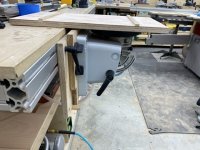
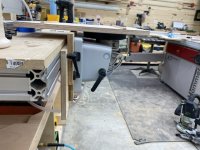
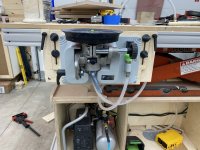
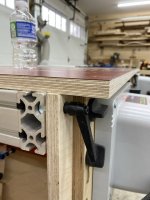
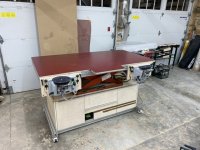
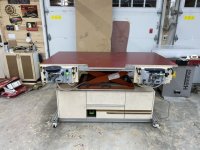
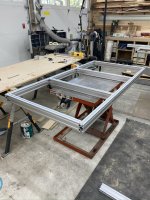
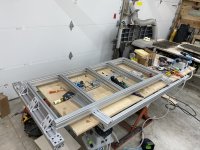
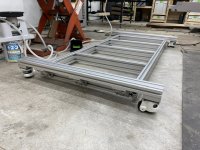
I started with a lift table I got on FB marketplace and modified it so it would not tip by welding on guides to trap the table cam followers. I then built a top and mobile base using 8020.
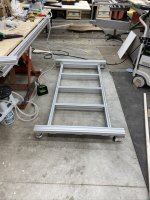
Attached 8020 table frame:
[attachimg=1]
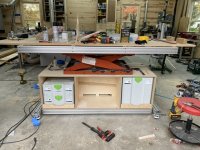
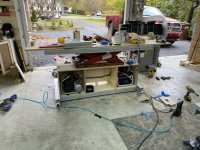
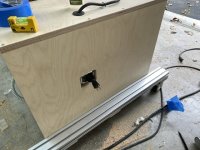
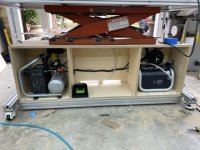
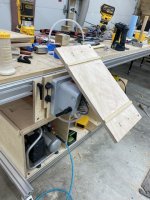
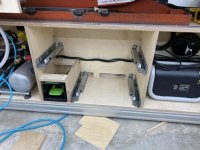
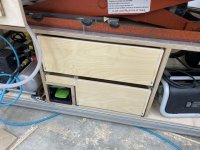
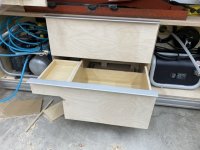
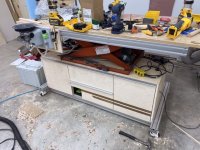
Base construction:
[attachimg=2]
[attachimg=3]
[attachimg=4]
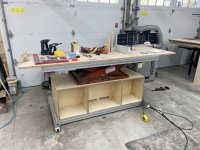
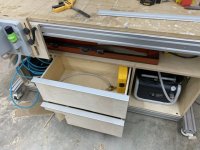
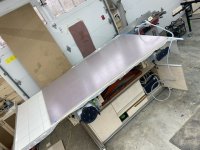
Base an table mock up:
[attachimg=5]
I started with a lift table I got on FB marketplace and modified it so it would not tip by welding on guides to trap the table cam followers. I then built a top and mobile base using 8020.
Attached 8020 table frame:
[attachimg=1]
Base construction:
[attachimg=2]
[attachimg=3]
[attachimg=4]
Base an table mock up:
[attachimg=5]
Attachments
-
 00745112-A267-4F61-B779-5B4340464A2D.jpeg476.5 KB · Views: 4,260
 -
 8F9585B8-F4B4-4B75-A4A5-78BDBE7653CA.jpeg413.3 KB · Views: 3,850
 -
 7122C0D9-368F-4CD4-A736-03F65FCF3F75.jpeg130.2 KB · Views: 3,319
 -
 D60853E9-3FBD-444F-84BF-0DC3D19735BA.jpeg130.7 KB · Views: 3,293
 -
 4169CB54-8A4E-4F8D-9D08-B64B78CB80B1.jpeg124.7 KB · Views: 3,408