iamnothim
Member
- Joined
- Feb 5, 2014
- Messages
- 1,435
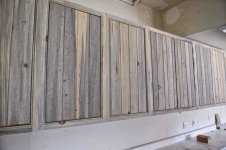
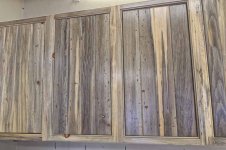
mike_aa said:Nice! Will you give these an ebony stain?
Mike A.
I think so.
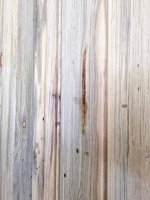
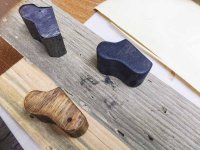
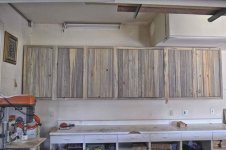
Last night I applied Charles Neil's "Blotch Control" to a chunk of blue pine.
This morning I put some GF Ebony Dye on and the grain structure came through nicely. In fact, when I wiped it back it came out like a nice walnut.
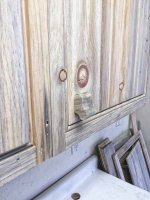
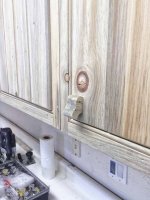
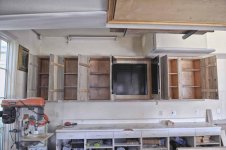
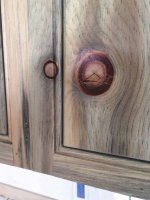
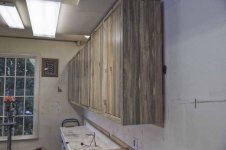
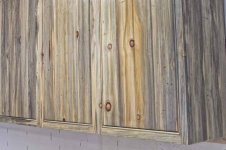
I finished making three pulls and now I'm going back to completing the doors. I applied BC to the pulls and I'll dye them tomorrow.
The entire face is an unattractive end grain. I'll see if the BC can work another miracle.
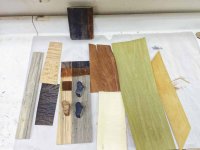
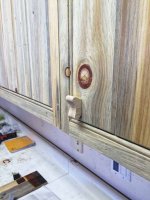
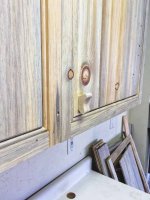
I should have the elm burl with the PSA backing for the backsplash any day. I might see if I can coax a strip around the perimeter but I doubt it with the backing. I have other non-backed veneers that I might experiment with down the road. Maybe steam.
Thanks
Luke