Bugsysiegals
Member
- Joined
- Mar 19, 2016
- Messages
- 908
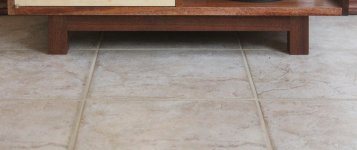
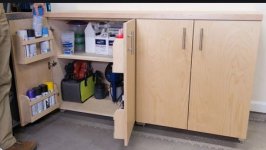
I've cut several cabinets without a toe kick since I planned to put them on casters for shop mobility/flexibility; however, in reality, they'll probably never be moved around and I'm now considering to use them as miter station base cabinets.
The cabinets would need to be stable and level for a miter station so I'll need to add leveling feet, make an adjustable ladder base, etc. and I'm considering which method would will be best for this purpose as well as be good practice for future kitchen cabinets should I make them with a detached toe kick.
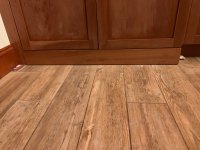
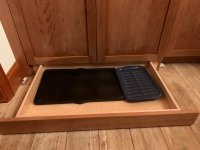
That said, do you make cabinets with an integrated or detached toe kick and why do you use that method ... does it help with sheet efficiencies, cutting, assembly, installation, any other aspect of cabinet making, or is it just what you do?
The cabinets would need to be stable and level for a miter station so I'll need to add leveling feet, make an adjustable ladder base, etc. and I'm considering which method would will be best for this purpose as well as be good practice for future kitchen cabinets should I make them with a detached toe kick.
That said, do you make cabinets with an integrated or detached toe kick and why do you use that method ... does it help with sheet efficiencies, cutting, assembly, installation, any other aspect of cabinet making, or is it just what you do?