This is my project to build a camp kitchen (or as some call it, a "Chuck Box"). It is used to store the stove, fuel, cooking implements, plates, bowls, & cutlery for 5-6 people, so that it is all in one place for easy storage, movement, and deployment.
Current Situation:
Everything is separate or in stackable plastic storage crates, which means around 4 trips between the campsite and the 4WD, and constant stacking / unstacking to access items. The stove sits on a separate stand.
Design considerations:
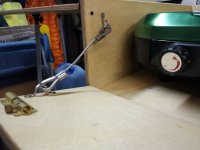
As a result there were 2 test configurations, done by stacking the contents in their current containers:
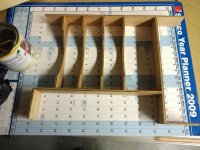
1) Low and Long - the main advantage is increased bench space, but it could prove unwieldy for 1 person to handle
[attachimg=1]
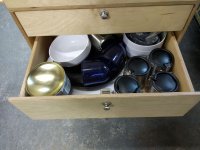
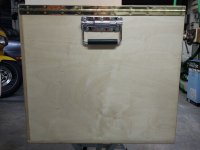
2) Tall and Narrow(er) - less bench space, but could also make a stand that encapusulates the lot, which means it is exactly 100cm when deployed, which makes it a perfect working height. This is the option I chose.
[attachimg=2]
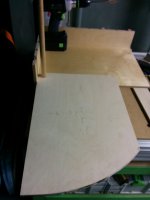
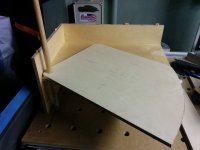
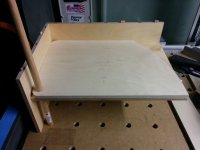
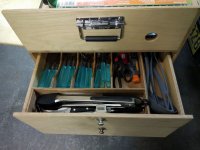
I wanted to learn something new and put something unique into the mix, so was going for some pivoting / swing-out drawers. This would make it easy to access the contents from both sides. I would need to learn how to cut the correct radius, and also do the bent laminations for the curves. Thanks to those who helped me out with advice on the other thread in preparation for this project.
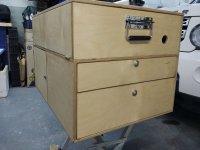
Sketch Up Diagram:
The basic kitchen is here, with only a single drawer shown (my Sketchup is not very good yet).
[attachimg=3]
Build to follow in next posts...
Current Situation:
Everything is separate or in stackable plastic storage crates, which means around 4 trips between the campsite and the 4WD, and constant stacking / unstacking to access items. The stove sits on a separate stand.
Design considerations:
- Weight - ideally can be moved by 1 person unassisted, but most likely to be moved by 2 people, so in the region of 20-30kg fully loaded would be good. This meant making it out of 12mm ply
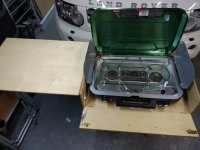
- Size / Dimensions - needs to fit the 3 burner stove, and fit within a set space in the 4WD
- Access - ideally the drawers are accessible from the rear of the 4WD (for roadside meal stops) without needing to move the kitchen. The contents must also be accessible when the kitchen is deployed and the cook is standing facing the stove
- Cost - ideally keep the costs to around $AUD300 at maximum (since a commercially made one is around $AUD600), so I was willing to try Baltic Birch (BB/BB)
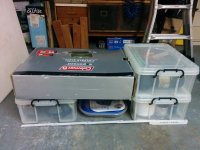
As a result there were 2 test configurations, done by stacking the contents in their current containers:
1) Low and Long - the main advantage is increased bench space, but it could prove unwieldy for 1 person to handle
[attachimg=1]
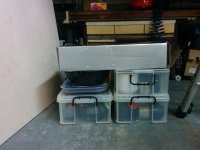
2) Tall and Narrow(er) - less bench space, but could also make a stand that encapusulates the lot, which means it is exactly 100cm when deployed, which makes it a perfect working height. This is the option I chose.
[attachimg=2]
I wanted to learn something new and put something unique into the mix, so was going for some pivoting / swing-out drawers. This would make it easy to access the contents from both sides. I would need to learn how to cut the correct radius, and also do the bent laminations for the curves. Thanks to those who helped me out with advice on the other thread in preparation for this project.
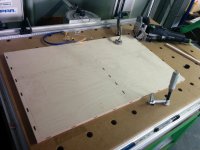
Sketch Up Diagram:
The basic kitchen is here, with only a single drawer shown (my Sketchup is not very good yet).
[attachimg=3]
Build to follow in next posts...