Dining room carver chairs - Take 2

Excellent work as usual Derek. How does the heat during summer affect you and your ability to work during the hot days. I have never been to Perth but I know you have been experiencing very high temperatures and it must make things difficult working in 40 degree + days.
 
Mini Me said:
Excellent work as usual Derek. How does the heat during summer affect you and your ability to work during the hot days. I have never been to Perth but I know you have been experiencing very high temperatures and it must make things difficult working in 40 degree + days.

Thanks Chris.

We did have some 40+ days for a few weeks, then it settled down to mid-30s (for the USA, this is Centigrade, not Fahrenheid) ... which is a dry heat and comfortable, plus I am just so used to after 35 years in Perth.  My worst was the humidity of Sydney, where we lived before. There is no escape from humidity. Hardly any of that in Perth. At present it is autumn (fall) and a mild 28-30. Just wonderful weather ... balmy evenings and walks along our river at the bottom if the road. Quite idyllic. Come to Perth - the wood is good :)

Regards from Perth

Derek
 
Arms - part 1

The key piece is the top rail, and the key element here is the rear curve. Here it is smoothed on the belt sander. It will be a reference side for marking curves ...


The angles I have had to guestimate have been the tilt, front and rear, of the top rail. This is what I came up with ...


The plan is to join the arms using dowels. The Rule of Thirds applies. 3 x 3/8" dowels (3/8" = 9.5mm, which is close to the 10mm tenons used previously). Why dowels? Because they are easier to position accurately without a reference edge.

Since a large amount of waste will be removed from the top rail and arms, through shaping, the dowels need to be positioned where they will not be cut into. The three marks on the ends of the top rail are the position for the dowels. The wooden block was a quick guide to drill vertical as it needed to be done freehand ..


The only complication was that I had 6mm dowel centre points. It would have been easier if they were 3/8". Nevertheless ...


Drilled for 3/8" dowels in Jarrah (I have a bucket of them), each close to 50mm (2") in length.


Everything is still a rectangle at this stage ...


The inside face of the top rail is shaped ...


It is at this point that I have a re-think about the curve of the rear - it is not a fair curve and enough curve when compared with the photos of the DC 09 chair. The re-drawn curve on the left looks correct to me now, and this is what we will go with ...


The parts are joined up as a loose fit (using undersized dowels)...


The arm/rail combination is now placed on the arm supports and adjusted to the front and rear to determine the rear overhang and position for the front joint ..


The template I made up earlier is used to trace out the side elevations. The shaping here is approximate. The main goal is to establish the length of the arms and from arm support joint ...


A little detail of interest: the height cut is slightly more than the front joint triangle would suggest as the final shaping requires a little extra meat to end in a curve ...


This is now sawn to shape, except for the underside of the arm, as the mortise/tenon area needs to be determined separately for each arm ...


Tomorrow will begin the final shaping and, hopefully, glue up of the arms.


Regards from Perth

Derek
 
Really enjoying following your progress!

After marking the locations of the dowels, how do you ensure the drilled holes will be square to the marked surface?
 
Hi Michael

I made a little guide/jig by drilling a block of wood on the drill press. 6mm (for the dowel pointer) and 3/8" (for the dowel) holes ...


Only one side of the joint needed a dowel pointer, of course. The dowel only needed the mark made by the pointer.

Regards from Perth

Derek
 
A little more as it is getting closer.

The first step is to align all the arms and mortices ...


There was a lot of scribing, fitting, scribing and more fitting.

Finally the shaping of the underside of the arms was possible as it was now possible to determine the general position of the mortises.


The waste was removed with a bandsaw and coping saw ..


Now the specific position for the mortices was fixed with dowel pointers ...


Drilled and dowelled ..


And the arms fitted to check that all will fit at the end ...


Shaping to come.

Regards from Perth

Derek
 
The Arms (part 2)

This is a last post before I return from three weeks being dragged over New Zealand mountains by my wife and her family. I used the Easter Weekend to get as much done as possible, but I needed a few more days. So there is more to come, later.

It is helpful to remember what the aim is - as close a copy of the DC 09 chair as possible. All guidance from photos  ...


We left off here ...


The three parts that make up the arms and top rail ..


The top rails were shaped ...


And shaping started on the arms ...


Today the arms were begun.

I find it easier to do one part as far as I can take it, then stop and repeat this with another part. When all four arms have progressed the same distance, I start with the first arm again and take it to the next stage. Then the other three to match. And so on.

Each stage completed must be checked, and this is done by putting the parts together, to check that they balance. The two sides must remain a mirror image, and the two chairs must be identical. There are no templates to mark the lines to work towards, only the rough layout lines that appear fair to the eye.

The arms are shaped with rasps and spokeshaves ... mainly coarse rasps - the Shinto and a 10 grain Auriou - followed with round- and flat bottom spokeshaves. Starting with the inside faces ...


Inside faces mostly done ...


Inside faces almost done, except for the undersides ...


Further along - top inside and outside faces mostly done ...


And that's it for now. More later. Thanks for keeping me company through this build.

Regards from Perth

Derek
 
Beautiful work and outstanding documentation of the process. Seeing you work through this build inspires me to take on more challenging projects. Thanks for sharing.
 
Comment on the grain direction

One point I have not drawn attention to, but was important for me, is the grain direction throughout this build.

If you look at the arms and legs, the grain has all been oriented so that the blanks are quarter sawn. For example, the arms will show the long side grain when looking at them from the side, as will the legs. The figured sides face the top, are carved away, and therefore the figure is minimised. The aim is to present a clear, uncluttered grain, and this should emphasise the shape/silhouette. This was not possible with the seat, and the figure was positioned as best as possible.

Regards from Perth

Derek
 
Back on the job after 3 weeks hiking mountain trails in the South Islands of New Zealand, then returning home with Bronchitis (although I was wearing a mask on the plane, passengers preferred to sit with the crying babies than listen to me cough and wheeze!). A few more weeks to recover. First day in the workshop this weekend.

First task was to glue the arms sections together. You will recall that they are reinforced with dowels.


In a similar build, where the sections needed to be clamped together, it was possible to leave "ears" as the blanks were wider/thicker. I could not do that here, and so decided to epoxy these ears on ...


Well, it wasn't particularly successful, even allowing for 24 hours cure time. The ears broke off.

​All I could do was clamp the ear on, and pray this would hold.


Later I realised that the problem was that the dowels I used were too tight, and the force needed to drive them home was unexpected. Lesson learned for all - if using epoxy, which is gap filling, the dowels has be a slip fit rather than a force fit. Of course, it would have been easier if I had known this beforehand!


Once all was together, now in one piece (or two pieces if you count two chairs), the rasping and spokeshaving began ...


The aim now was to get the arms closer. This is all slow work, a bit here and a bit there, return to check the symmetry and shaping, and a bit more off. Work stopped to redrill the dowel holes that hold the arms to the legs. There had been a little movement while I was away, or I have measured inaccurately the at the start. It is important that the arms-legs join with as little stress to the joint as possible.


​A couple of progress shots of shaping thus far - lots still to come, but its getting to look like the original chair now.


Regards from Perth

Derek
 
I have found that the shaping of the chair arms and back to be a complicated process, with a step forward, then sideways, and then another step forwards. It is not plain sailing. There are many small corrections to make as I proceed, and I dare not attempt to leave these until a later date. I thought that some here will find the corrections ... repairs ... interesting, and hopefully useful if you find yourself in the same situation.

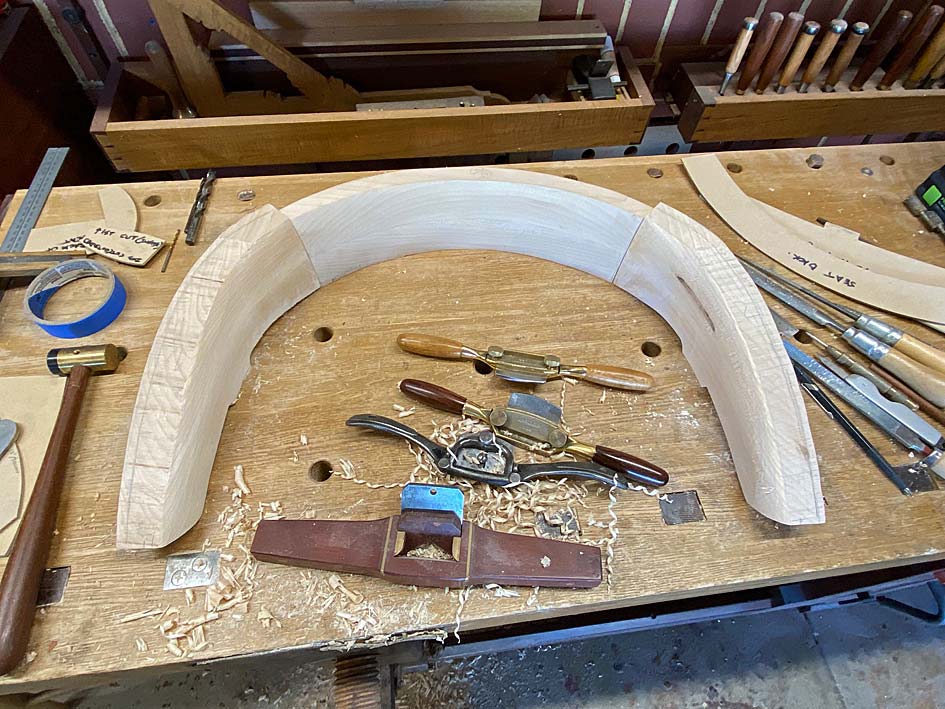
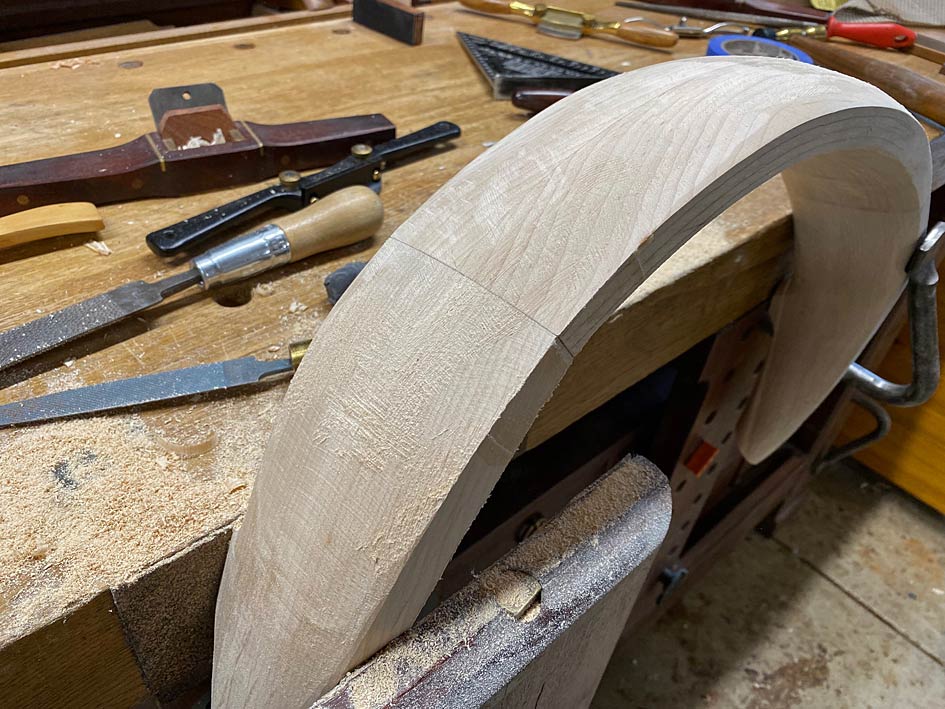
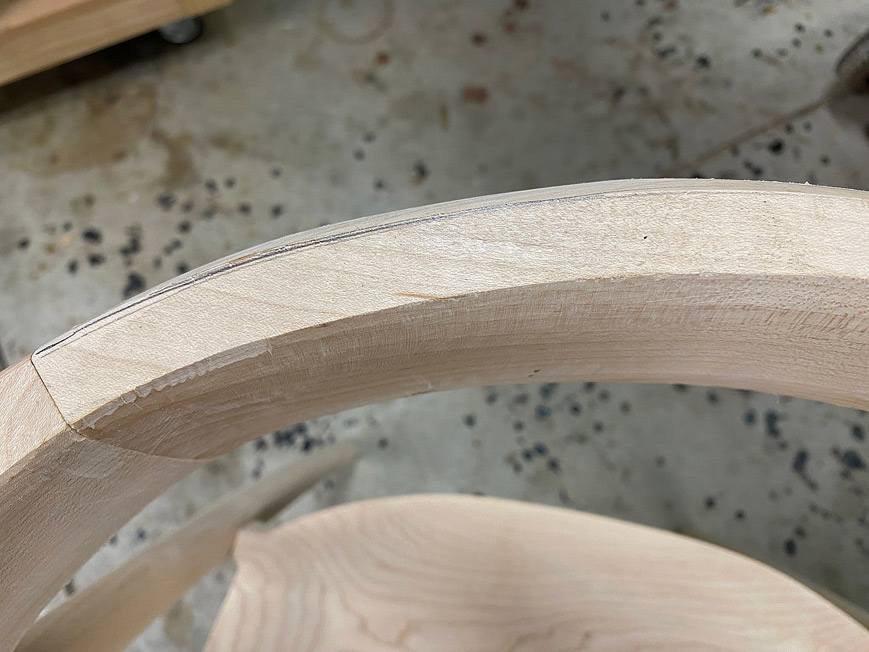
In the following photo, where the inside back is being shaped, you can see two joins where the arms and back connect ...
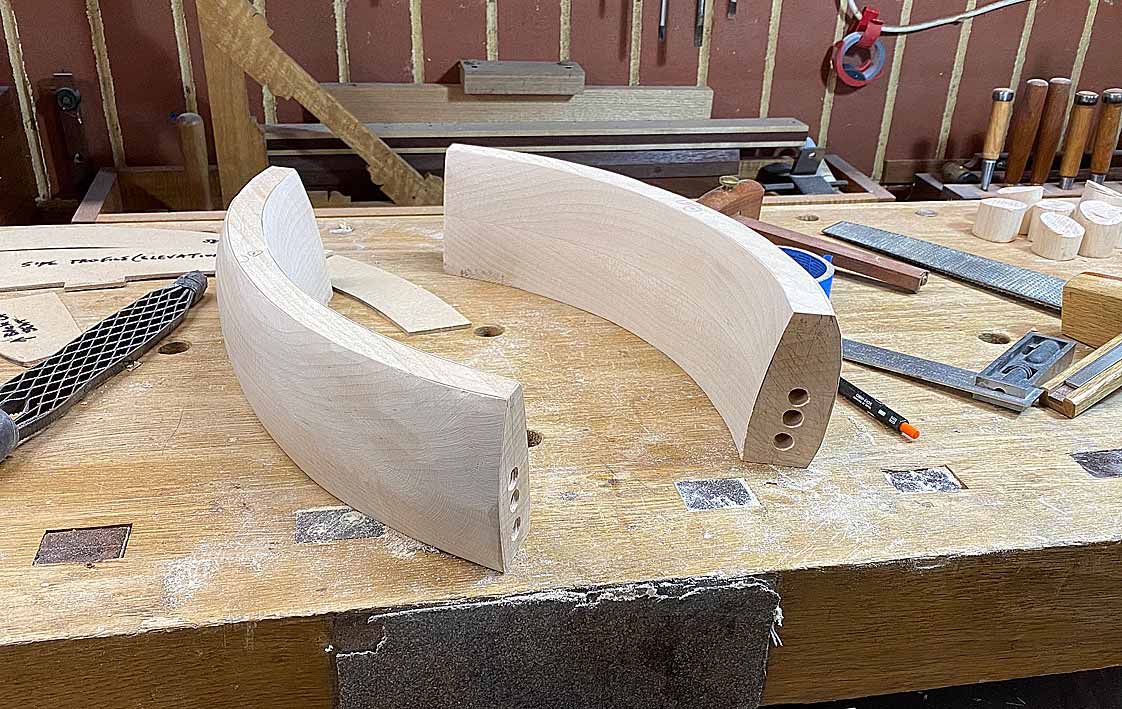


Outside example ..


These joins are clean and tight. In all there were 8 such joins, 2 chairs with each 2 inside and 2 outside joins. Of these 8 joins, 7 were perfect. One was a disaster!

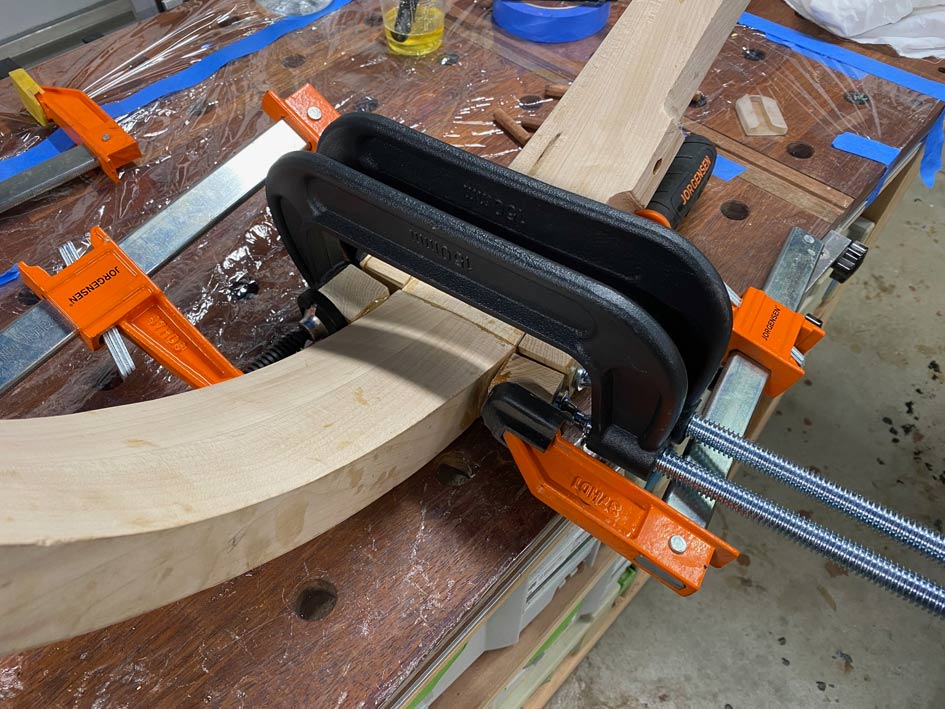
What happened was, in clamping the two parts, there was movement and an outside section moved slightly. This left a gap. To make it worse - as bad as it could get - the corner of one piece was crushed by a clamp, and cracked! I pushed it back into position, secured it, but it must have moved a little. Try not to cry ...


Well, you just have to repair it. And not with filler or a wedge.

I decided to peen the wood and move it into the gap. I have used this technique for dovetails, which is edge grain, but never for end grain. In fact, I have not seen anyone do this before.

Using a couple of different size drift punches, I began tapping the wood into the gap ...


It looks like heck, but it did the job ...


I'll save the outcome for the end of the build.  [wink]

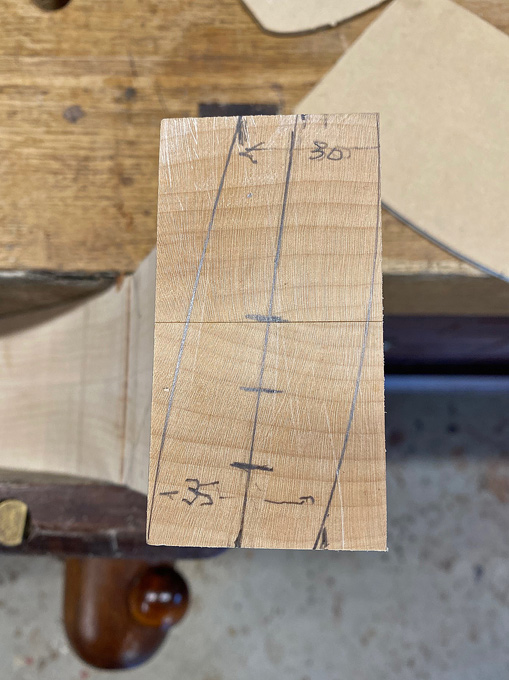
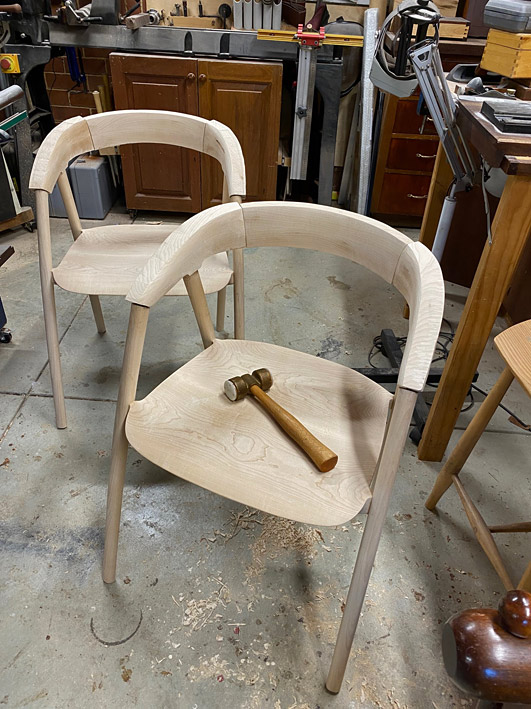
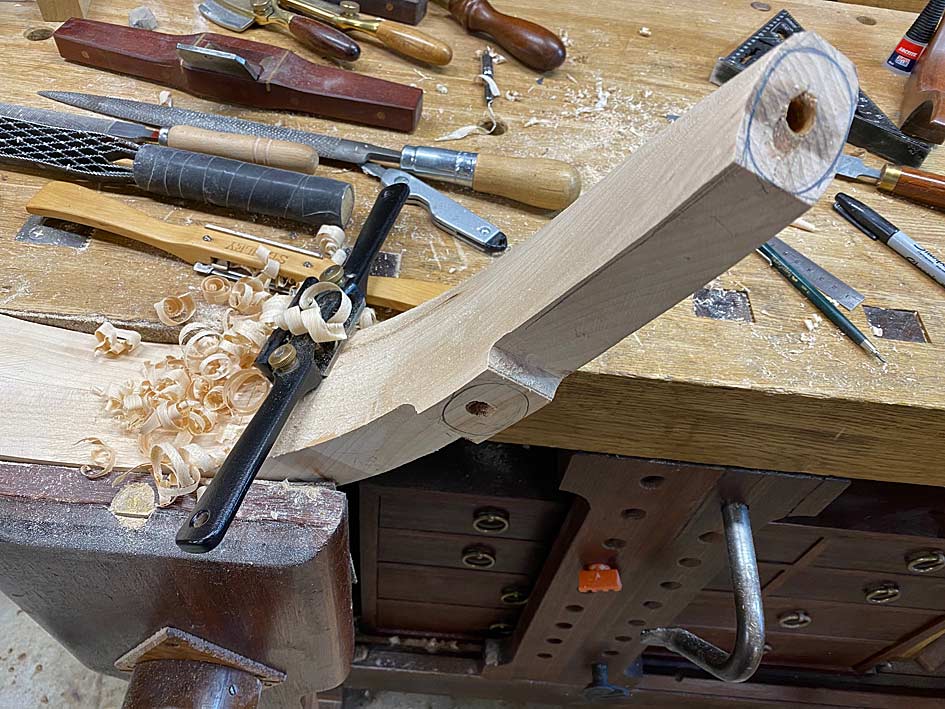
In the following photo you can see areas marked in pencil. These are where waste is to be removed ...


A little is removed, and then the arms are returned to the base, where more is marked for removal ...


The shaping of the arms is completely by eye. There are no templates to guide the work done. The photos are my reference: "does it look right ... no ... take more off there ....".

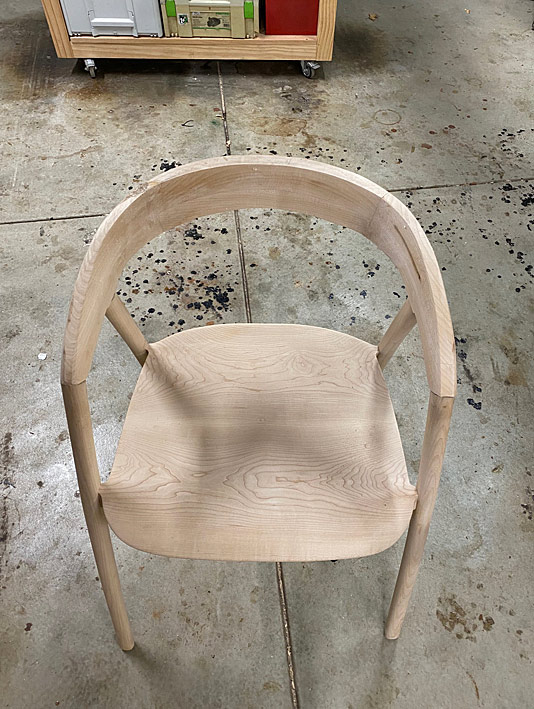
I finally get to a point where I need to check whether the curve at the rear is fair. It needs to be symmetrical and fair, and the same for both chairs. Now I trace the curve of one half of the rear centre section ...


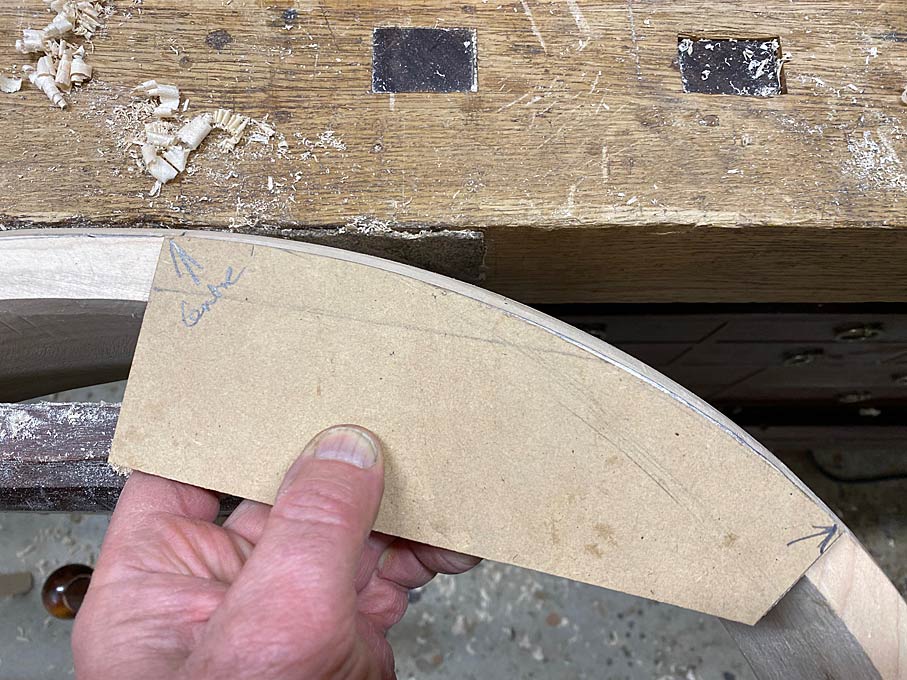
Flipping the template, this is taken to the other side of the back ..

It is just a smidgeon off ...


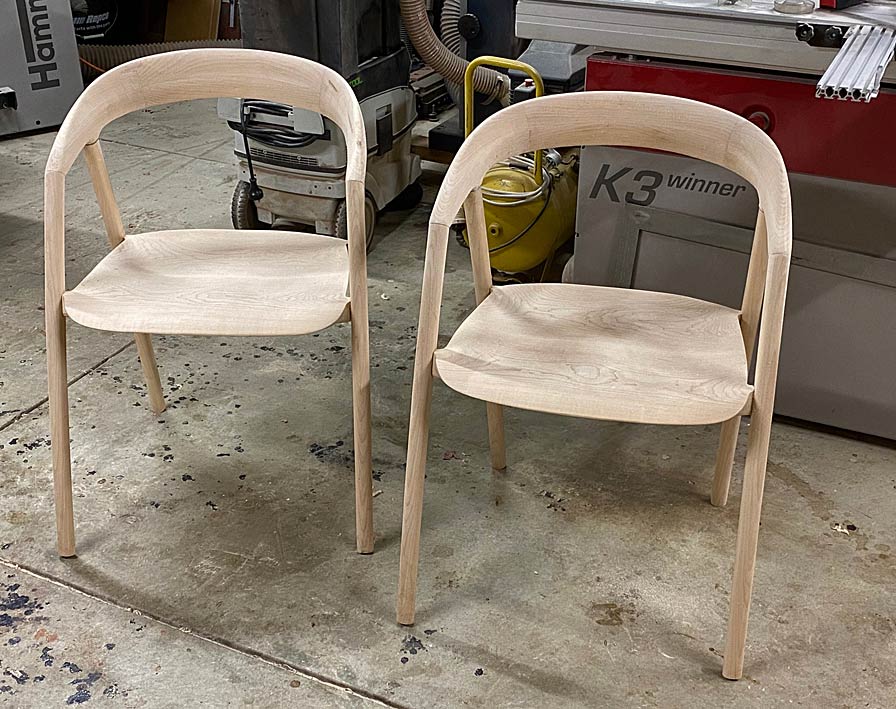
And the template is used on the other chair, and this proves to be identical o chair #1 ... just a smidgeon off the left side to spokeshave away ...


I am amazed that the shaping has remained within my tolerances all this time!

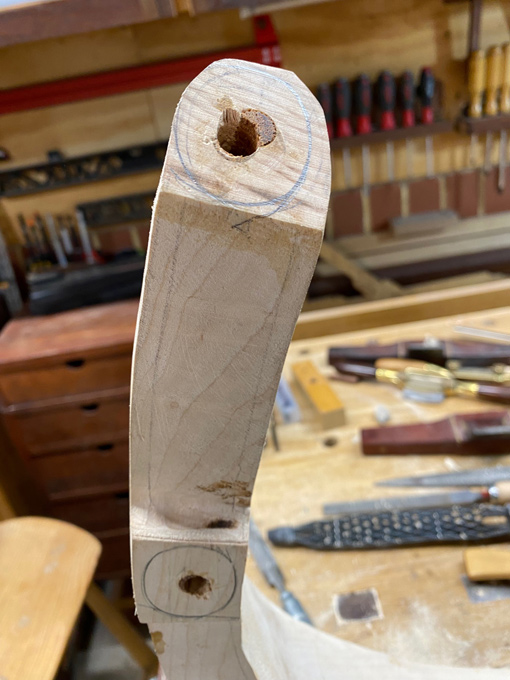
Lastly, I have been keeping an eye on the leg-arm joins. A couple were not meeting flush, and this needed to be corrected. For example, here you can see the gap. The blue tape marks where it keeps to be corrected ...


The top is covered in pencil to help see where the rasp is working, and the section that must not be touched ...


The result ...


The end of the day. A lot of work has been done over a period of 1 1/2 days in the workshop. This may go unnoticed by all but you and I ...


Lots more to do.

Regards from Perth

Derek

 
You’ve worked so hard and achieved incredible results.
It’s so frustrating when an accident occurs, I really feel for you.
Hoping the fix is satisfactory in the end.
 
Nice work.  The sign of a true craftsman is the ability to recover from mistakes!  Great work on the joinery!
 
This is, hopefully, the penultimate post on these chairs. I was unsure whether to post this one since the changes and progress must appear so small to all, yet I am aware of how much work goes into shaving, shaving, shaving ... And there is still more to do, as well as more shaping to slim the arms further, and then sanding to a finished surface before adding shellac (for tone) and hard wax oil for protection. We are closing in. :)

The toughest task in working on the arms is to hold them. I choose to work at a MFT bench as it has options for clamping. Here are some ...


The end vise gets used in a number of ways ...


Hold downs secure the arms to work on the mortises ...


The arm-leg connection was worked on earlier and mated closely, but not enough. Final fitting is made by holding the two together and sawing though the join with a thin saw blade ...


The current state of play ...


Regards from Perth

Derek
 
Derek, great looking work and thanks for your details of the process, both in photos and explanation.
You said you did not use a template for the back. How did you cut the angles for the two joins on the back rail. Did you set those cuts up somehow on your table saw or bandsaw, or did you cut them with a handsaw? Curious how your got those angles to mate so well. (You may have stated it earlier and I may have missed it.)
----
Rich
 
Back
Top