Not nearly as bad as you might think:
1) trace out the tools on a wide board.
2) route the horizontal finger grooves.
3) using a jigsaw cut out the traced tools all the way through the board.
4) glue another board behind the first.
5) add triangles on the sides and mount on the wall.
1) trace out the tools on a wide board.
2) route the horizontal finger grooves.
3) using a jigsaw cut out the traced tools all the way through the board.
4) glue another board behind the first.
5) add triangles on the sides and mount on the wall.
")
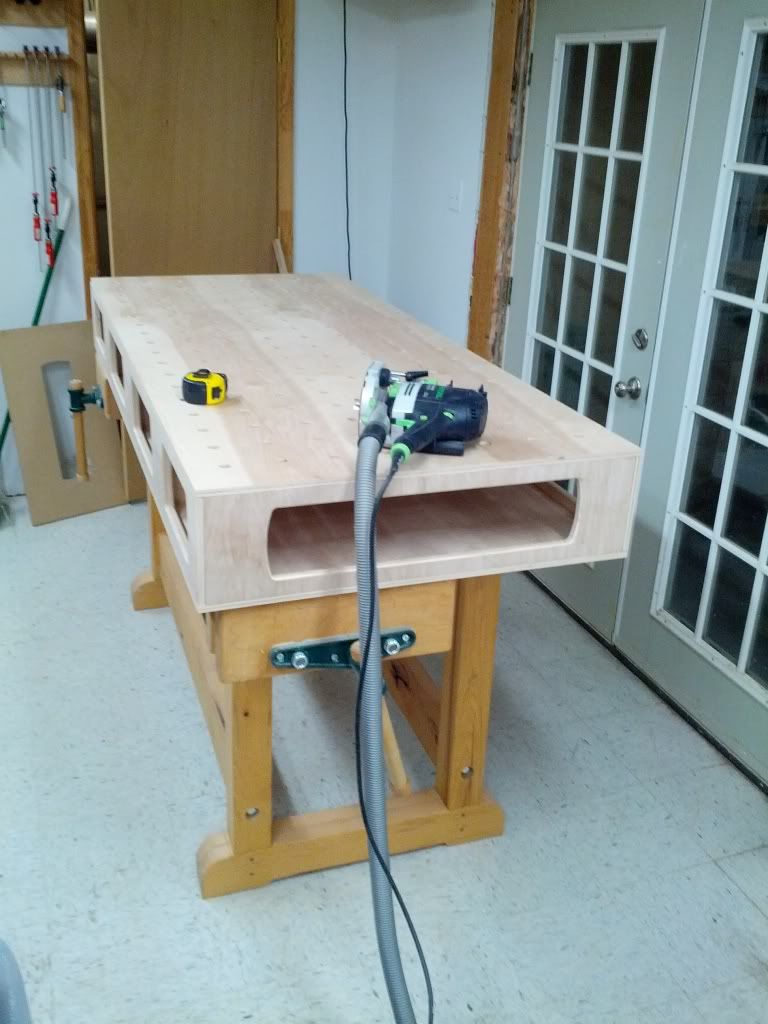


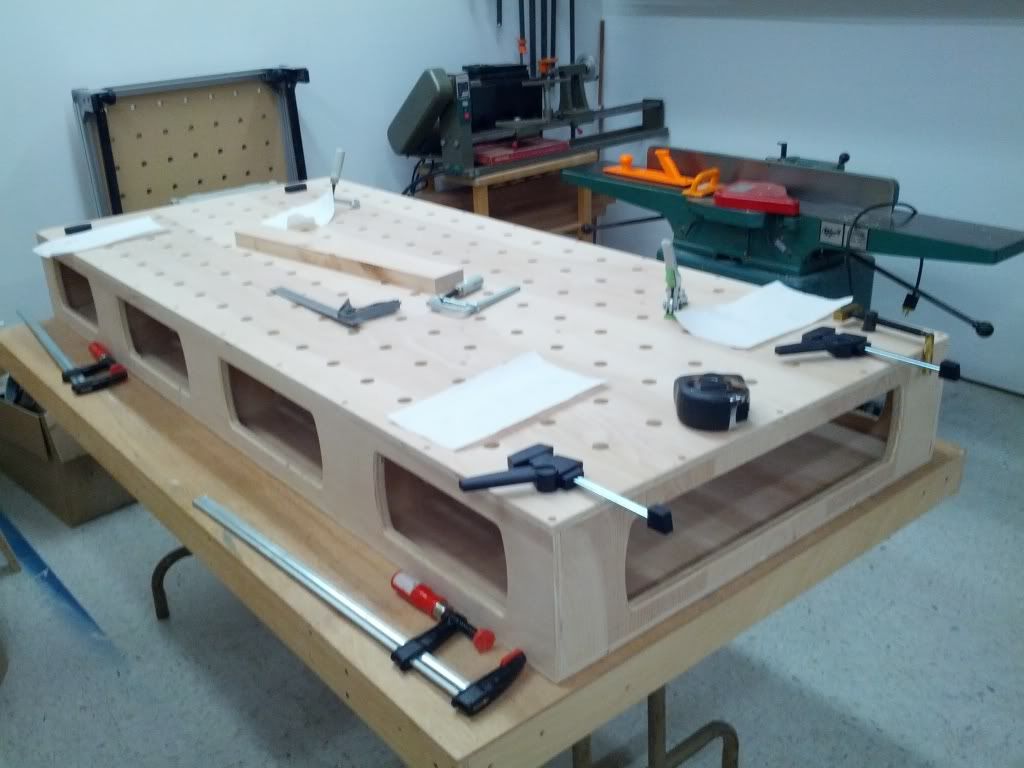

") Seeing the way you did the holes though made me go: "Yesss!". In practice I don't always allow myself the time to take care of my shop from an aesthetic point of view but seeing the way you cut out those holes with the subtle curve is prove that aesthetics do matter on the shop floor. It looks a lot better than going half round in my opinion.
Seeing the way you did the holes though made me go: "Yesss!". In practice I don't always allow myself the time to take care of my shop from an aesthetic point of view but seeing the way you cut out those holes with the subtle curve is prove that aesthetics do matter on the shop floor. It looks a lot better than going half round in my opinion.