JINRO
Member
- Joined
- Dec 8, 2021
- Messages
- 175
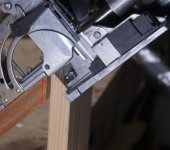
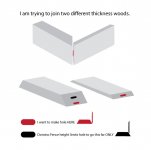
]Hi, quick question on Domino 500 for joining two different thickness woods together.
The thicker wood is 2x4. I am trying to make hole on 2 inch surface.
Domino plate height can be adjusted I can only go so much it allows.
Is there anyway I can increase plate height? Or is there any other way I can approach this task?
*I've included picture for better understanding.
[attachimg=2]
Thanks!

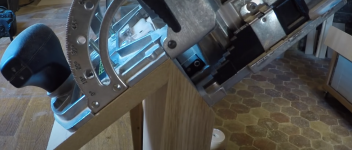
") but bit seemed to get far away from the wood too, making it shallow hole. I'll try this method and see. Thanks!
but bit seemed to get far away from the wood too, making it shallow hole. I'll try this method and see. Thanks!