Locks14
Member
- Joined
- Apr 19, 2015
- Messages
- 289
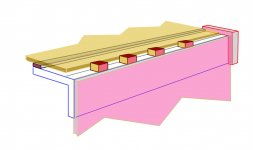
How do you guys do multiple repeat plunges at exactly the same distance? I am making a series of 8' tall built in book cases and want to use 6mm dominos on the 18mm ply. I was hoping to put a domino every 6-8 inches.
On the 700 the pins enable me to make a plunge every few inches apart but there are no pins on the 500, and even if there were what if I wanted to do them say every six inches?
There doesn't seem to be an accessory that fits the bill to enable quick repeatable plunges at a set distance.
On the 700 the pins enable me to make a plunge every few inches apart but there are no pins on the 500, and even if there were what if I wanted to do them say every six inches?
There doesn't seem to be an accessory that fits the bill to enable quick repeatable plunges at a set distance.