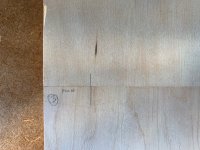
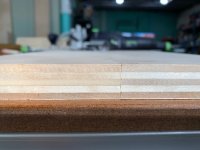
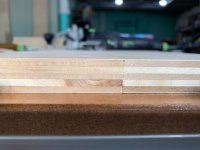
I see that you are in Wisconsin....wish you could pop into the Woodcraft store in Chattanooga for some play time with your D500 and the store demo one. One technique I noticed was when you were doing the horizontal plunge using the paddles that you would get the machine in place and move it sideways into position. I was taught to approach the edge from an angle and use the pin/paddle as a pivot to position the tool for plunging from the edge....one other thing I noticed from plunge #4 in your video was that it seemed to my old eyes that the right side of the tool had a slight gap between the vertical surface of the tool and the vertical surface of the plywood. Also, were you using tight settings on all four plunges? Usually, when I'm doing a joint with a domino that I want to be flush on one edge, as in the top/bottom and sides of a cabinet front, I will use tight settings based off the reference pins for side plunges and top and bottom plunges. Then for the other plunges I will use tight in one member and middle/loose in the other. For cabinets, for instance the tops and bottoms receive all tight plunges in the "end grain". The sides get a tight plunge for the frontmost mortises and all the rest are middle/loose plunges.
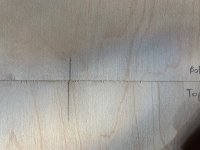
How is your alignment along the horizontal surface? In any case, best of luck in solving your problems and please let the group know what your resolution is.
Regards,
JC
Festool Leprachaun 8)
Oh yeah, you might want to adopt the Greg Paolini pinch technique for turning on the tool.