Cheese
Member
Michael Kellough said:Looking really good!
Aluminum fence? Cut with track saw?
OT I like the tight figure/grain on that sheet of plywood.
Thanks Michael. [smile]
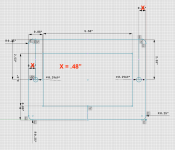
No track saw...just marked each one and cut them individually with a cold saw. I had to disassemble the fence section anyway to drill individual holes in each picket to accept the .160" diameter rods that are pictured at the top of that photo. Those small rods really hold the fence together well and allow for the sections to be angled on sloping terrain.
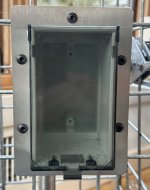
So, I think I mentioned earlier of installing a common water line and a 120V electrical outlet next to each other in the garden. The water line connects to a water line inside the garage while the electrical outlet, is supplied from the garage. I know some folks will have a knee-jerk reaction to installing both of these services so close to each other but fear not...it will be fine.
The water line in the garden allows for the watering of flowers and the back yard while also supplying water to the garage and the 120V will power a heat tape that will keep a 4" drain clear for drainage of melting snow in the spring. As of now, the 120V line has to be run across the steps and the sidewalk and will be a real safety issue for a couple of older folks. The new 120V location solves that issue.
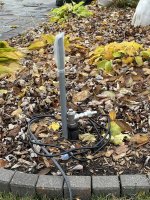
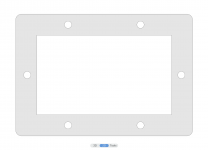
Here's where both exit the ground.
[attachimg=1]
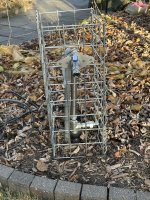
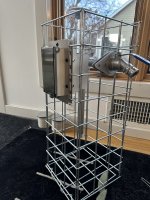
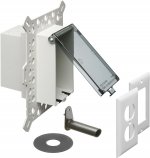
I'm building a 12" x 12" x 24" gabion to enclose both of the services. It will be filled with gabion granite stones or more likely gabion glass stone that can be back-lit. I'll fabricate a blue-stone base of some sort to act as a drip surface and that will match the blue-stone sidewalk, steps and patio. This is just a general idea on how it will be situated. With frozen ground, this will now become a spring project. [smile]
[attachimg=2]
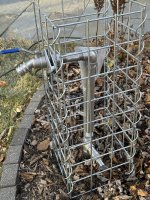
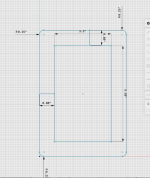
[attachimg=3]
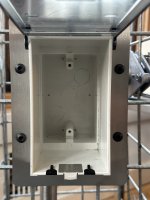
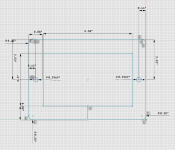
[attachimg=4]
Here's an example of what I was referring to earlier. Everything is focused around the drain, the water runoff from the faucet, the snow melt in the spring from the sidewalk and more importantly, the electrical line for the heat tape installed in the drain will not be laying across the sidewalk and the steps & become nothing more than a tripping hazard. All serious things to consider as we age. [smile]
[attachimg=5]