Bugsysiegals
Member
- Joined
- Mar 19, 2016
- Messages
- 893
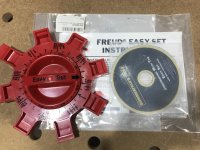
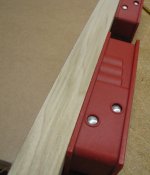
Chris Cianci said:I own 50+ Bessey clamps, many came from retiring hobbyists yard sale etc. as well as many bought new. If you don’t choose to go either new or used Bessey (or similar quality)route I’d get pipe clamps w various pipe lengths 2’, 4’ 6’ etc etc etc and get couplers for the pipe and custom assemble the clamps you need that way, it takes up less storage room, it’s customizable and cheap. There is the argument of clamping pressure however your current question is about edgebanding and isn’t very structural. This approach leaves more funds in the Festool acquisition fund as well LOL
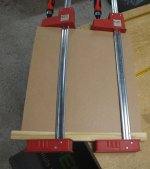
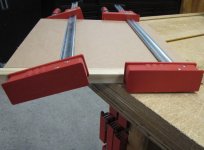
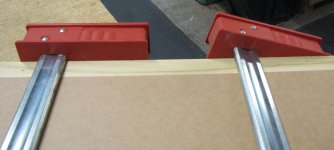
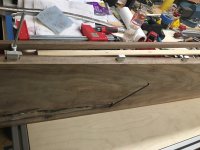
Thanks! Actually the cabinet walls will be underneath the edge banding so all the weight of the drawers will push down on the edge banding for the deck and anything sitting on top will push down on the edge banding for the top/deck. I'm not planning to set an engine on it but I don't want it falling apart if I ever forget and do set something on top. I've only edge banded 1 cabinet and the start of another so I may have to Domino those with through cuts or some dowels to prevent this worst case scenario.