Edge banding process

giono2

Member
Joined
Jan 27, 2015
Messages
13
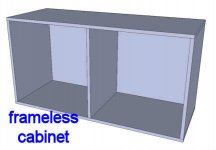
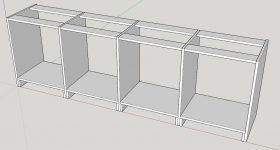
First time using the thin, pre-glued style of edge banding and I have a question about method.  I'm building this toy storage cabinet out of 3/4" ply.  When edge banding the pieces, should I do them individually before assembly or do it after assembly to allowing the long top and bottom lines to be done in one piece to minimize seams.  What are your experiences?

[attachimg=2]


Attachments

  • cabinet.jpg
    cabinet.jpg
    17.4 KB · Views: 212
  • Cabinet.skp - SketchUp Make_2015-03-04_08-22-56.png
    Cabinet.skp - SketchUp Make_2015-03-04_08-22-56.png
    59.9 KB · Views: 1,404
Welcome to the forum!  [smile]

    I find it much, much easier to do before assembly.  Easier to apply because the piece can be clamped firmly to a bench an optimal position for rolling etc. Waaaay easier to trim the ends and edges with out the  obstruction of adjoining pieces.

Seth
 
Most of the edge banding I've used in past is wider than your carcass material. Mas such, you will need to trim it, which will prove kinda difficult once assembled especially in the corners.  I've done it both ways, but think edging and trimming before assembly works best....

Gary
 
Looking at your drawing, I would say do it before assembly because you want the upright pieces to run through from top to bottom and the horizontal pieces to butt to the uprights.  If you did the long horizontal pieces in one piece you might get separation later as the cabinets shift due to settling or moisture absorption.  I would also incorporate a toe kick in the bottom for two reasons: you wouldn't stub your toe (obviously) and it will break up the vertical lines so that you won't have a triple thickness at the bottom front ( I hope this makes sense)
 
You could set the toe kick back a couple inches or just 3/4" then put a piece across the front like the ones holding up the shelf
 
Back
Top