It's been a rough few days. Friday was a 16 hr day and Saturday turned into an 18 hr one, though yesterday I got a little reprieve and only worked 13 hrs, and got to go home "early" and simulate a birthday dinner for my wife. The only reason I haven't been put on notice is that she actually went to high school with one of the artists, and is the reason why I know him in the first place, and so I have the "but you're the one who introduced me to him" trump card.
We got some welcome news yesterday, however, when a decision was made to push the shoot one day, and so we now have today and tomorrow to finish everything up. We may lose a few people from the film crew, since it's hard to get everyone together in early August, but from what I can tell all the essential personnel are all still on board.
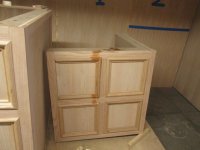
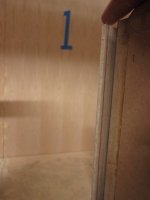
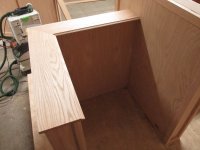
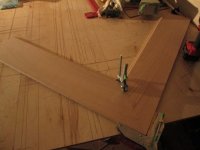
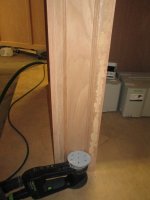
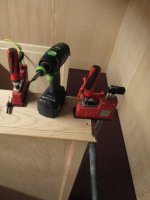
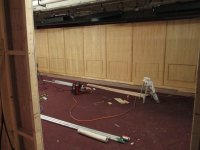
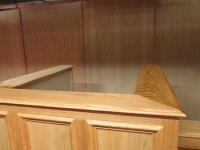
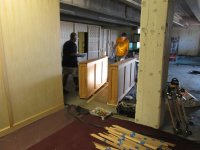
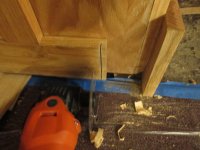
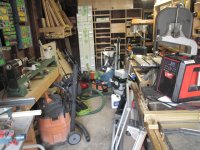
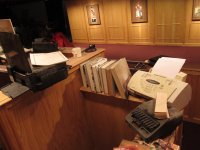
So back to the build. I had glued up the tops for the judge's bench on Friday night, and so Saturday finished the edge profiling and attached them permanently. I'm still having problems with the DC on the 1400 when using the edge guide + dust catcher on this long pedestal moulding bit, but I ultimately didn't go with the suggestion made by [member=1619]SRSemenza[/member] to just use the normal dust shroud that attaches to the base, since I would have had to remove and reseat the bit, and I didn't want to spend time resetting the height to achieve the profile I had already executed on the edges of the dividing wall tops:
[attachthumb=1]
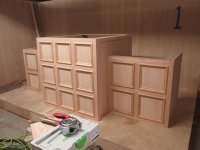
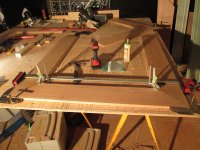
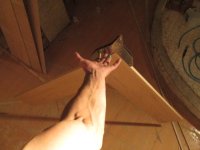
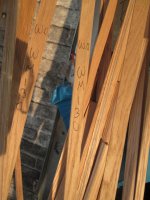
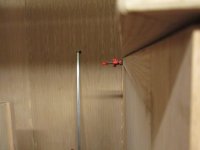
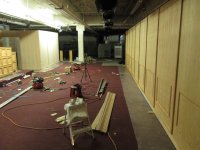
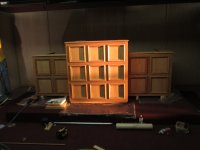
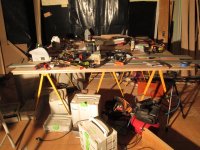
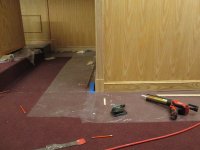
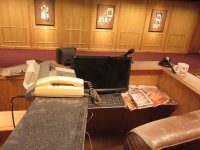
Even with all the flush trimming of the paneling, there were still some high spots on the MDF boxes that produced a gap in a few places between the top and the structure, so I ran the RO150 with some 40 grit cristal to get a completely coplaner surface:
[attachthumb=2]
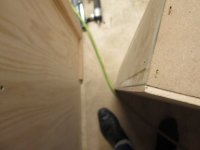
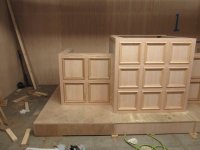
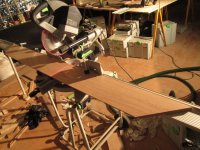
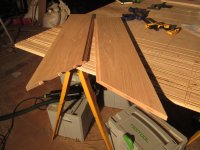
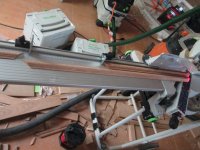
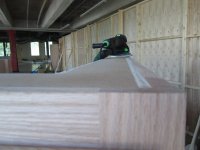
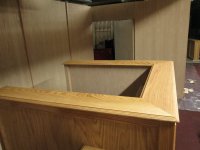
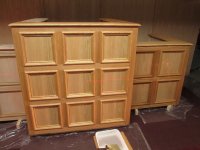
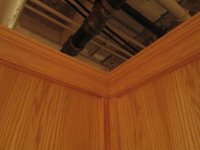
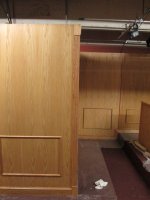
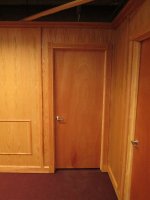
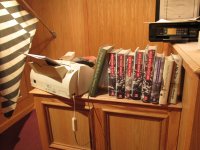
I ran into a problem when I went to attach the top on the actual judge's bench. One of the sides was not at a perfect 90, and so I wasn't getting the even 3/4" overhang I had factored into the sizing:
[attachthumb=3]
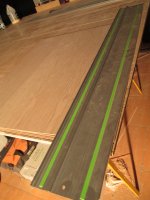
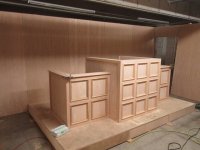
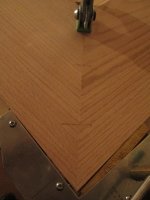
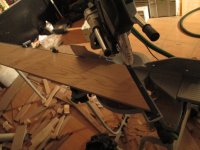
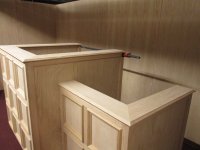
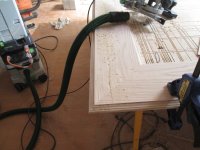
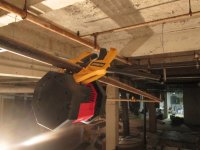
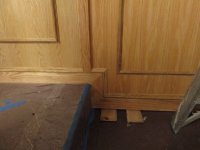
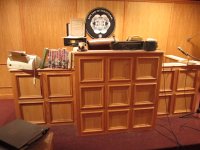
It wasn't the Kapex blade setting, since all the other miters were perfectly square. Rather, I think it was due to the one drawback of the UG cart and extensions, which is the relatively little support you get on wide boards, something [member=42806]Wood Hog[/member] might run into soon on his new cart. I had used the Kapex clamp to hold the boards flat on the cut, but I guess one of the 8 1/4" boards had been slightly skewed, and so it threw off the miter by a degree. It wasn't a huge amount -- the difference in width between the front of the top and the back along it's 4+ feet of length was about 3/4". So I decided to improvise and use pipe clamps to slightly narrow the structure of the bench at the back by about 1/2" and split the difference on the remaining 1/4" less overhang at the back between the two sides:
[attachthumb=4]
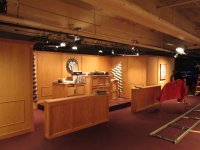
[attachthumb=5]
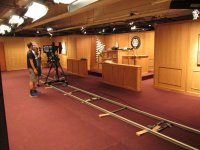
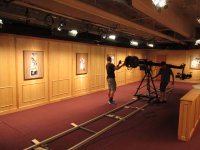
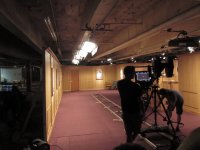
I was a bit worried about stressing the miters joints on the top, which were less than 24 hrs from glue up, so I used a few screws to secure it to the structure (and filled the holes) in addition to adhesive and pneumatic nails, and left the pipe clamp on overnight. BTW the shot shows the red carpet they rolled into the courtroom on Saturday morning, which was the start of the room really getting tied together.
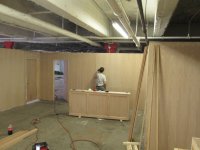
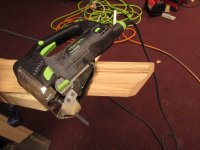
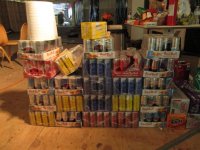
I spent the rest of the day Saturday cutting the trim for the wall paneling in the courtroom, which measures 40x26. It was for this task in particular that I picked up the Kapex and UG cart prior to the job, since I could quickly batch out perfectly sized elements for the moulding squares using the stops:
[attachthumb=6]
When I thought I was only doing the paneling behind the judges bench, I was going to use something a bit more substantial than astragal moulding, but ended up just going with it to keep costs reasonable. Even so, we bought out Boards and Beams of all its red oak astragal, so I got a few pieces in white oak -- I'll make a few moulding squares completely out of the white oak and position them such where there won't be too much of an aesthetic mismatch:
[attachthumb=7]
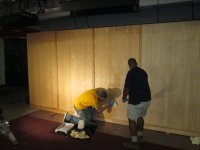
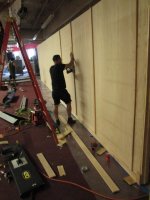
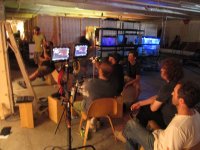
Starting on Saturday we were flooded with a bunch of extra labor, which was both a blessing and a curse. You don't really know at first what people's experience and competence level is, even after you ask them what they've done in the past, and so you sort of have to spend time testing people out and seeing what their skill sets are. It was rough going at first. To be honest, it's a bit unfair to hand someone the RO150 and give them a crash course in finish sanding, but I really had no choice at that point, since there was no way I was going to finish on my own, and the assistant I had been using was requisitioned for materials sourcing all weekend. It was kind of a site to behold. One guy I used was doing pretty well when I was looking over his shoulder -- I made him just sand the work table for a couple of minutes in Rotex mode to get a feel for how to balance the thing -- but after leaving for a while to attend to something else I came back to find him digging the edge of the pad down the full length of the board. So at the point I handed him for the ETS 150, and did the first two passes at 100 and 120 myself using the RO150, and handed him the boards to finish up using the ETS at 150 grit. He was great in other ways, though, since he did a marathon 4 hours of sanding all the wall panels of the courtroom.
I'll continue in the next post