Rob-GB
Member
- Joined
- Nov 7, 2009
- Messages
- 1,101
The fax came through Wednesday requesting a kitchen hatchway for a project nearing completion, the architects sketch raised a couple of questions, so a cad drawing was emailed back with them.
Fortunately my latest Festool order arrived late that afternoon, so on Thursday afternoon I got started on the panels using my new MFT/3.
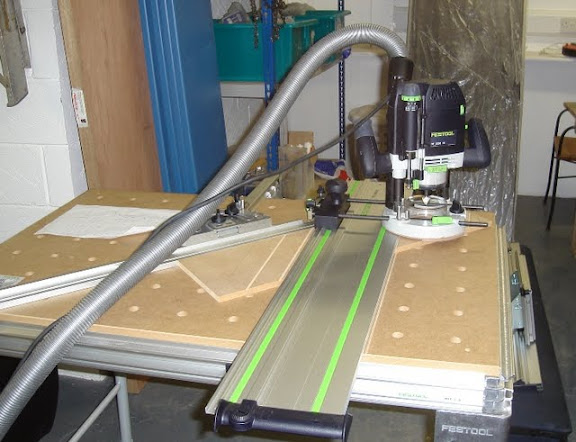
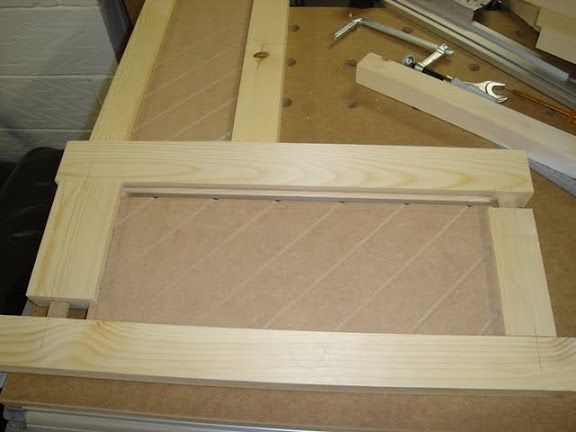
I made them oversize from 12mm MDF with the requested 6mm ?V? groove at 50mm centres.
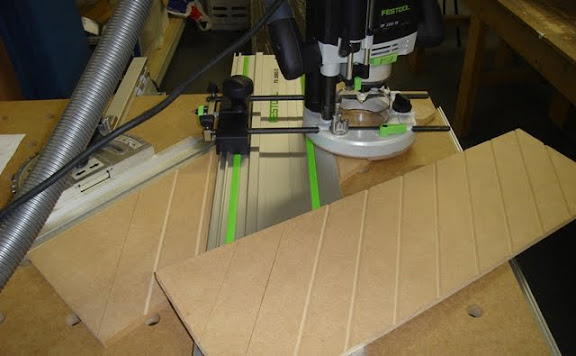
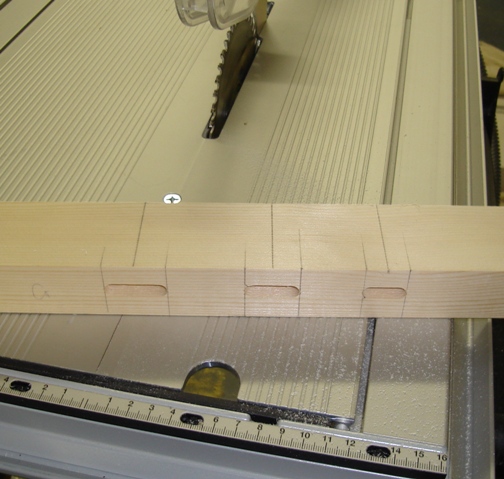
I then set up to route stopped and through grooves in the stiles and rails. I ran top and bottom rails in long lengths due to them being less the 150mm finish length, and then cut them to final size later.
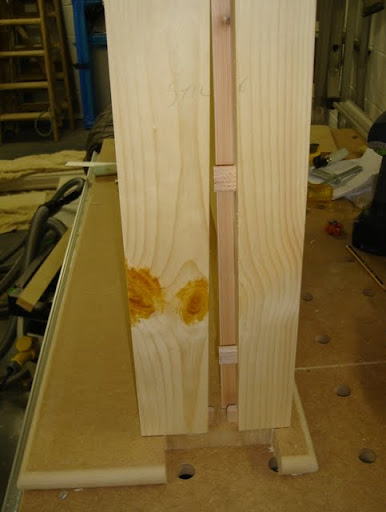
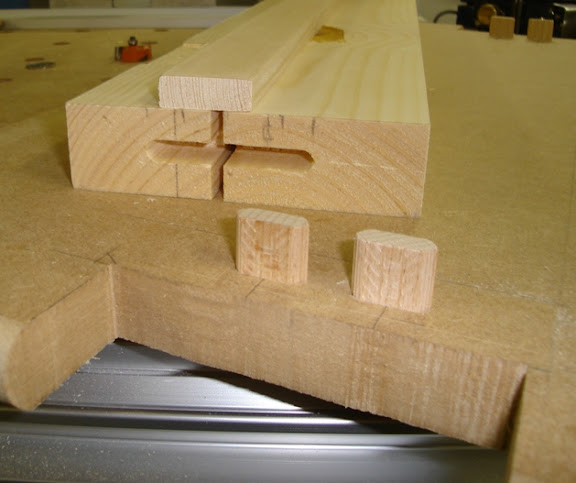
I squared up the stopped grooves with a chisel. The earlier questions were answered, so you can see that the bottom rail is wider than the top, the meeting/closing stiles are to be rebated so are wider than the hanging stiles.
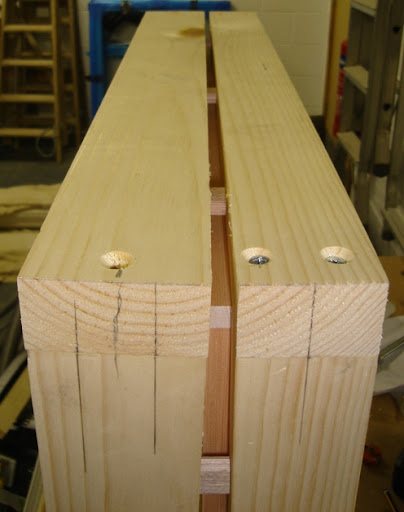
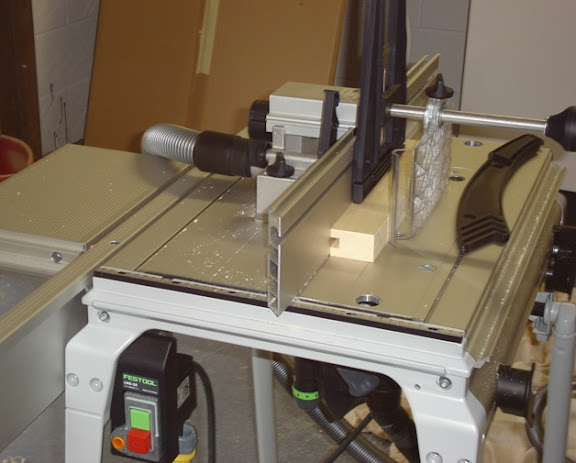
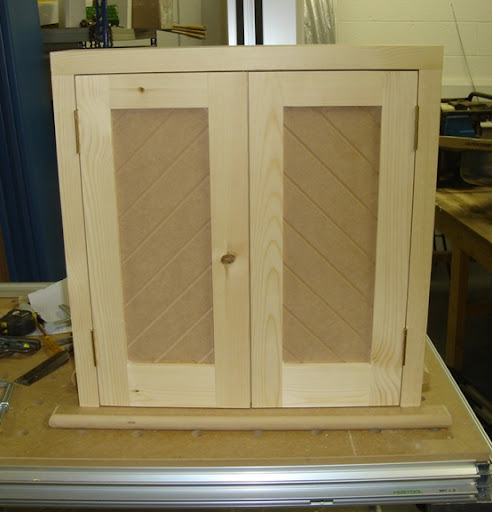
Being the first use of the Domino I approached it as I would my old Elu biscuit joiner and just marked the centre lines for the machine, the doors went together tight and square first time.
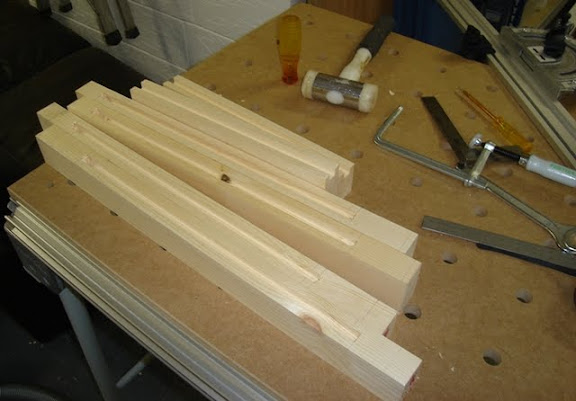
Close up of the joint.

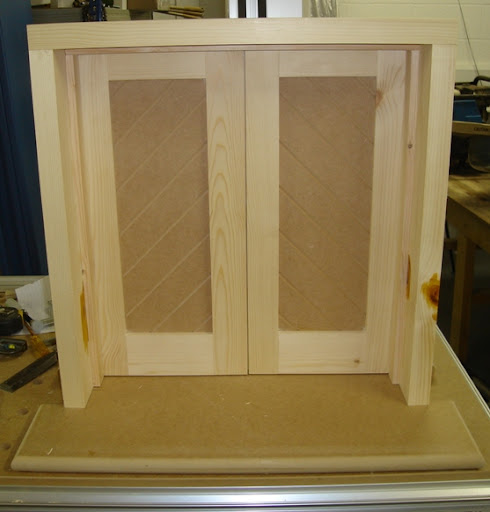
The lining was domino?d and screwed, the cill or serving shelf is domino?d but not screwed , dining room and kitchen views.
Fortunately my latest Festool order arrived late that afternoon, so on Thursday afternoon I got started on the panels using my new MFT/3.
I made them oversize from 12mm MDF with the requested 6mm ?V? groove at 50mm centres.
I then set up to route stopped and through grooves in the stiles and rails. I ran top and bottom rails in long lengths due to them being less the 150mm finish length, and then cut them to final size later.
I squared up the stopped grooves with a chisel. The earlier questions were answered, so you can see that the bottom rail is wider than the top, the meeting/closing stiles are to be rebated so are wider than the hanging stiles.
Being the first use of the Domino I approached it as I would my old Elu biscuit joiner and just marked the centre lines for the machine, the doors went together tight and square first time.
Close up of the joint.
The lining was domino?d and screwed, the cill or serving shelf is domino?d but not screwed , dining room and kitchen views.