Cheese
Member
tjbnwi said:Why do you feel cement board is better?
Order the heat cable about 10% less than the heated square footage (don't go more than 10% less).
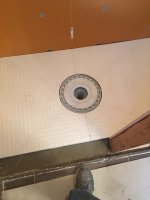
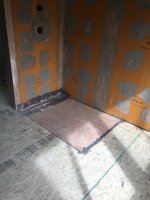
How are you doing the shower floor? Who's drain?
Don't skip the flood test.
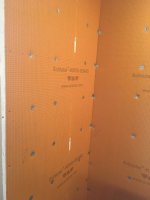
Hey Tom, I don't necessarily think cement board is better, rather I'm almost 70 years old and if this thing fails in 10 or 20 years I won't be a happy camper. At this rate, I'd rather touch each of these jobs only once and then go on to the next. If it costs a few hundred $$ more...so be it. Belt and suspenders. [big grin]
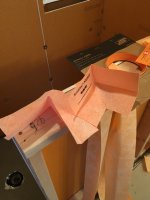
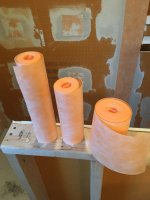
I've already laid out the heat cable on a CAD program...it's rather interesting because you have limited lengths of heat cable available and it cannot be cut to a different length. It helps to have a creative mind...
I've already installed a wall mounted vanity and a wall mounted Kohler toilet. Working around the 3 1/2" roof vent was a real PITA but well worth the effort. This makes it so easy to swab the floor, I should have done this 15 years ago. No more on your hands & knees stuff. Besides, with the in-floor heat the cats will love
 it.
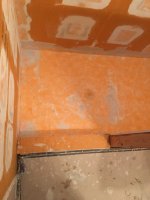
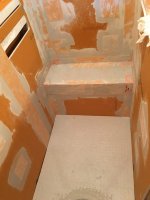
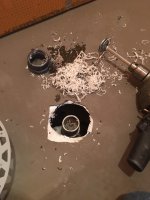
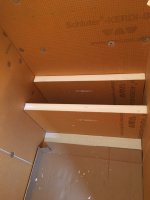
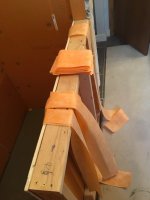
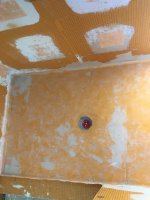
it.I'm cutting into the floor joists to get the needed pan depth. Then I'll be sistering in additional 2x10 members to support the structure properly.
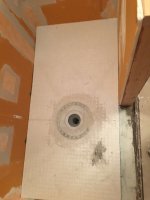
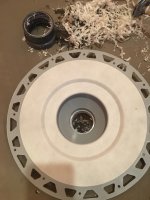
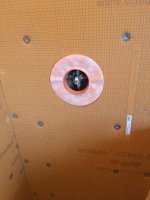
The drain will be the Schluter 4" square stainless version. I wanted to use their trench drain but the dimensions (drain pitch) just didn't work out.
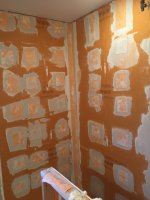
Thanks for the reminder on the flood test. [thumbs up] After I redid the shower plumbing, I decided not to install the cement board and just observe the new plumbing for a couple of days. I'm so glad I did, there weren't any leaks but its nice to know that...rather than sealing up the wall and then find water dripping from some where it's not supposed to.
")