Rick Herrick said:
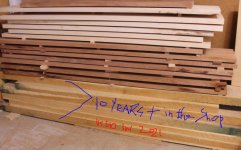
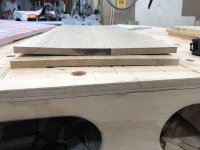
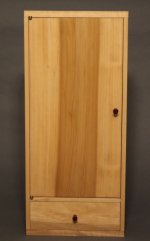
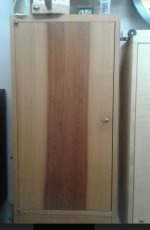
My forays into using more hardwood vs plywood has done me in once again. I am using hardwood panels for two dresser side panels (~ 27" x 12") and 6 drawer front panels. I did the side panel glue up a week ago and then planed them to 1/2" final thickness. Still haven't worked out other issues so I put them on a shelf. Just noticed today that have warped/cupped. One more than the other. Is this fixable ?
1. Did my glue up go bad and I didn't notice
2. Did I plane them down too soon after the glue up
3. Did I let them sit too long before doing something with them
Kind of worried they are no longer usable as is.
It's hard to say without more information about your workflow.
In general - wood moves because of tension, moisture, and expansion/contraction. In general, with flatsawn wood, wood cups away from the heart side.
If the wood is expanding more on one side than the other, this kind of cupping is a likely outcome. I'm guessing that this is what happened here. Maybe one of these applies?
1. A significant amount of material was taken off one face, only a very small amount taken off the other (or none). This could cause an uneven expansion/contraction of the material and lead to cupping.
2. After planing, the panels were placed flat on a surface and air didn't flow evenly across both faces. This could also lead to moisture being absorbed more on one face than the other. If one was stacked below the other one, it might have had less uneven absorption as the top panel have functioned like a buffer.
3. In theory, it's best to do a rough milling to within 1/8" of final dimensions, let the material rest on stickers for a day or even a week, and then do a final milling to get it to the finished thickness/width.
One thing I've done that seems to work well is to place any panels in a thick contractors bag and remove as much air from it as possible before closing the bag. That essentially minimizes outside moisture from getting to the panel and seems to keep them flat. However, now you pull the panel out and it is potentially exposed to new ambient humidity than where it started off, so it's best to do that only when you're sure you're going to be able to either apply a finish soon after or if your going to attach it to something.

 you really don’t what you are starting with without measuring it yourself.