luvmytoolz
Member
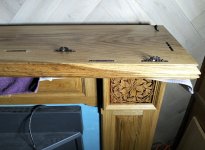
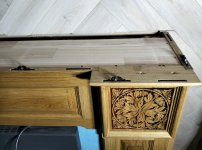
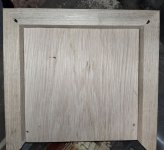
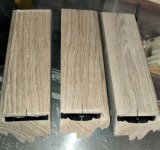
I've been working on a pretty large oak mantel and I'm on the home stretch now. Having the Zeta to install the Tenso connectors really makes a difficult fixing job easy!
Apart from using the Domino or biscuit joiner to actually glue the top would have been the only realistic way to affix the top, other than a horribly complex sliding dovetail arrangement I guess. I don't really know if it matters at all, but it seemed to make sense to alternate the connectors.
This way I can do test fits, and pull it apart easily, as I need to build up a layer of mortar on the cement sheet to move the gas log fire an inch forward, to deflect the rising heat further from the timber. Once it's all done and I'm happy, I can then glue all the Tenso slots and fit the top, weighing it down to be safe while the glue dries. Then it's all solid as a rock! I freakin love this Zeta, such a brilliant tool![attachimg=1][attachimg=2]