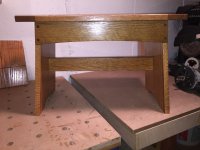
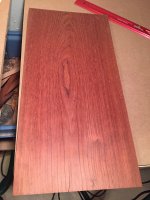
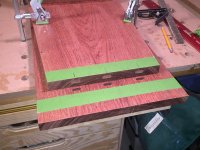
Sorry Tom, it was late when I finished up last night and I wasn't able to grab any photos. I'm in the process of making a small bench similar to the one pictured in oak (26" long x 12" wide x 16" high). The bubinga I have has some tearout that I'm trying to address, and I wasn't having much luck last night.
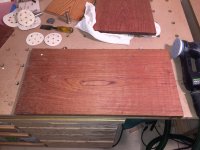
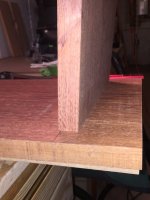
Tonights effort required 45 minutes of sanding with a 5" random orbital using 2 disks of 100 grit before I went to finer grit, and that seemed to work. Although most folks refrain from tipping the sander, shallow tipping seemed to be an approach that worked for some of the trouble spots. Once I reached 180, I drilled pocket-holes to attach the legs (cut at a 6 degree angle) to the top, the same as the oak bench. I quit tonight after snapping two pocket screws that wouldn't go the full way into the top. I was almost home with one that I drilled a pilot hole for, but another quarter turn and it gave out.
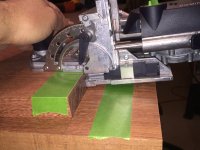
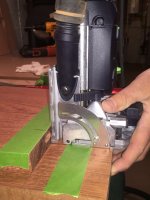
I'll try using the Domino after testing on joining some offcuts, but I imagine my bit will never be the same. It was just so much quicker with the oak version, again, based on the 6 degree cuts for the legs.