Well, here is what I just finished. As a photographer, you can never have too many of these. Here is the progression consolidated into 9 images. I used the following Festool tools:
- TS 75
- CMS-VL (for edge jointing and rabbeting)
- OF 1400 (in the CMS and handheld to route the bead and cove)
- Domino DF 500 using 8x50mm Dominos
- ETS 150/3
- ETS 125
- Granat D150 and D125 starting with P40 through 320
- Pocket Stickfix and assorted Brilliant
- CT 26
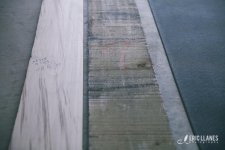
Lumber! (The Oak will be used for a later project)
[attachimg=#]
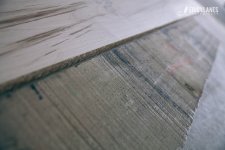
Planed on one face
[attachimg=#]
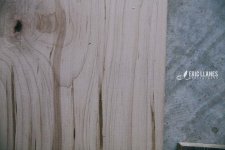
Planed on second face
[attachimg=#]
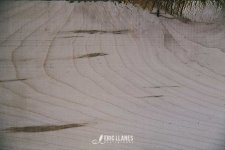
Sanded w/ D150 P80
[attachimg=#]
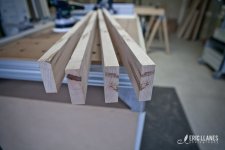
Ripped, cut to length and jointed
[attachimg=#]
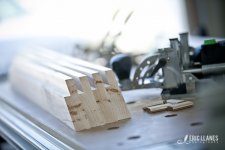
Rabbets, mitered and a little Domino planing
[attachimg=#]
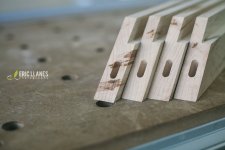
Dominos Cut
[attachimg=#]
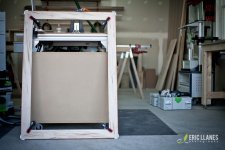
Clamping of the frame
[attachimg=#]
Studio Time!
[attachimg=#]
Cheers,
Eric
- TS 75
- CMS-VL (for edge jointing and rabbeting)
- OF 1400 (in the CMS and handheld to route the bead and cove)
- Domino DF 500 using 8x50mm Dominos
- ETS 150/3
- ETS 125
- Granat D150 and D125 starting with P40 through 320
- Pocket Stickfix and assorted Brilliant
- CT 26
Lumber! (The Oak will be used for a later project)
[attachimg=#]
Planed on one face
[attachimg=#]
Planed on second face
[attachimg=#]
Sanded w/ D150 P80
[attachimg=#]
Ripped, cut to length and jointed
[attachimg=#]
Rabbets, mitered and a little Domino planing
[attachimg=#]
Dominos Cut
[attachimg=#]
Clamping of the frame
[attachimg=#]
Studio Time!
[attachimg=#]
Cheers,
Eric
Attachments
-
 IMG_0640.jpg89.5 KB · Views: 1,537
 -
 IMG_0663.jpg75.8 KB · Views: 1,536
 -
 IMG_0667.jpg80.2 KB · Views: 1,551
 -
 IMG_0672.jpg89.6 KB · Views: 1,530
 -
 IMG_0706.jpg81.3 KB · Views: 1,531
 -
 IMG_1212.jpg89.5 KB · Views: 1,521
 -
 IMG_1215.jpg82.4 KB · Views: 1,528
 -
 IMG_1234.jpg80.2 KB · Views: 1,544
 -
 IMG_1312.jpg68.3 KB · Views: 1,556
") .
.