I finally got my MFT set up this past weekend and I’m having less than great results getting consistently square cuts.
I initially set it up using the Sedge method as follows:
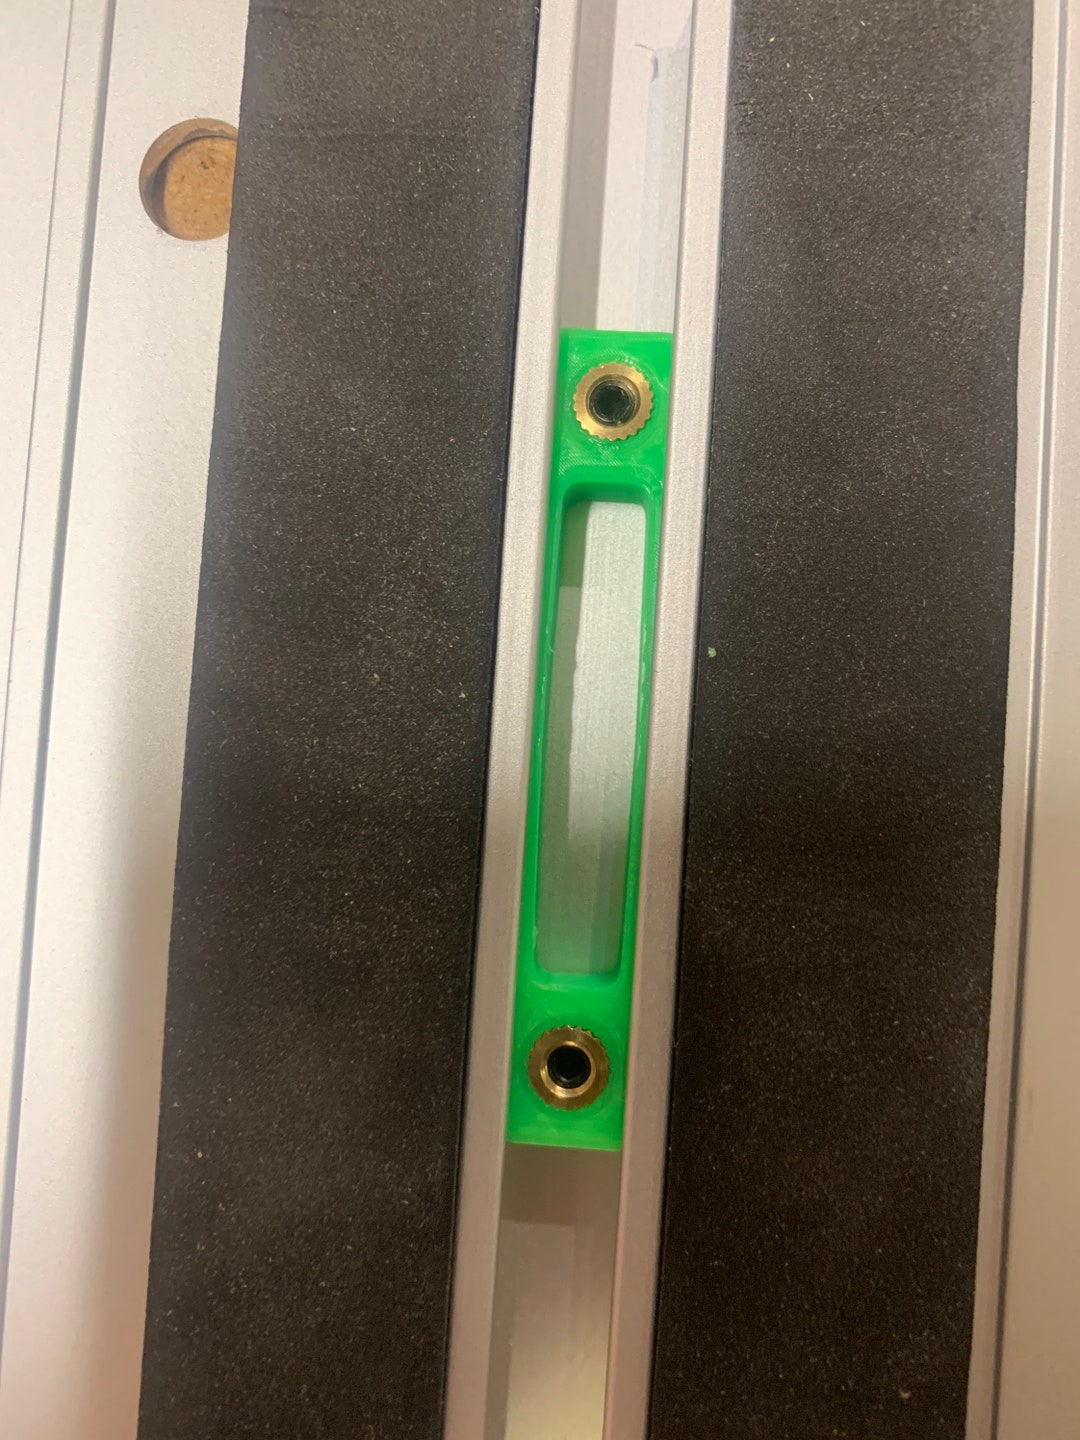
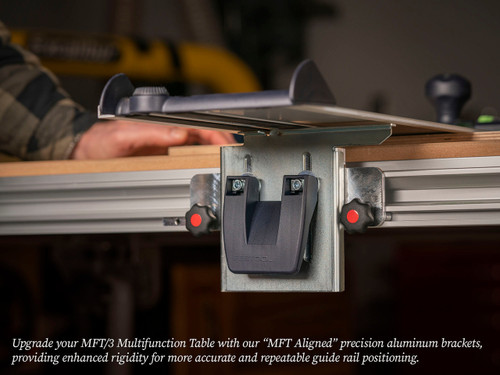
1. Pushed both track brackets against the stops as they came out of the box
2. Locked down brackets and laid track down across table
3. Loosened the two Allen screws on the protractor and aligned the guide rail using an 8x12 square
4. Locked down guide rail and tightened Allen screws
5. Rechecked squareness
6. raised track to working height to make a test cut
What I am seeing right now are two things:
- When I change the height of the track and relock the brackets, I seem to lose squareness. Is this to be expected?
- Even if I resquare the track at the working height, I am getting deviations of up to 1/16” over longer cuts. I think I’m being careful to make sure the track is engaging the alignment pin and that I’m lining the workpiece up against the guide rail, but maybe I need to be more so?
I’m not getting complete garbage results and have been able to get some good cuts but it’s just not as consistent as I hoped.
Is the point of this mainly to help you whip out panels for cabinet bodies and 1/16” over two feet is good enough for that? Or can I improve my technique?
I initially set it up using the Sedge method as follows:
1. Pushed both track brackets against the stops as they came out of the box
2. Locked down brackets and laid track down across table
3. Loosened the two Allen screws on the protractor and aligned the guide rail using an 8x12 square
4. Locked down guide rail and tightened Allen screws
5. Rechecked squareness
6. raised track to working height to make a test cut
What I am seeing right now are two things:
- When I change the height of the track and relock the brackets, I seem to lose squareness. Is this to be expected?
- Even if I resquare the track at the working height, I am getting deviations of up to 1/16” over longer cuts. I think I’m being careful to make sure the track is engaging the alignment pin and that I’m lining the workpiece up against the guide rail, but maybe I need to be more so?
I’m not getting complete garbage results and have been able to get some good cuts but it’s just not as consistent as I hoped.
Is the point of this mainly to help you whip out panels for cabinet bodies and 1/16” over two feet is good enough for that? Or can I improve my technique?


")


