DIY WoodWerx
Member
- Joined
- Mar 31, 2017
- Messages
- 180
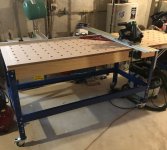
OXCanada said:Very nice, looks great! Did you use a double thick layer for your top?
icecactus said:Awesome bench!
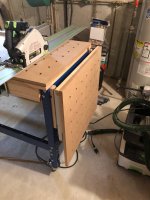
Any more pics of how you did the festool track support brackets in the rear?
I got the folding bracket from my local Home Depot. I believe the brand is Knape & Vogtkevins007 said:Nice work. Can you please tell me where to got the folding arm from?
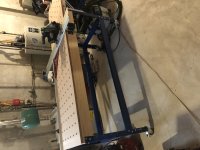
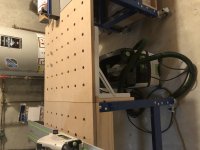
reelbusy said:Hi , nice project (and my first post), i used this for inspiration with an old rockler stand i had sitting around. Pretty rough state atm but underneath i put a rail in center and on the backside you can't see sit's a surface planer on a shelf so there is longer infeed outfeed, and the front 1/2 is left open for systainers to roll under (quick and dirty caster base for now), eventually i'd like that to be a unit that rolls out with drawer slides to double as sys storage as well as extra work surface.
I've been sitting here thinking how i was going to mount the hinge and remembered your post.
This may be a dumb question but how is the hinge bracket mounted just screwed in since it has a tab on back? did you cut it off
or dado your apron or something? maybe i'm missing it.
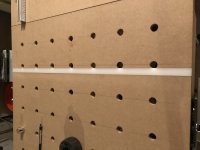
I was thinking what i'll do is those small holes on the apron are tnuts, so i may just dado a scrap 3/4 piece so the hinge fits flush
and screw it to that, then tnut the 3/4 in so it's removable. I've seen fancier rail setups but this is a budget build aka cheap track saws,etc...i mainly use tablesaws but had to downgrade that too to a contractor saw to save garage space.
View attachment 1
Thanks!
WoodworkTech said:For the brackets, I removed the metal hook and cut off the plastic tabs. Then just screwed the black plastic directly onto the wood.

")