tjbnwi
Member
- Joined
- May 12, 2008
- Messages
- 7,166
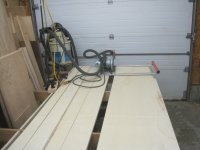
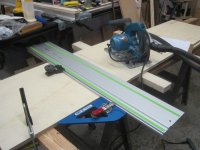
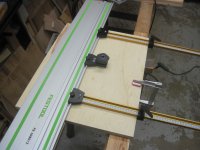
glass1 said:It’s clear as day on the tso website in the picture that is $325. The stops are at either end. Just saying that it’s harder to put on and take off when it’s not just place on top like the Seneca set up.
Yes, they are at the ends. Now I understand your first question and I believe I answered it correctly.
Tom
")