I've been meaning to share this here for sometime but keep forgetting. I have to say I actually stowed my favorite Festool for this job, the domino and used only real m+t. The bed isn't actually finished as I haven't put the Osmo Poly X on it all yet. But other than that it is.
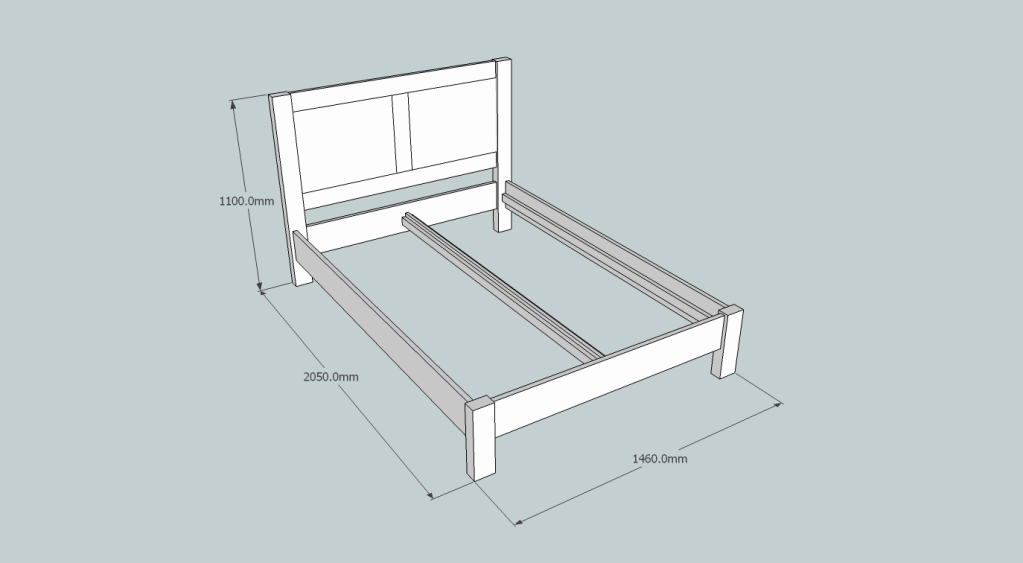
The intial design:
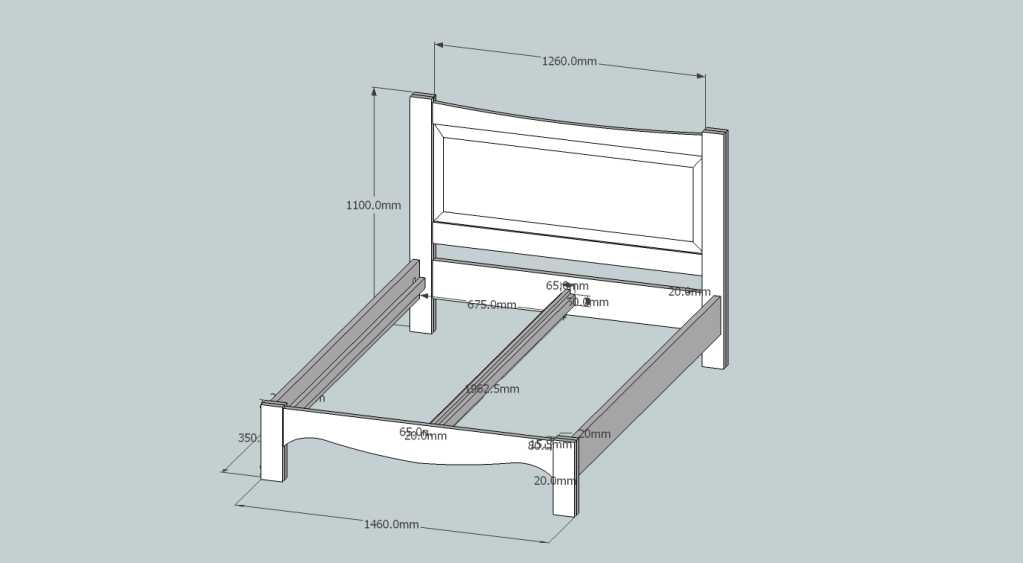
Which I changed a little as I discovered what nice wood I had for the headboard and added some curves for interest.
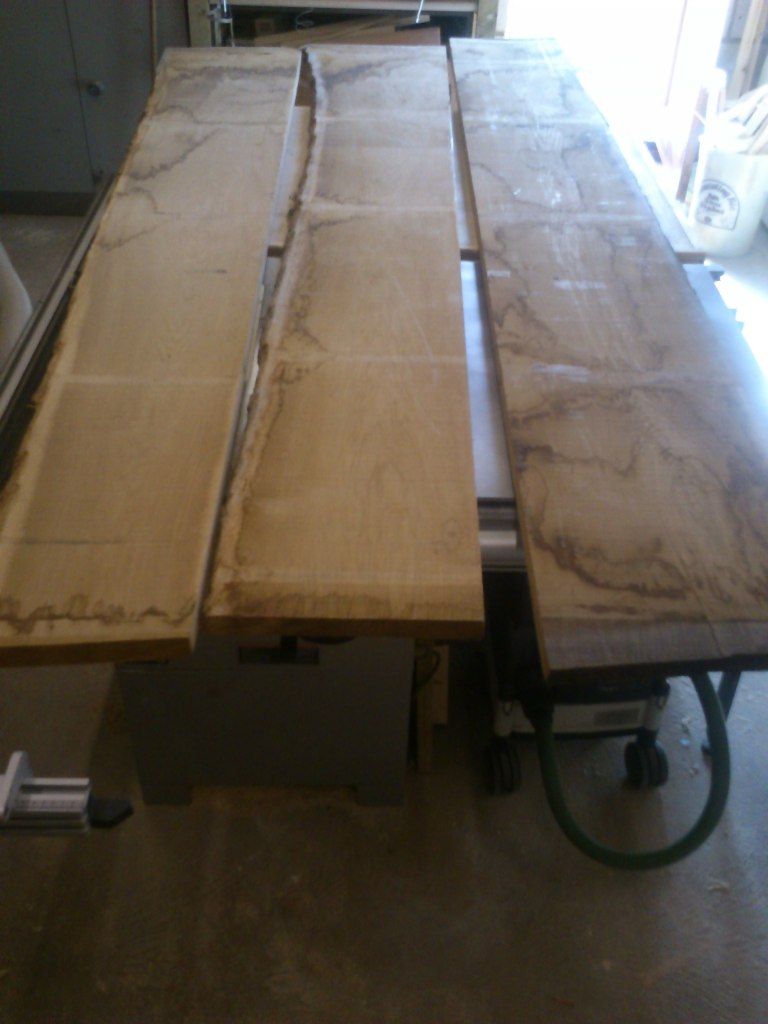
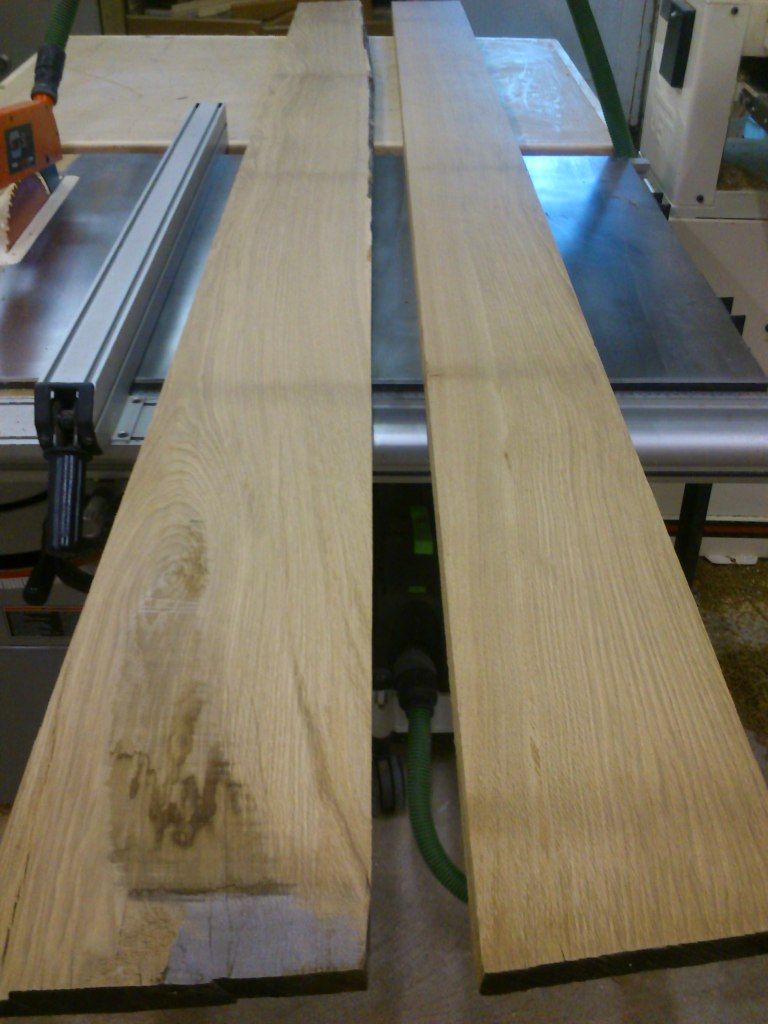
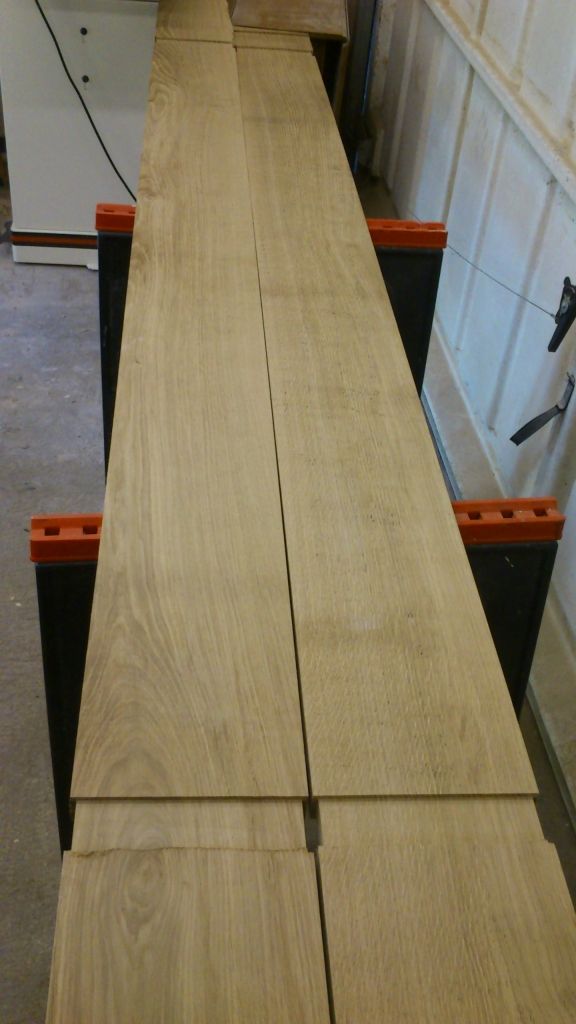
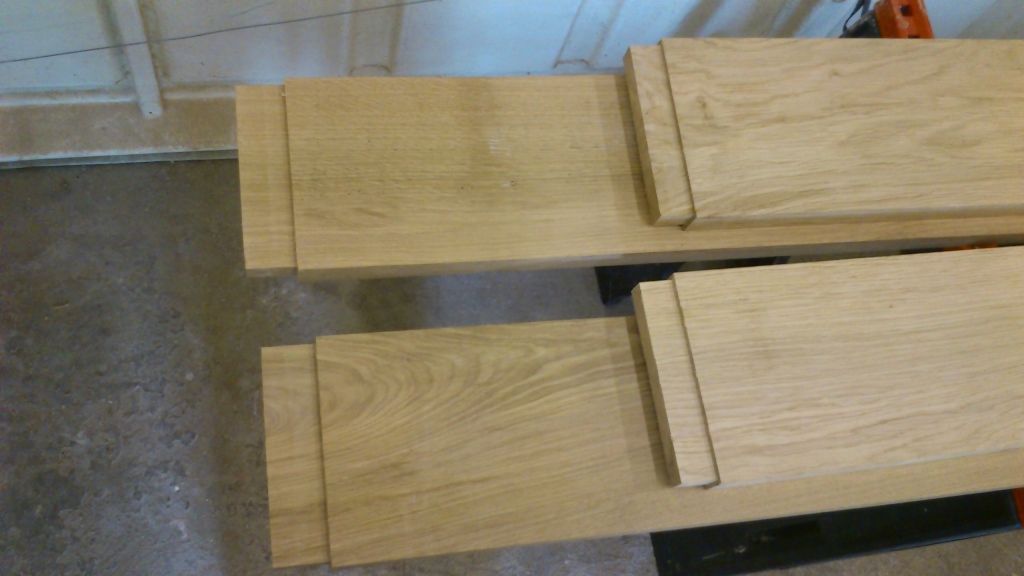
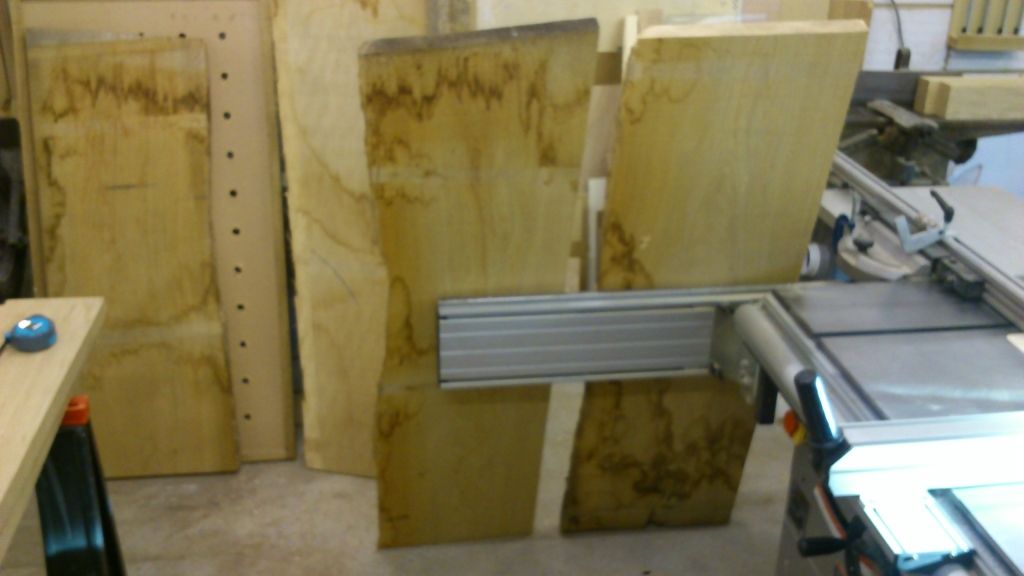
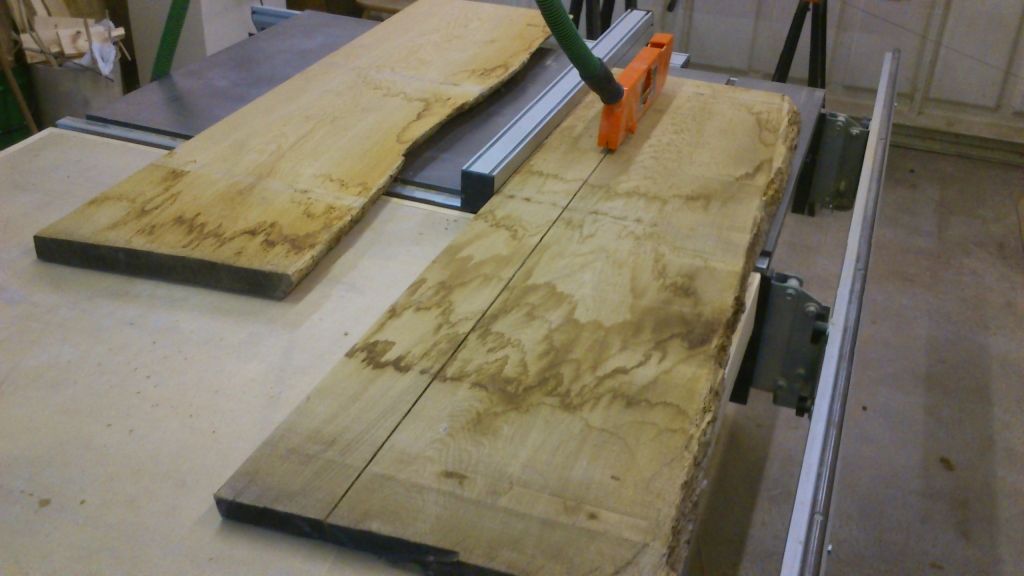
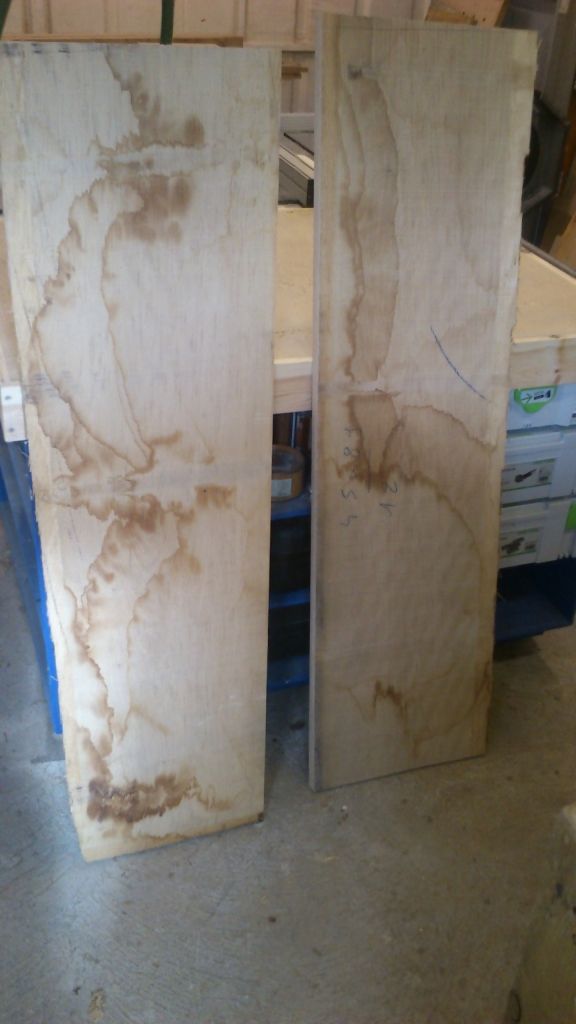
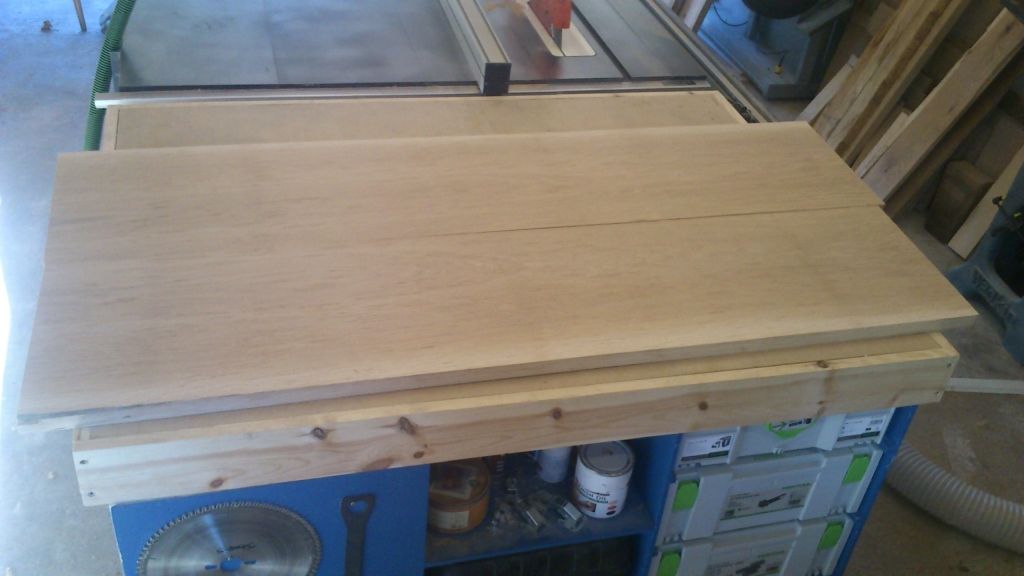
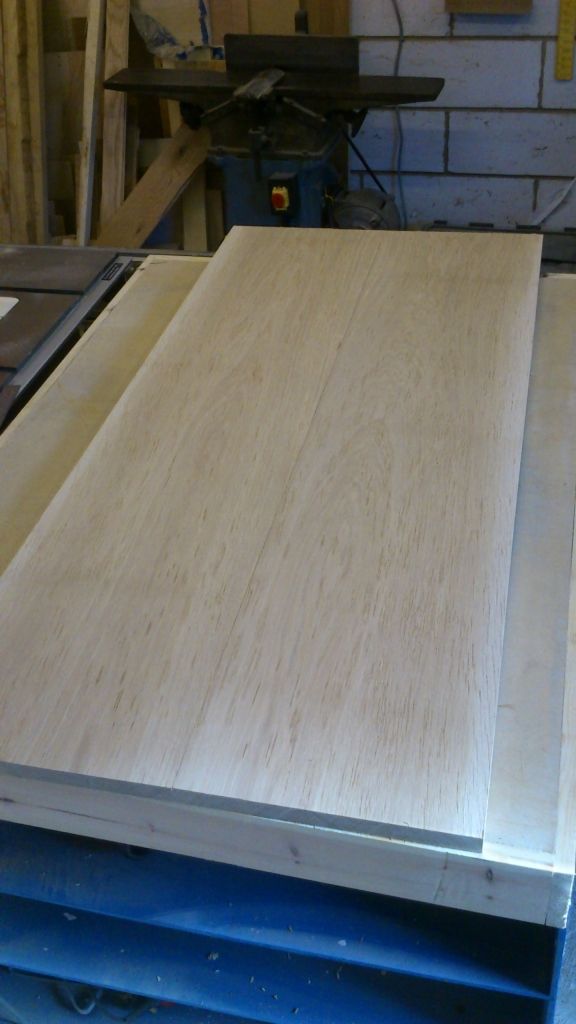
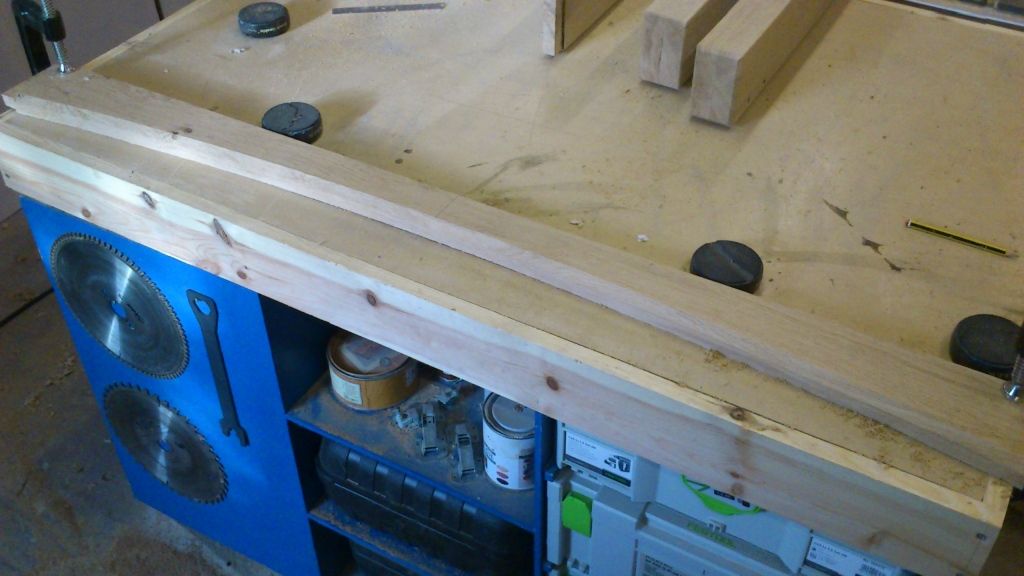
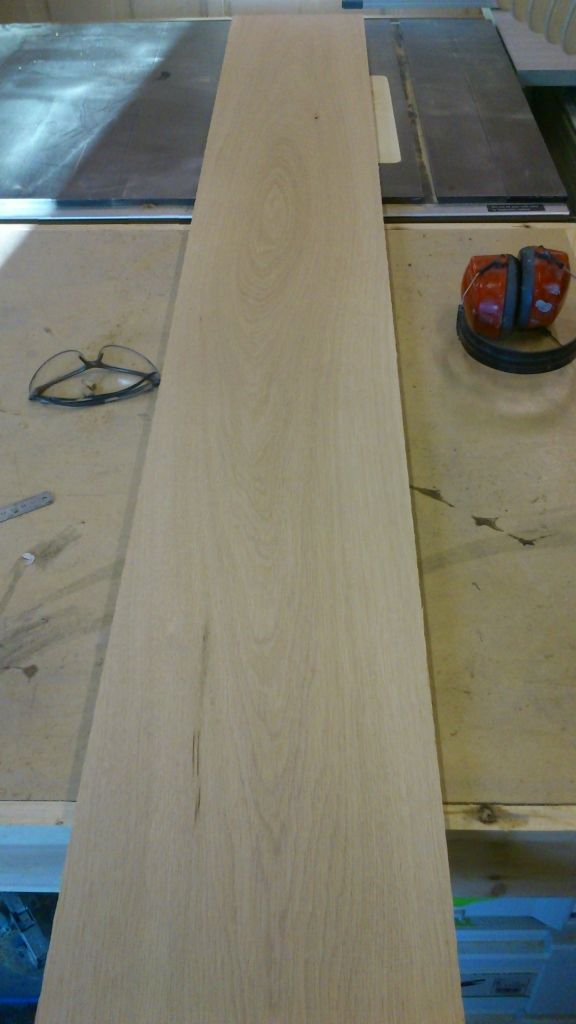
They don't look like much but a huge amount of oak, to give you an idea of scale, my outfeed and table saw make up the footprint of a queen sized bed. The board on the right is 15 inches wide. I will get the two long rails from that board.
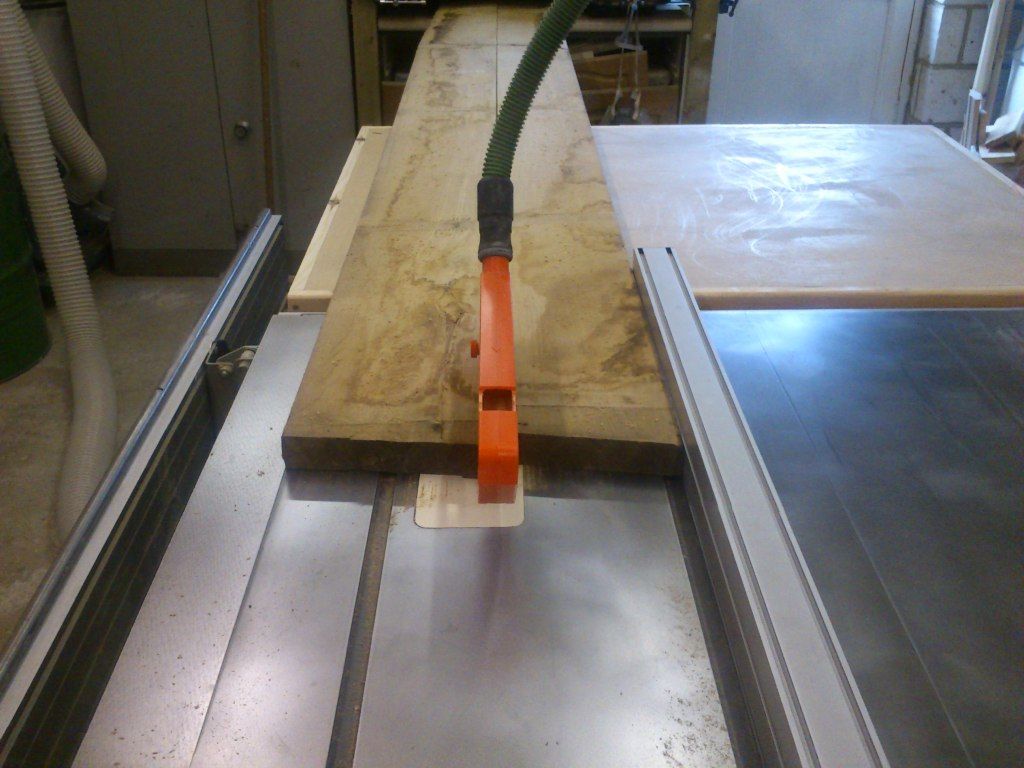
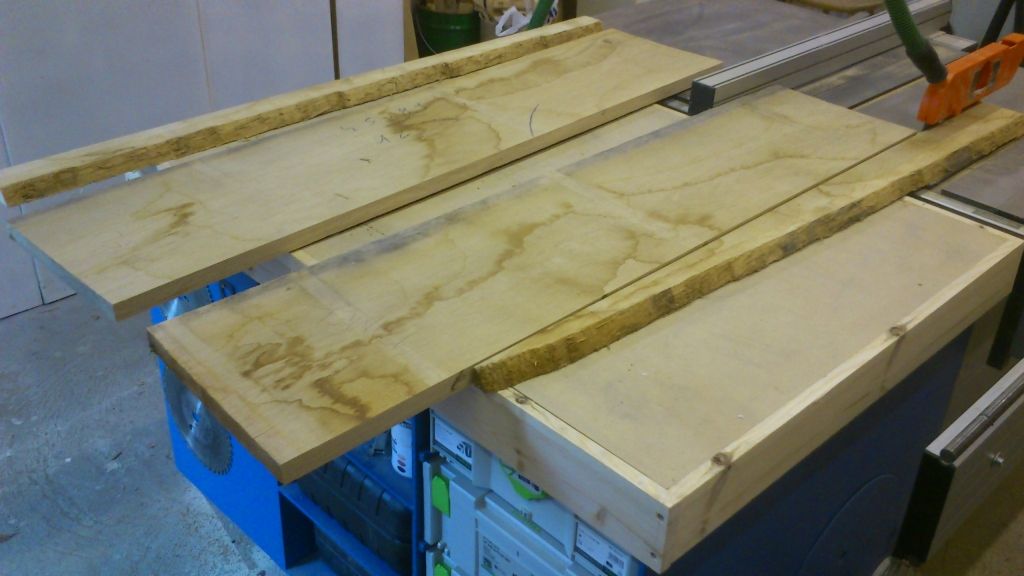
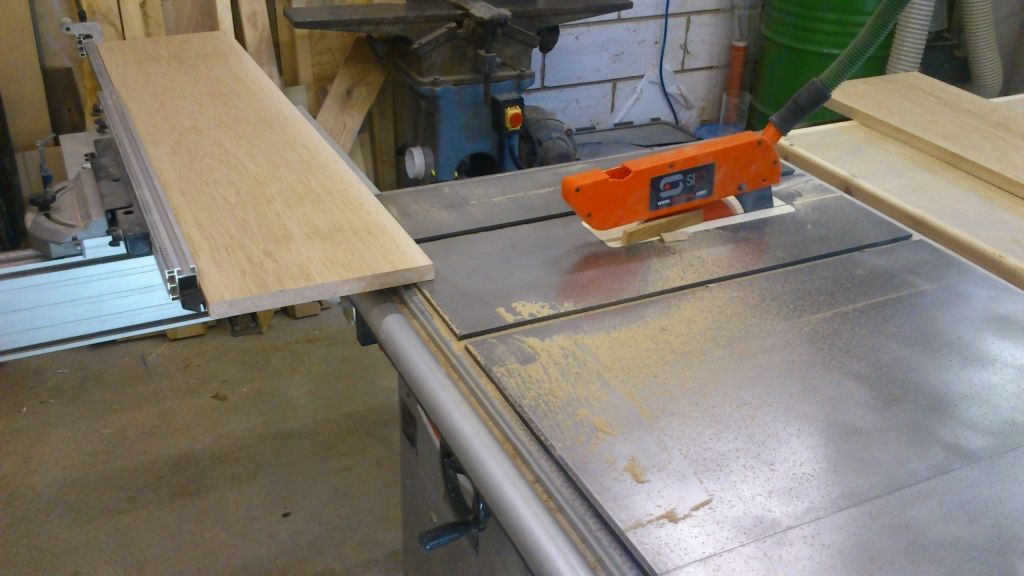
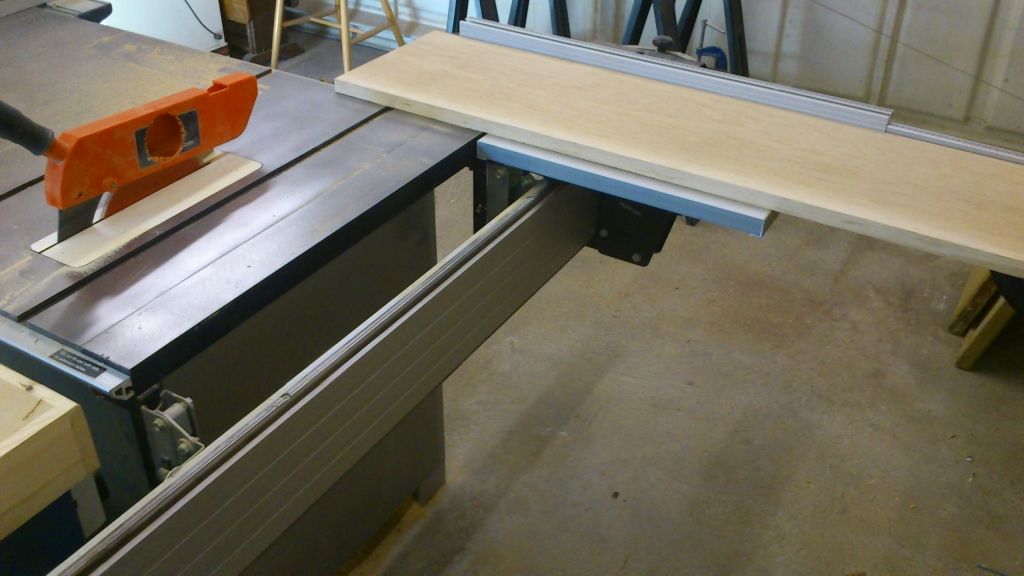
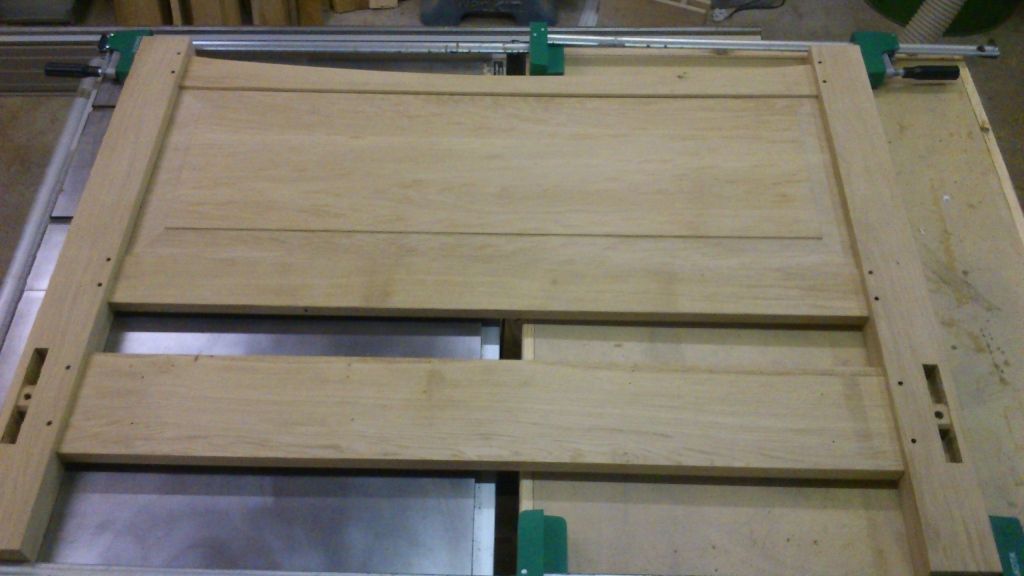
Ripping it down, the finished rails will be 180mm wide. So I'm not leaviny myself much breathing space to get both rails from this board.
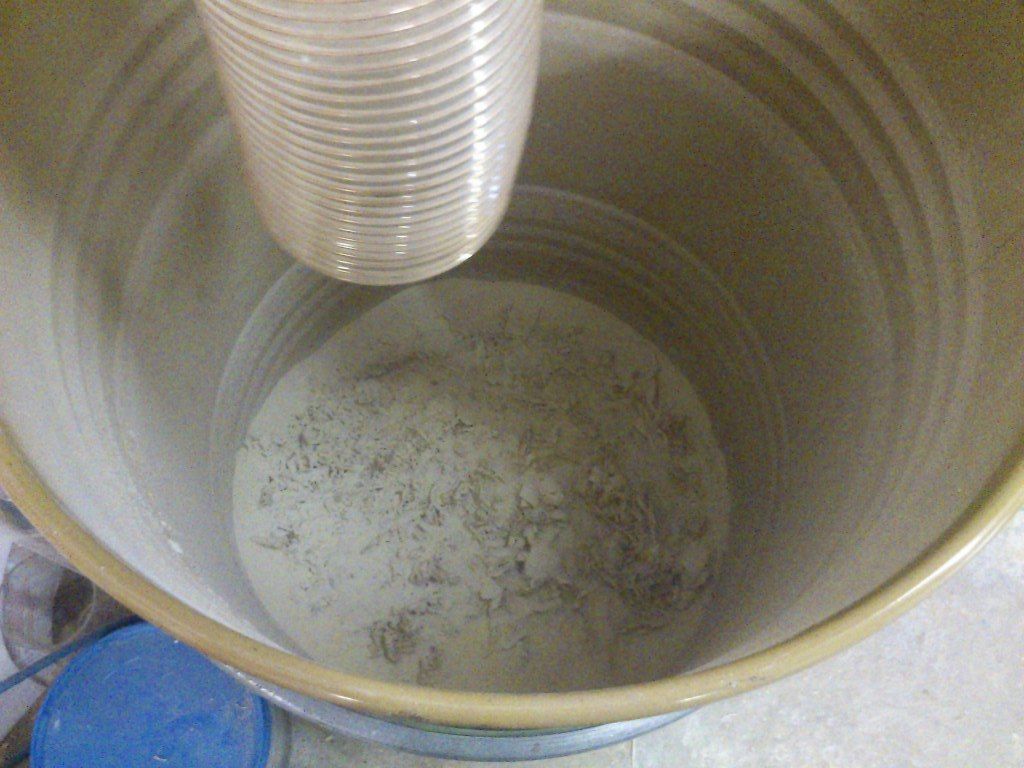
This is the bin of my Cyclone at the start of the project, after I've planned this down I'll get another shot. I'm amazed at how quickly you can fill 207 litres with waste.
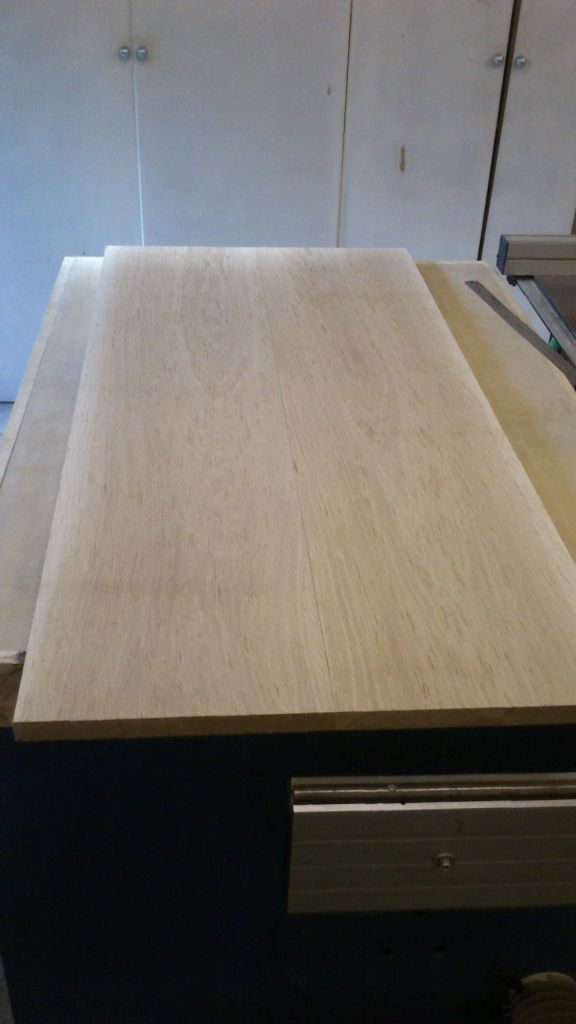
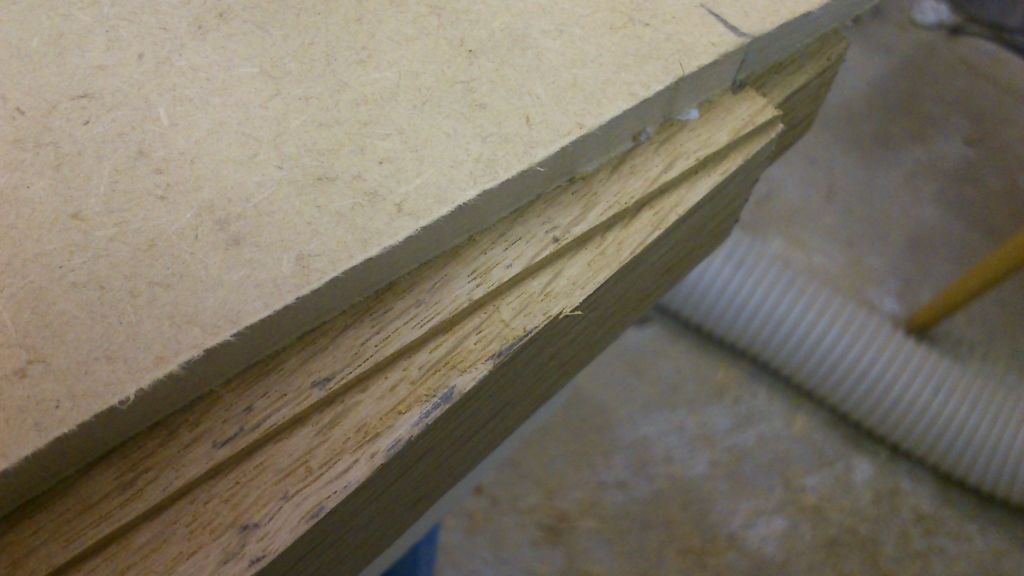
Big check on this end that'll get trimmed off.
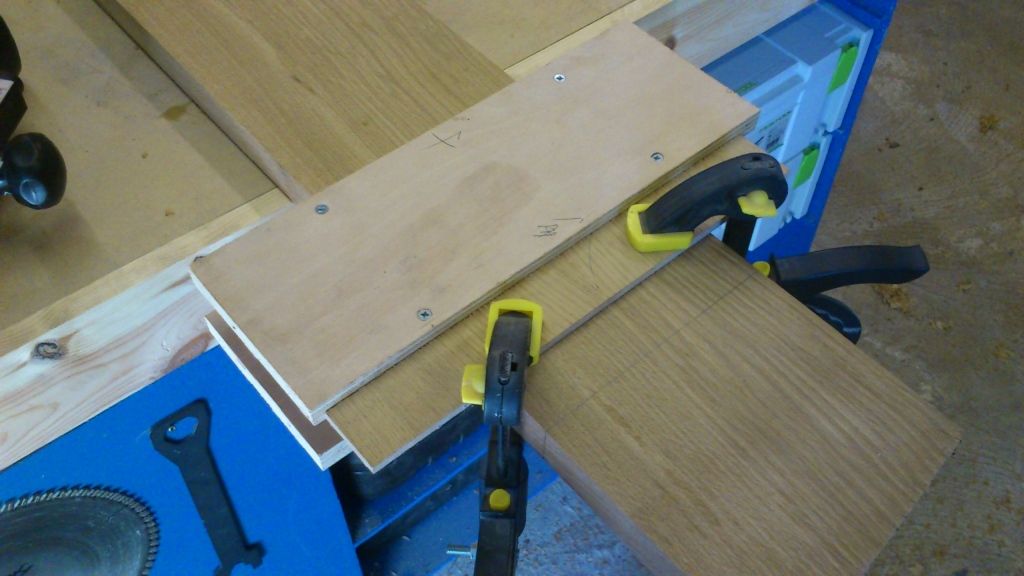
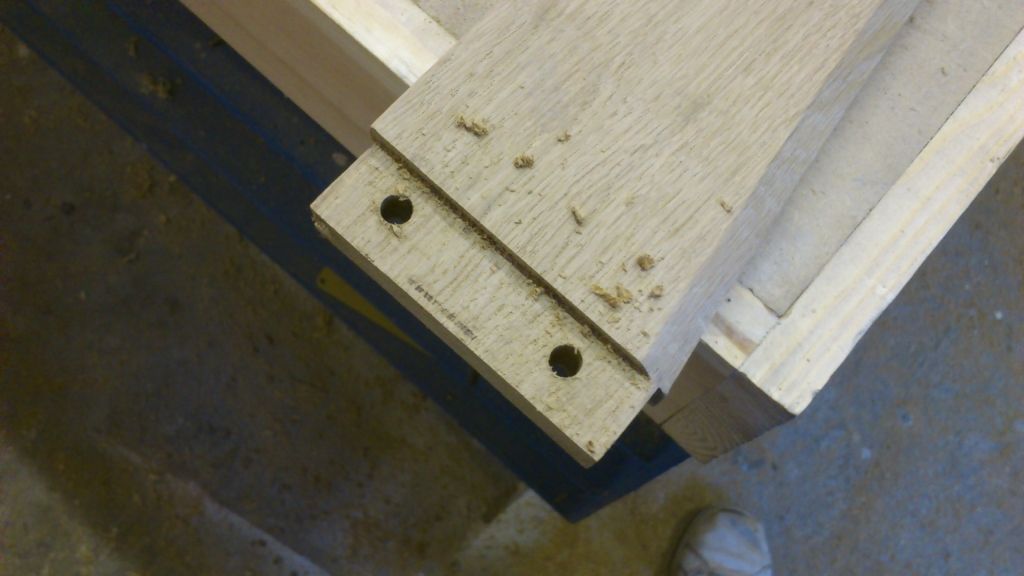
After a few days break I got back to it today. Started on my tenons, made a little jig that screws onto the back side of the rails and cut a little offset exactly for the router base and 20mm bit I was using. Then just flip the workpiece and keep routing. I've taken off 5.5mm off each rail to result in a 20mm thick tennon.
The jig, 12mm ply.
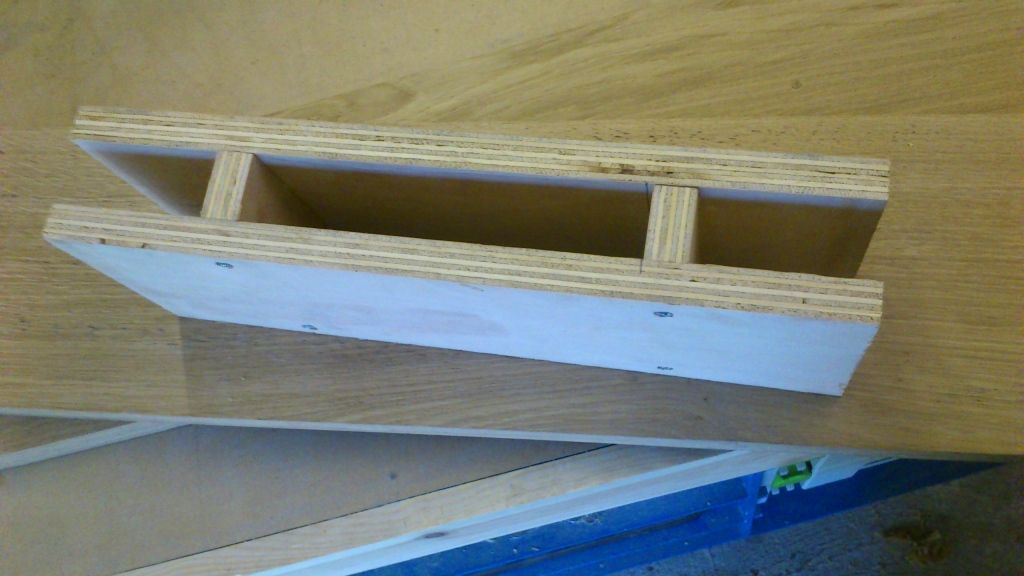
Slips over the rails:
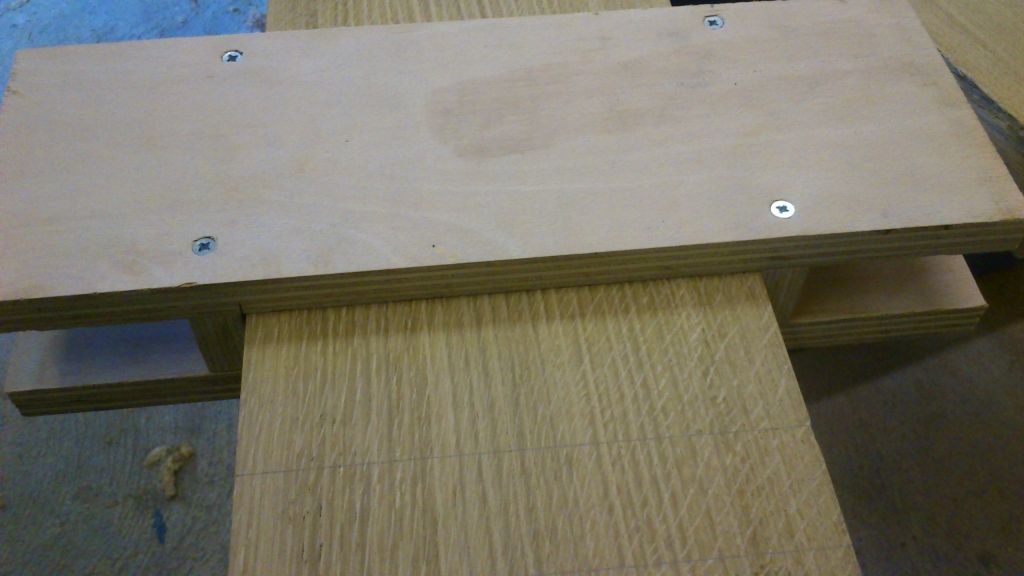
Using the spacer to get it the right distance from my layout lines.
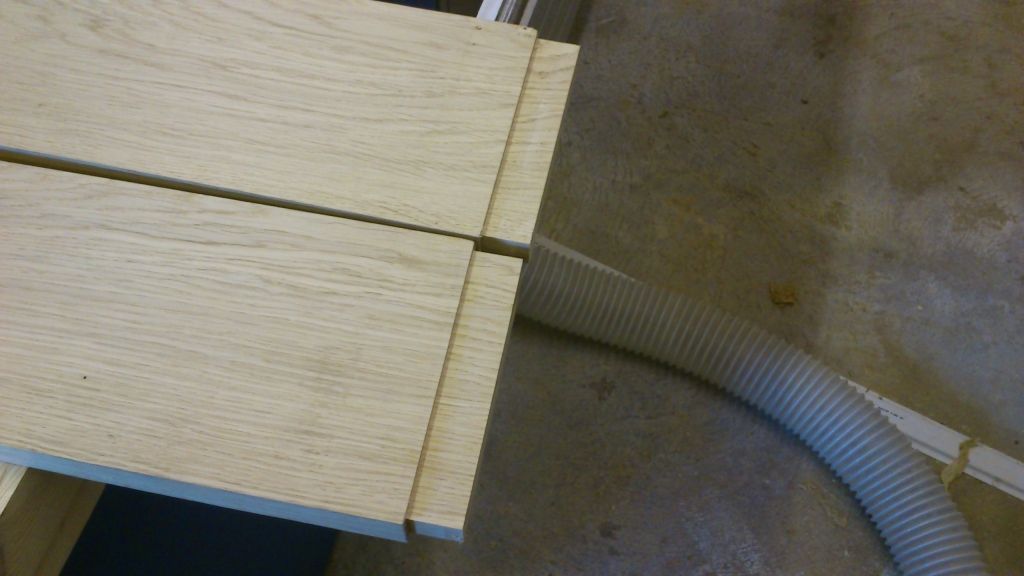
Soooo clean.
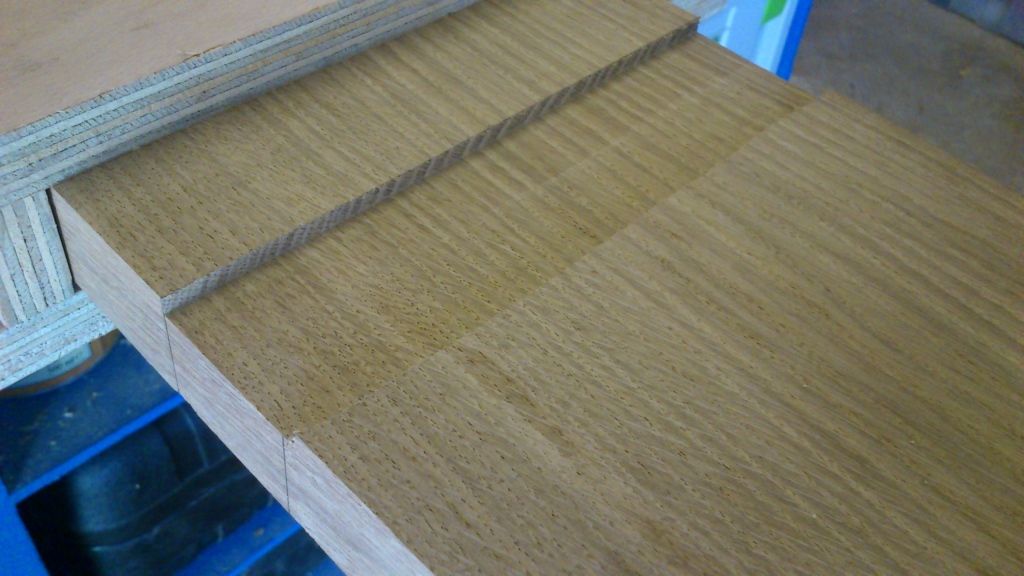
Keep turning the workpiece:
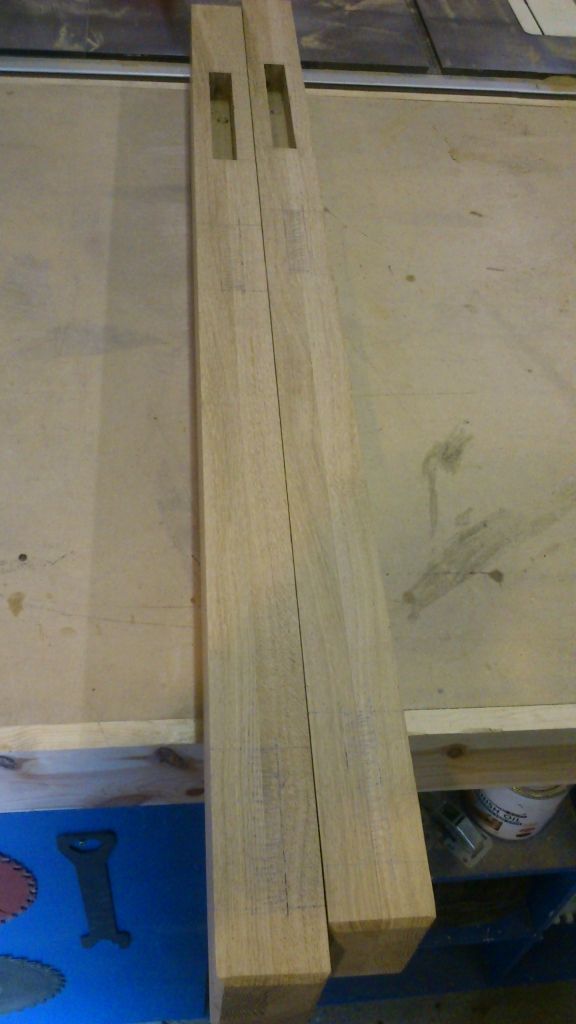
Really quickly got lovely tennons, I always knew I'd do it with the router as they are to big to go on the saw. So left all the waste wood on the ends to provide support for the router.

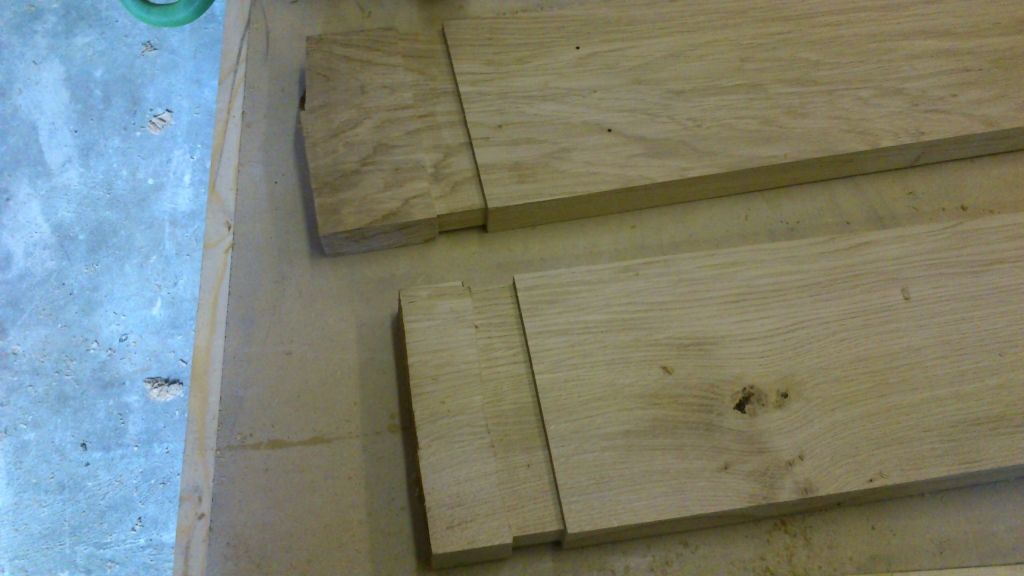
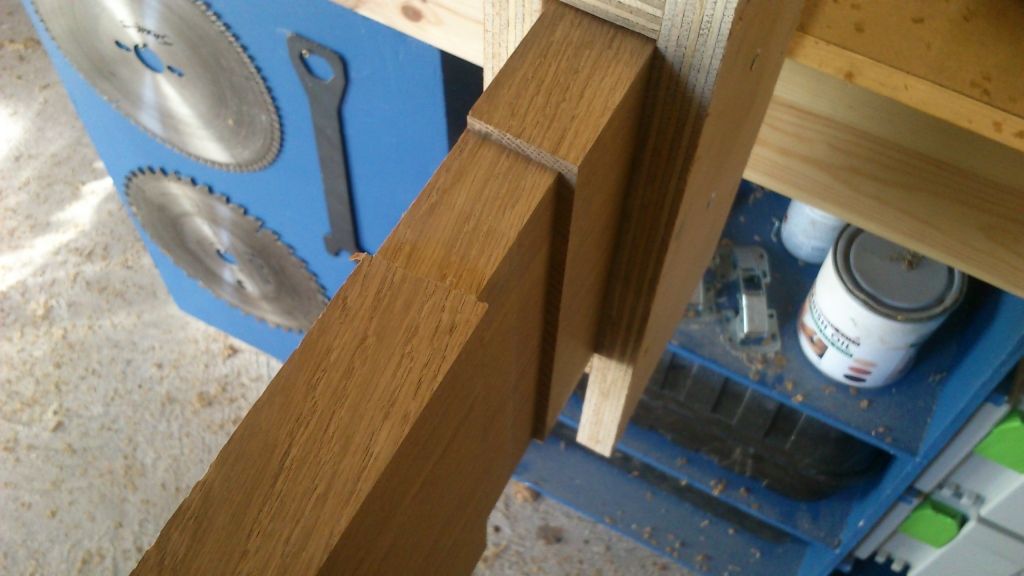
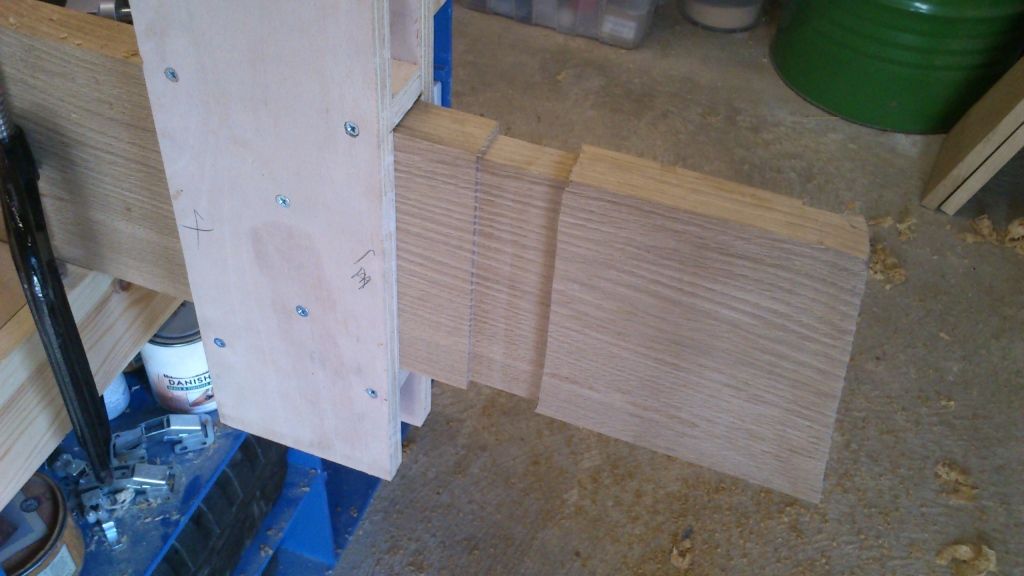
Then trim off to give 30mm tennons on the small rails and 40mm on the long rails.
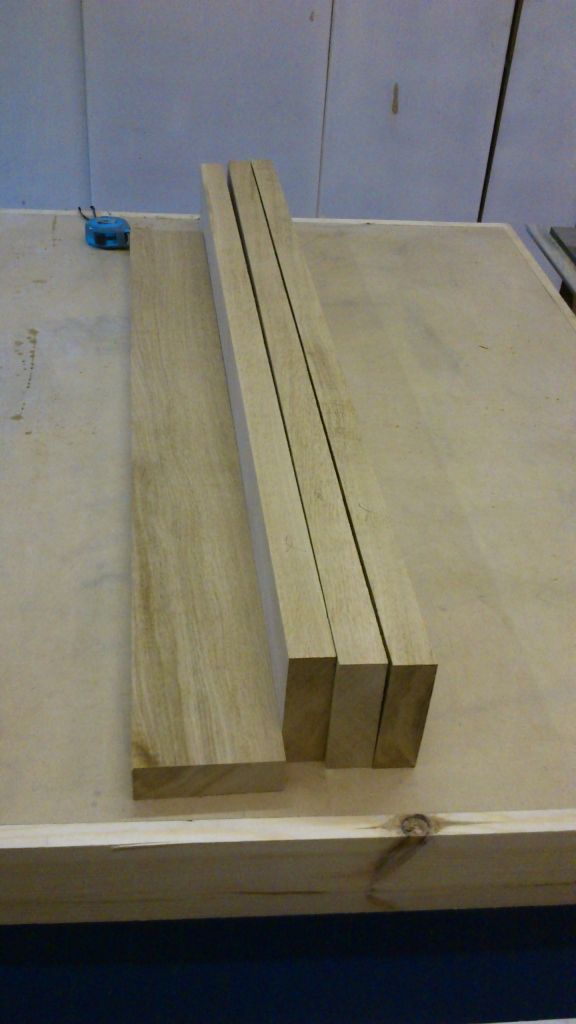
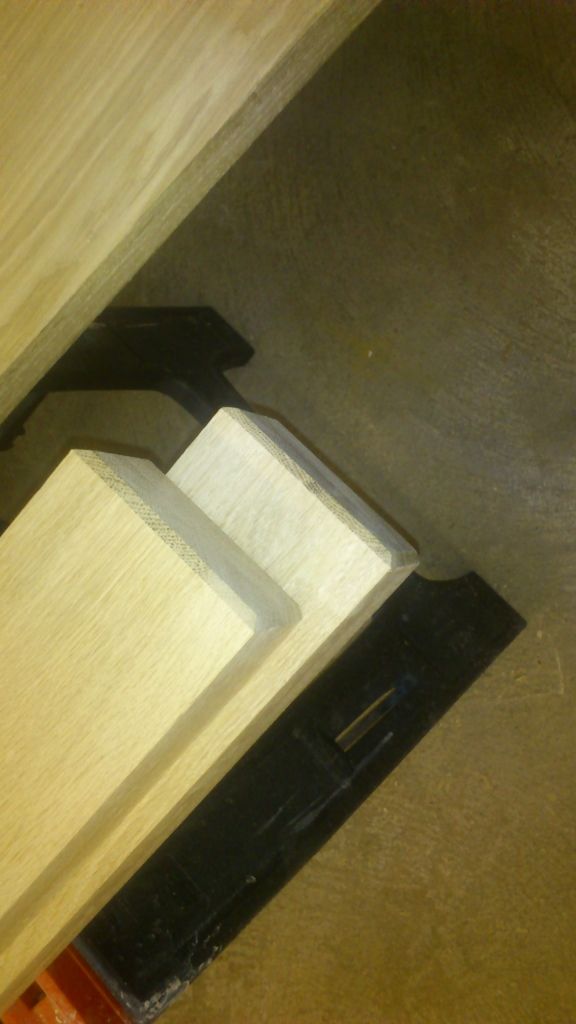
Making a start on the small end legs. These need to be 60mm thick so laminating two 30mm pieces. Cut from the same board to hopefully get the best grain match.
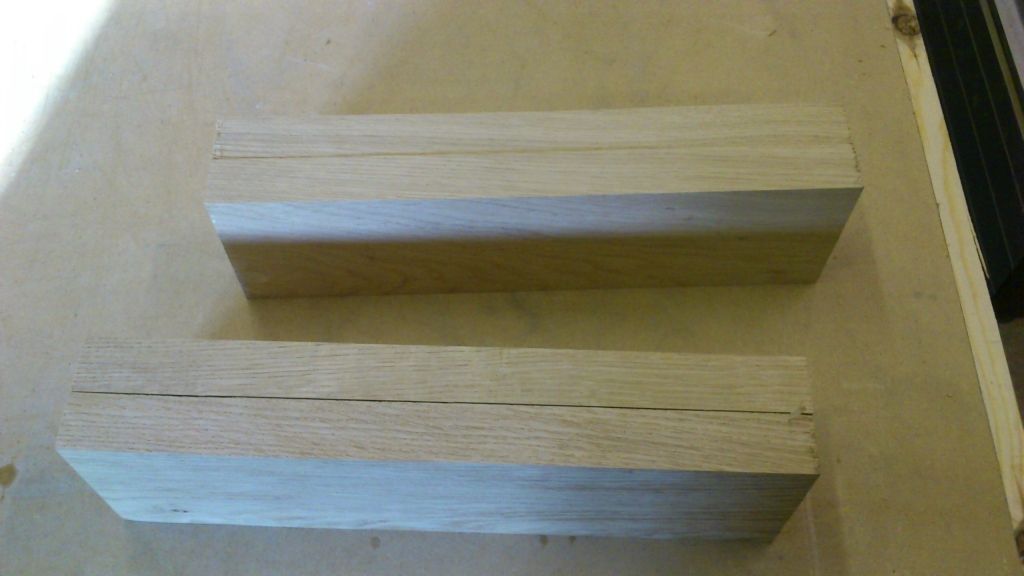
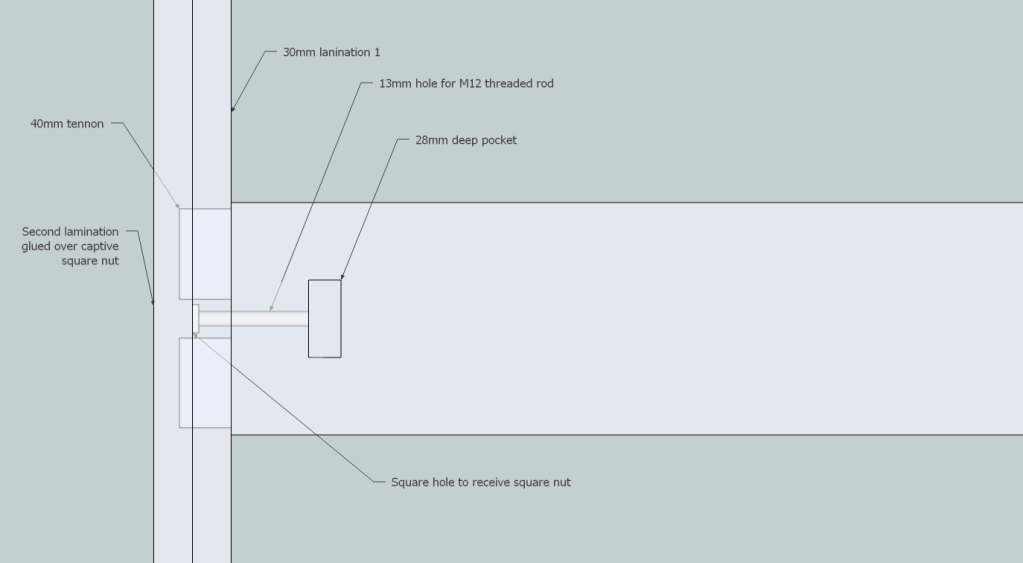
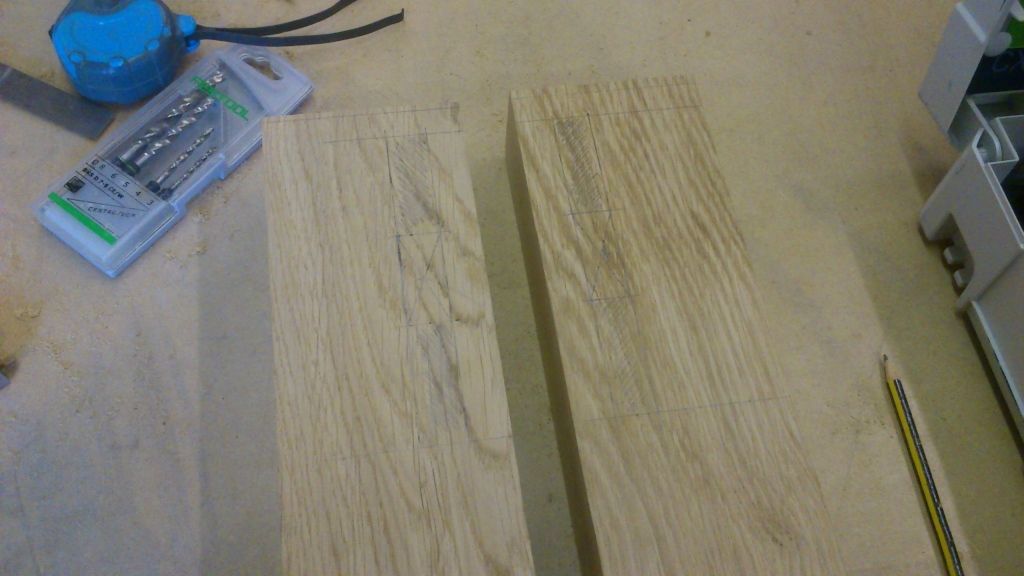
You can just see here I've used two 5mm dominos to align the pieces. Before I glue any of the legs I want to insert a captive square nut into the join. Then I will use some 12mm threaded rod to go into this before bolting on the long rails.
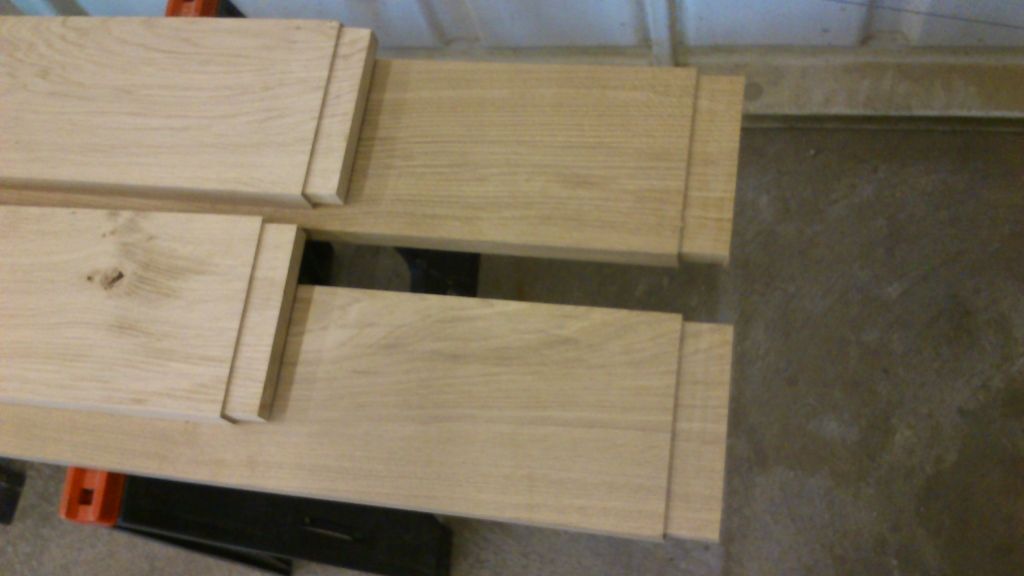
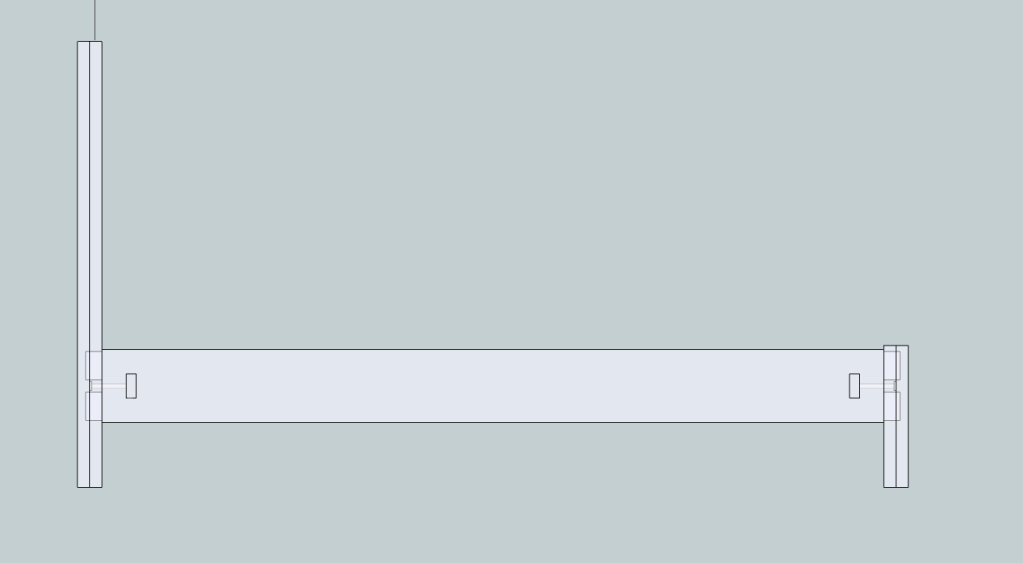
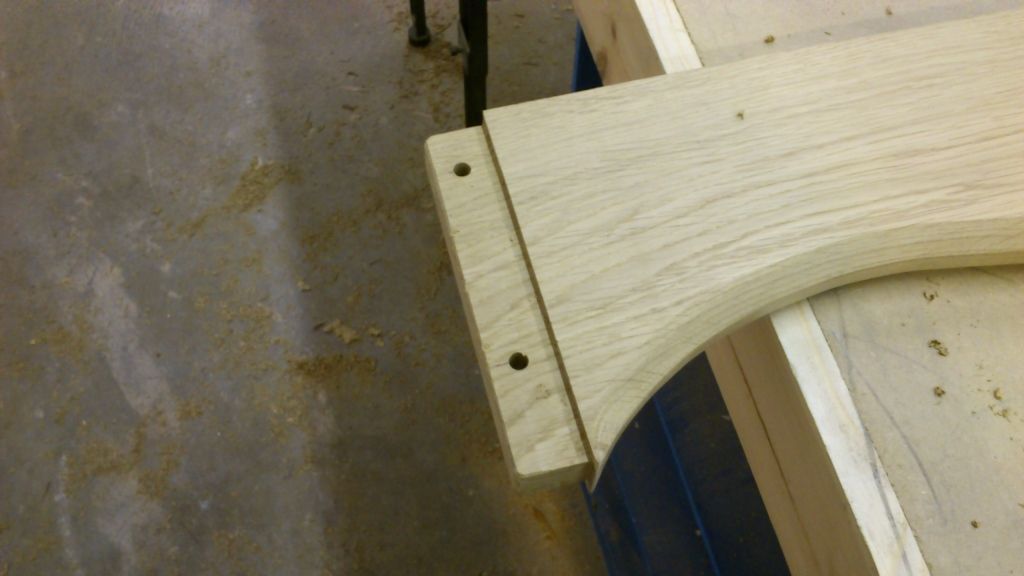
A picture is better, here is the layout of the tenons and the bolts, seen as I am having to laminate to get my 60mm this seems a good way to avoid any standard bed bolts so it really should last forever:
General view:
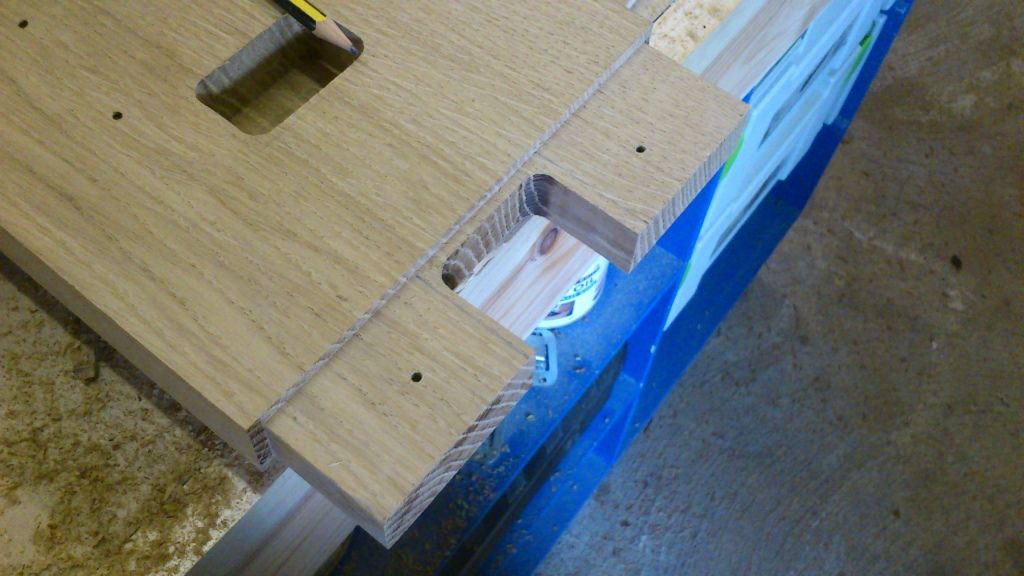
Close up, I will be cutting out the central part of the tenon to allow space for the threaded rod and the captive nut in the leg.
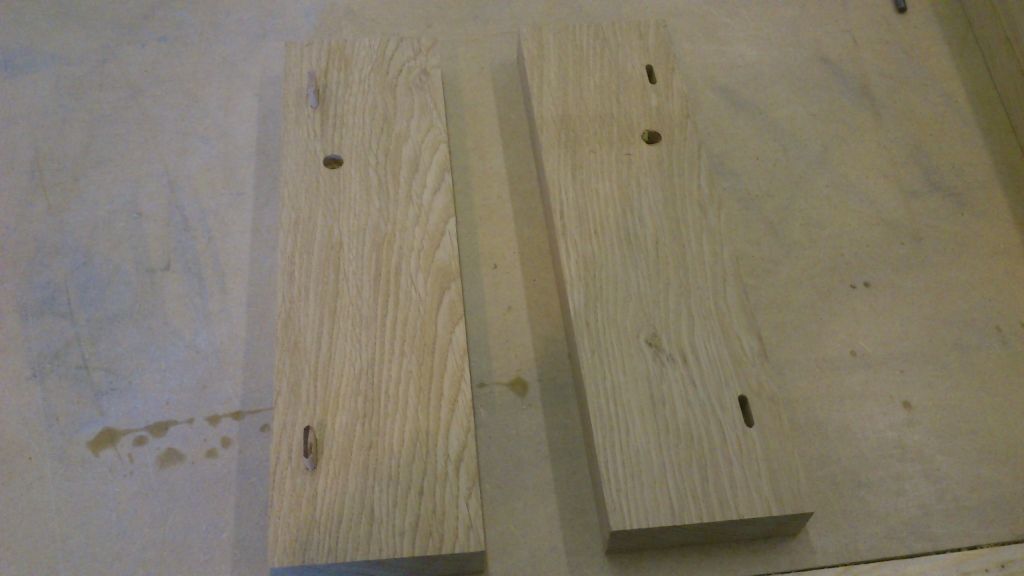
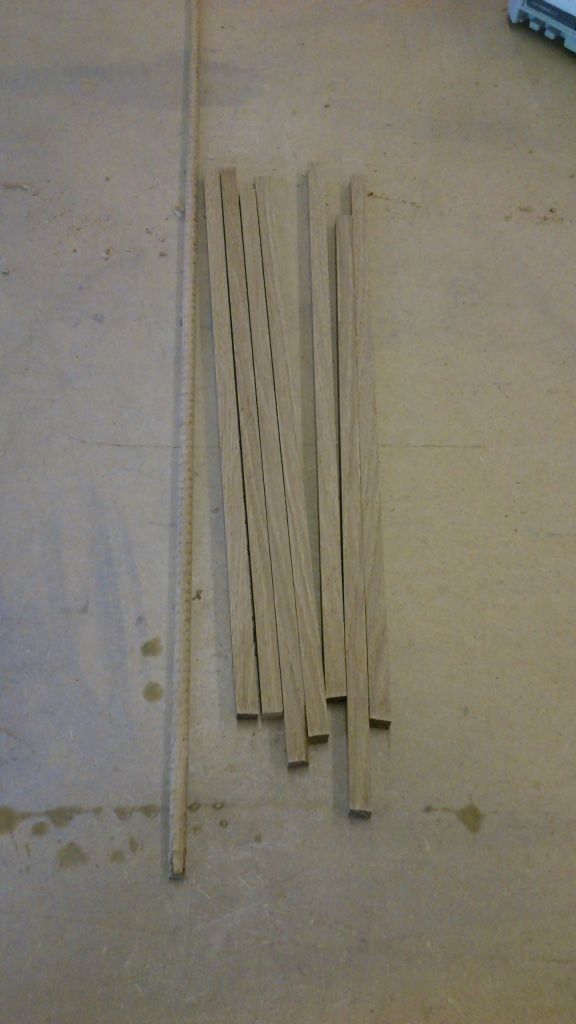
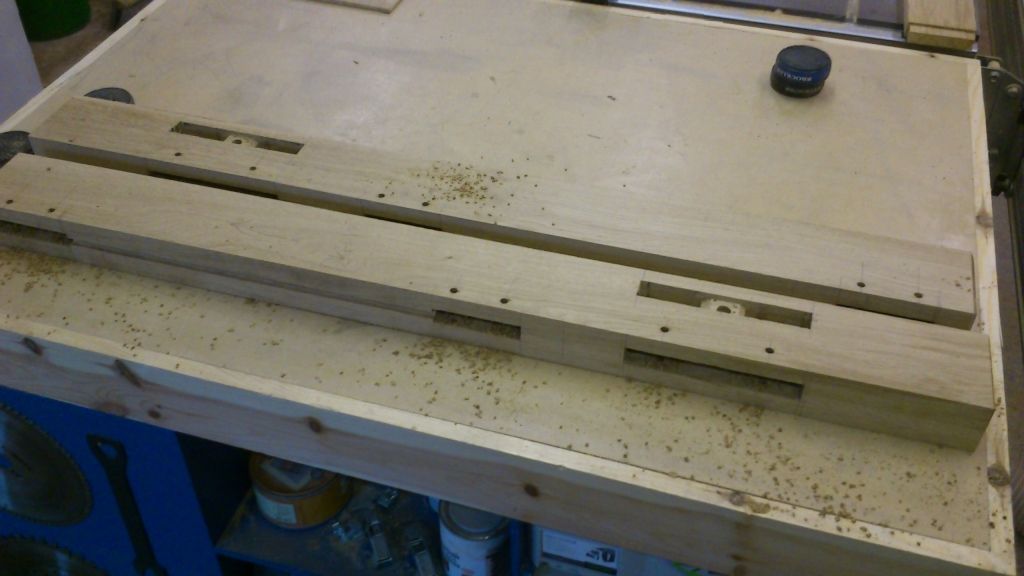
Started cutting the pockets in the back of the long rails today. Will finish tomorrow and then make some Oak dowel using the RT.
Prepare for lots of pictures!
I haven't done a lot this week as I've been waiting on the square bolts, which arrived today but I didn't see them left by the front door by the postie till this evening. Now that I have them I can glue the legs up which has been holding me back.
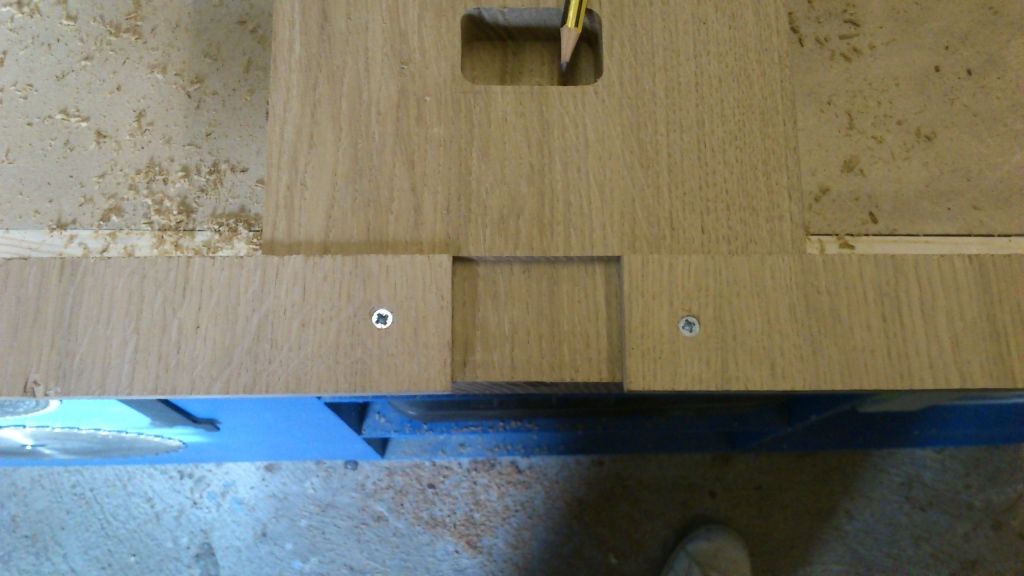
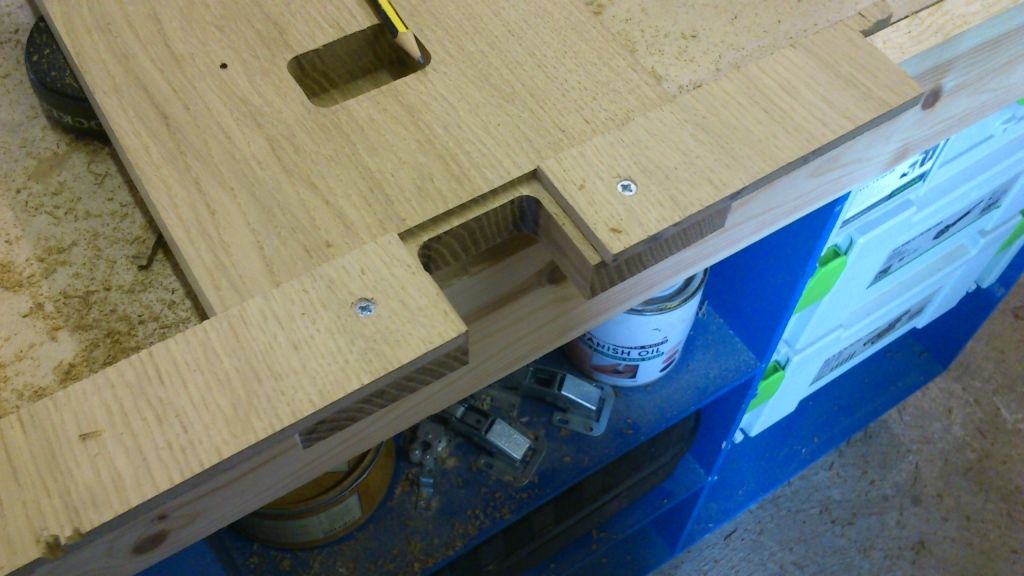
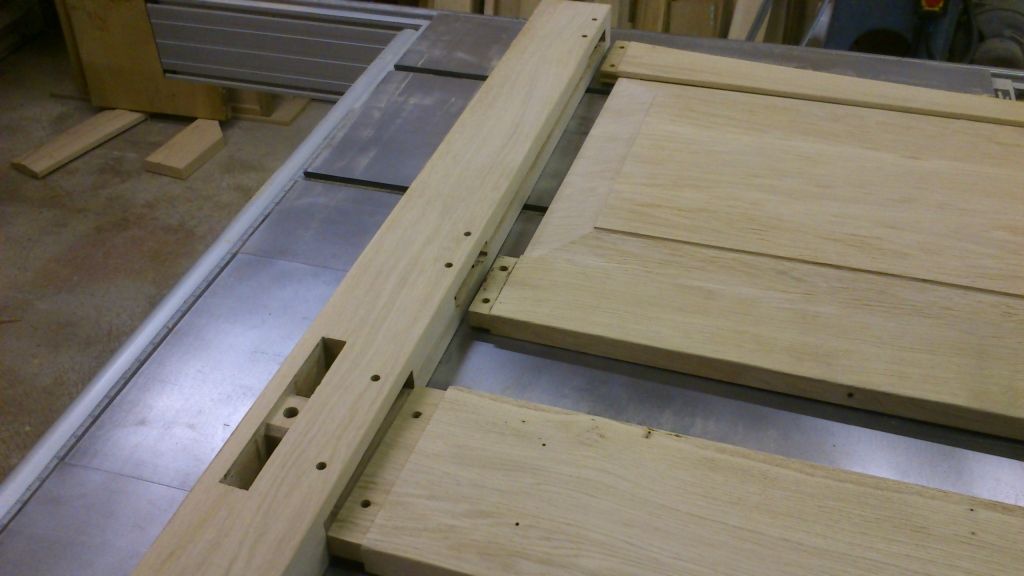
Cutting the pockets on the rails for the bolts to go in using a template and guide bush.
Next to cut the middle of the tenon out to allow the bolt to pass through. Since I had the router and guide bush out this was the quickest way:
Some more wood, to be laminated to make the legs, headboard and quite a bit left over for later use.
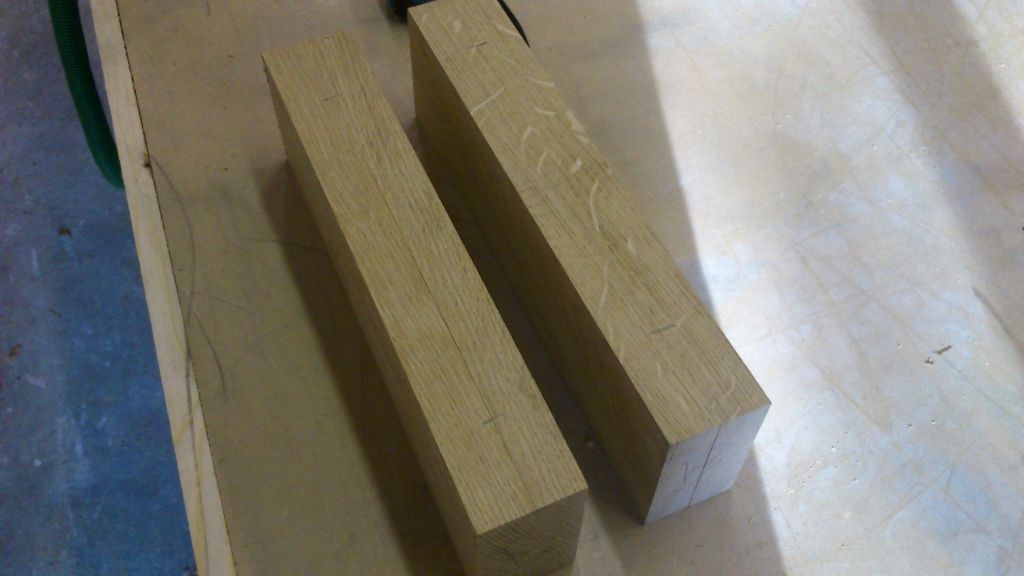
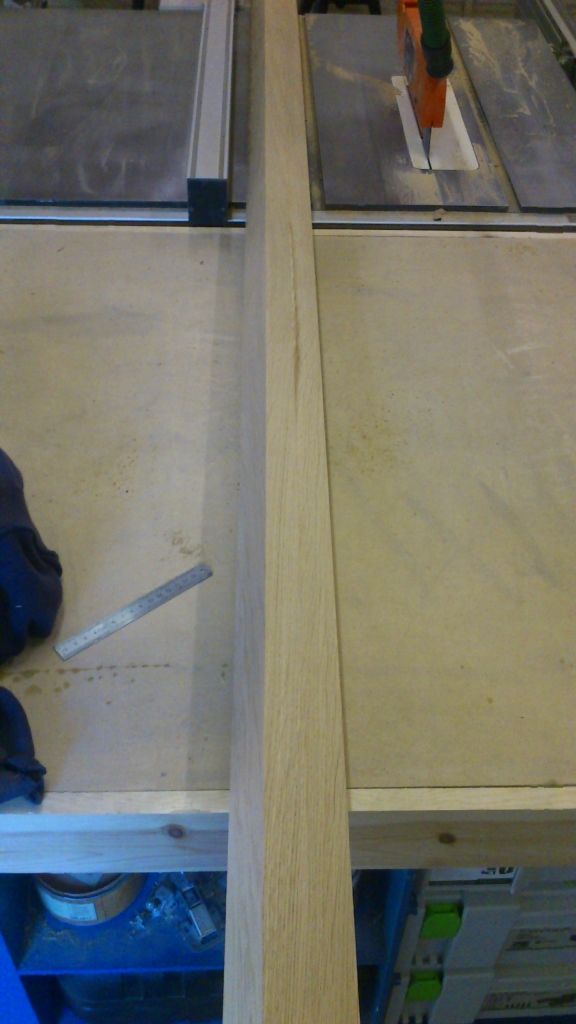
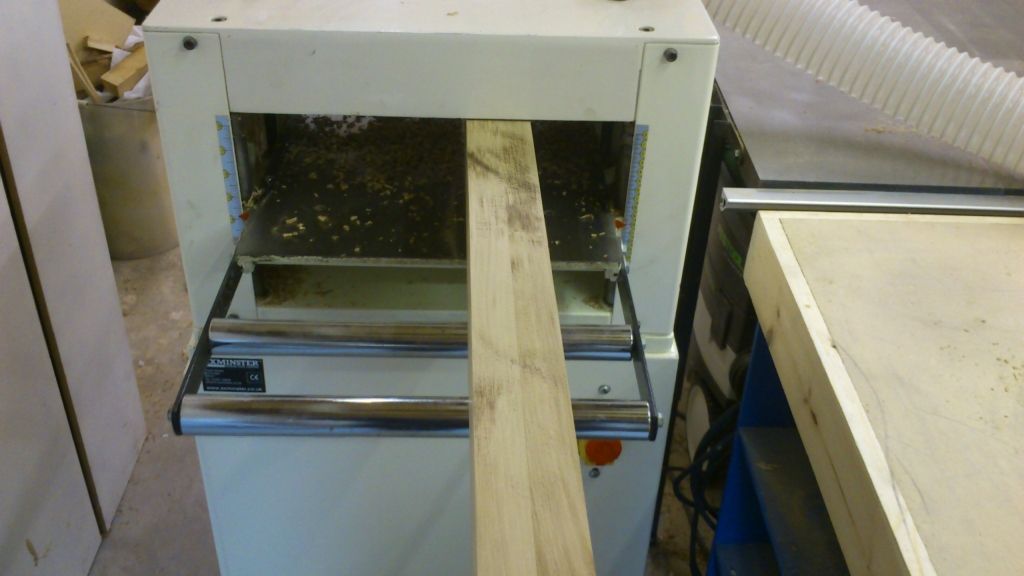
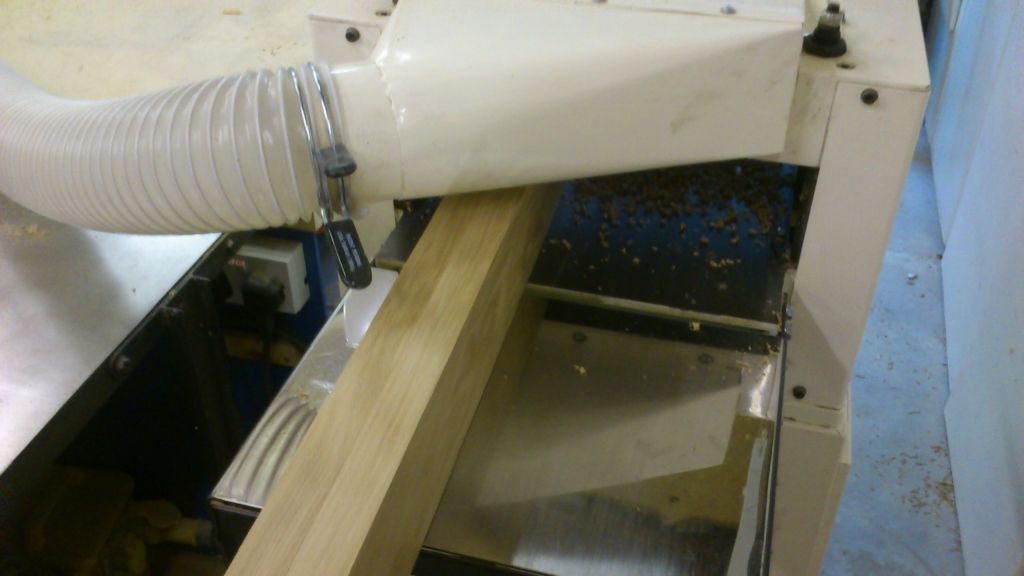
Ripping and planning a face and an edge for the tall legs at the head end. Each pair make a leg.
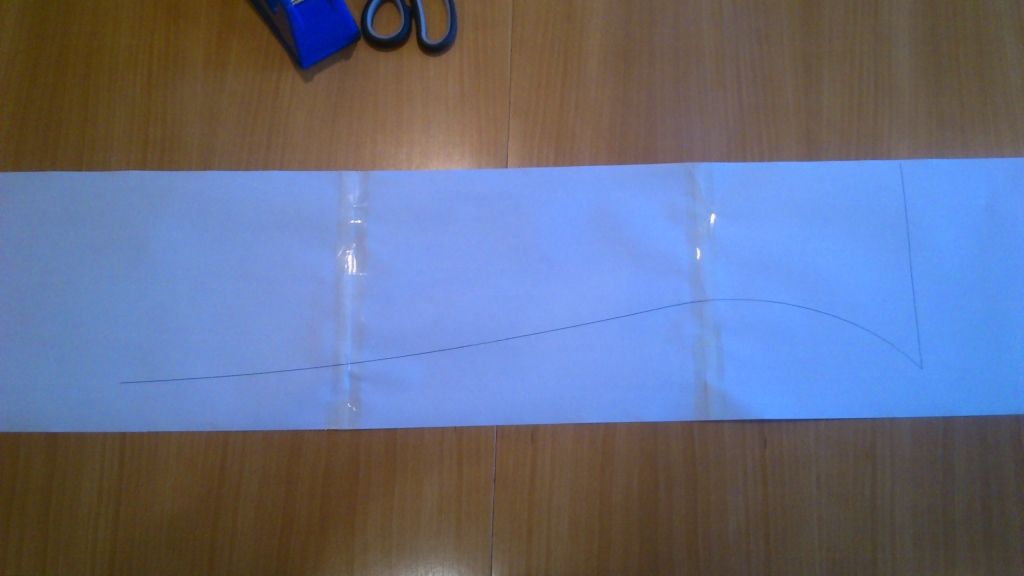
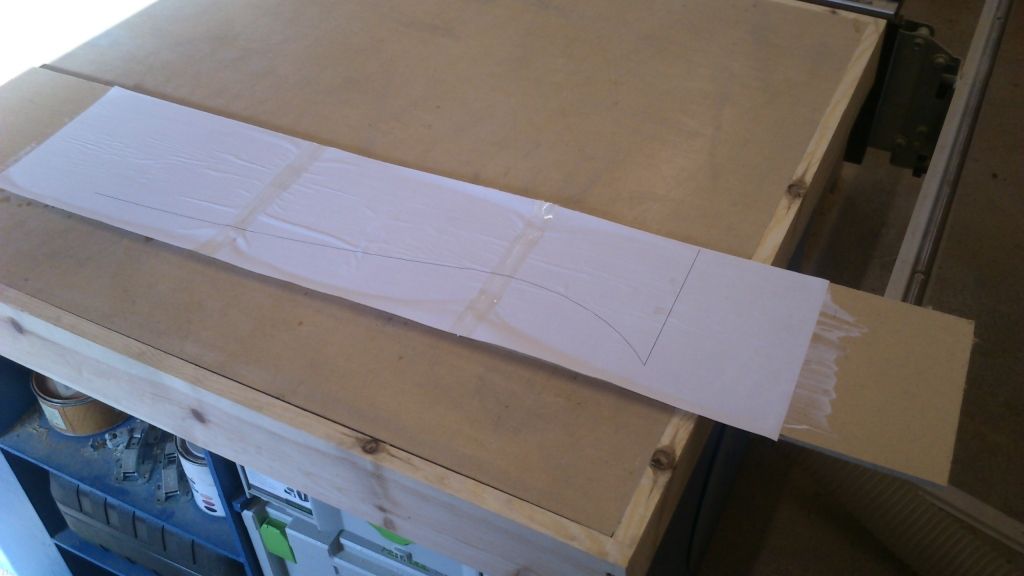
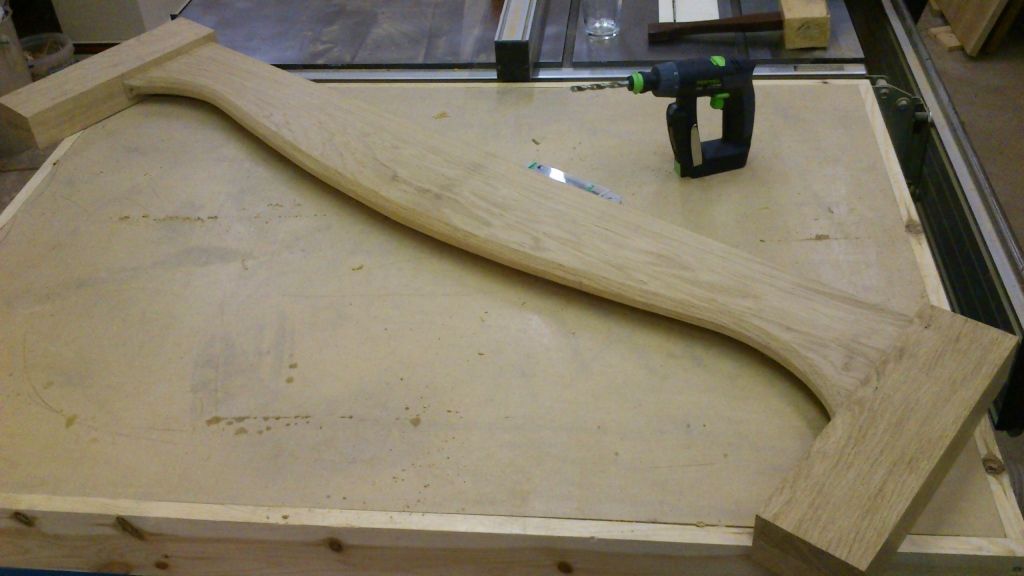
Printed off a full scale template of the curve that I want for the rail that will be the foot end.
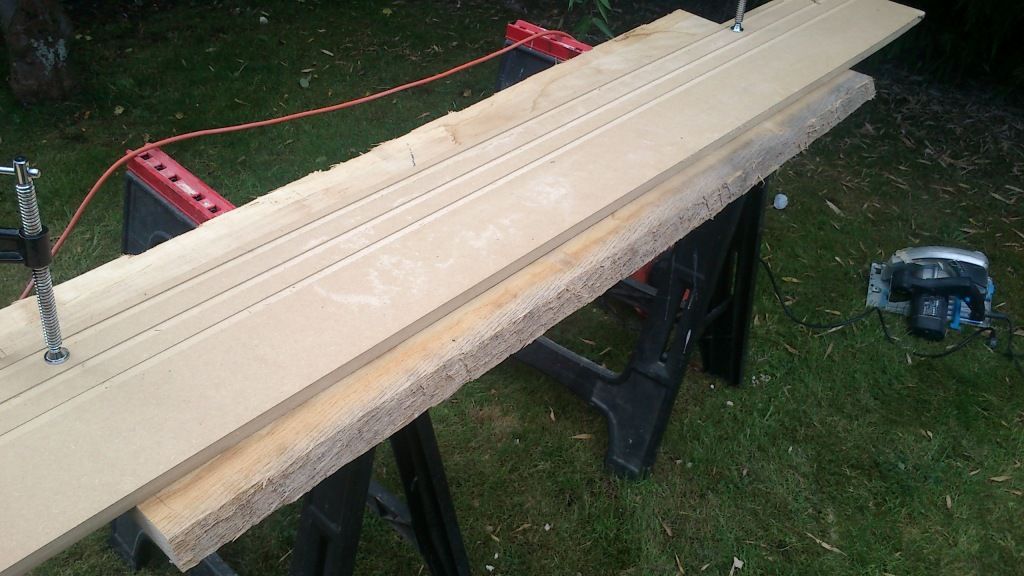
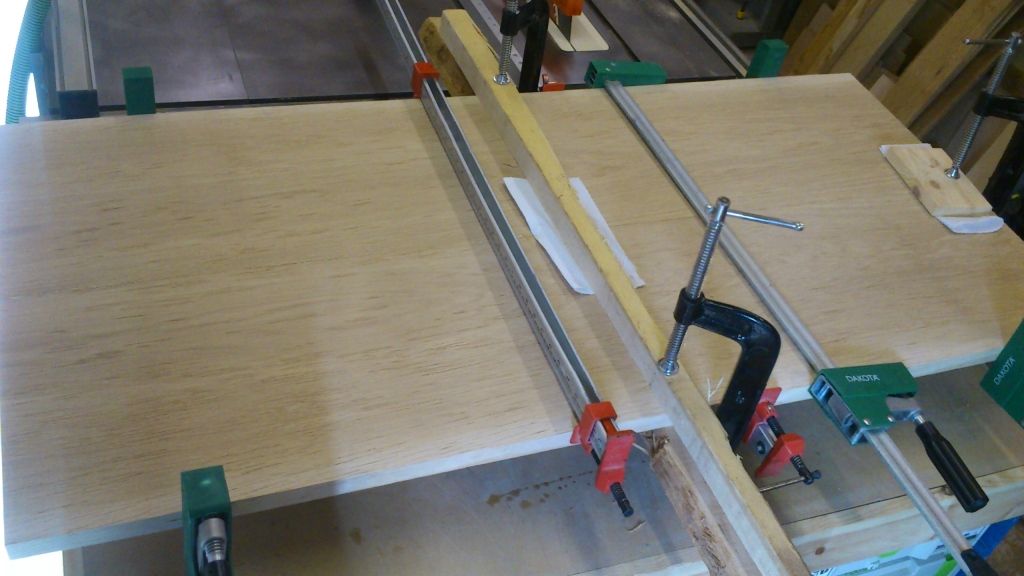
Putting a straight edge on this board, sometimes its just easier to go outside to Gods workshop when you know your not going to be able to contain the dust.
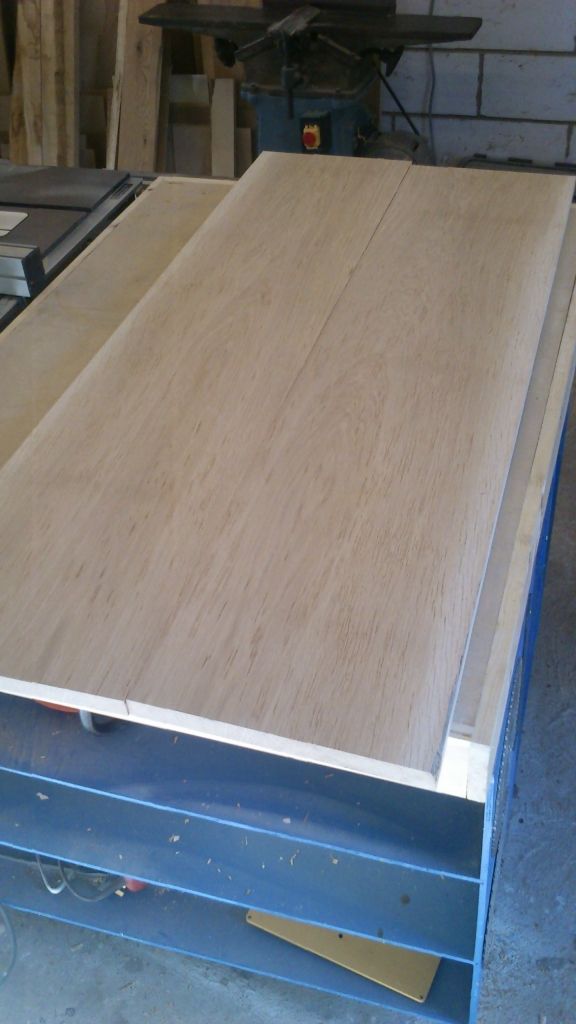
These two boards will become the panels in the headboard, the plan called for two panels but I may make one large panel as the wood is so nice I think the flowing grain will look good.
Ripped to 330mm and I can reglue the offcuts I think to get a nice plank for something else.
Planed and thicknessed the center support which was previous laminated. Its 80x60mm and I had to hand plane one edge square as I couldn't be bothered to joint such a long heavy piece on the planer.
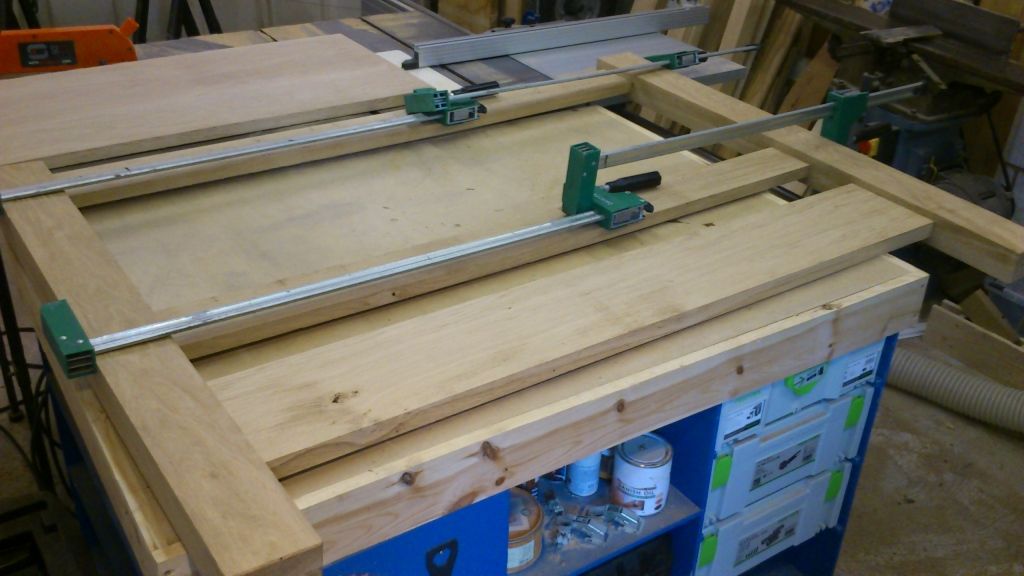
Next few shots are the big boards being squared and jointed before being glued. The final panel will only be a little over 2/3 of this panels size, but I want the glue joint to be central rather than one large board and small piece on the edge to give it the right width. A mirror frame is looking likely for the offcuts.
Glue on after the edges have been cleaned with 4.5

Clamps on, trying really hard to get them level without dominos as if I use dominos I will surely expose one later on when panel raising.
Glued the template to some 6mm MDF with PVA woodglue, never tried that before but worked fine.
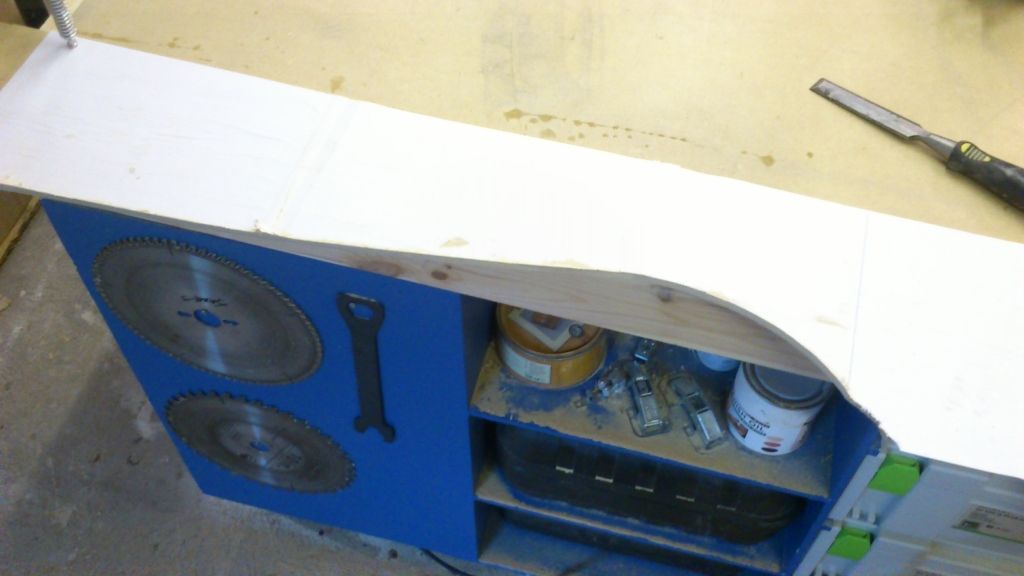
Can't really see in this one but I got close to the line then got it spot on with belt sander free hand.
Template on.
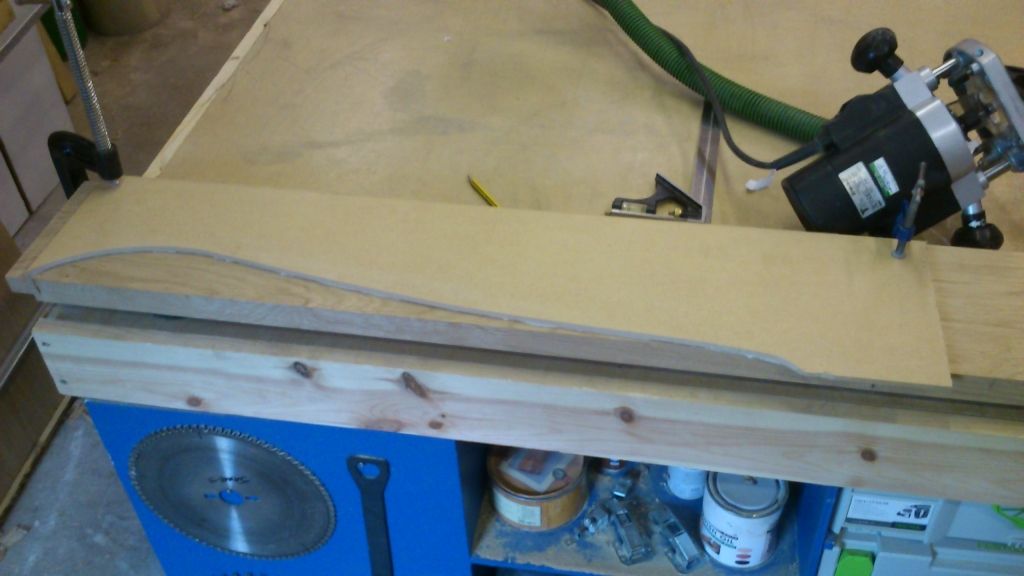
Guide bush still in the router so used this as my jigsaw is broken to get within 3mm off the desired profile.
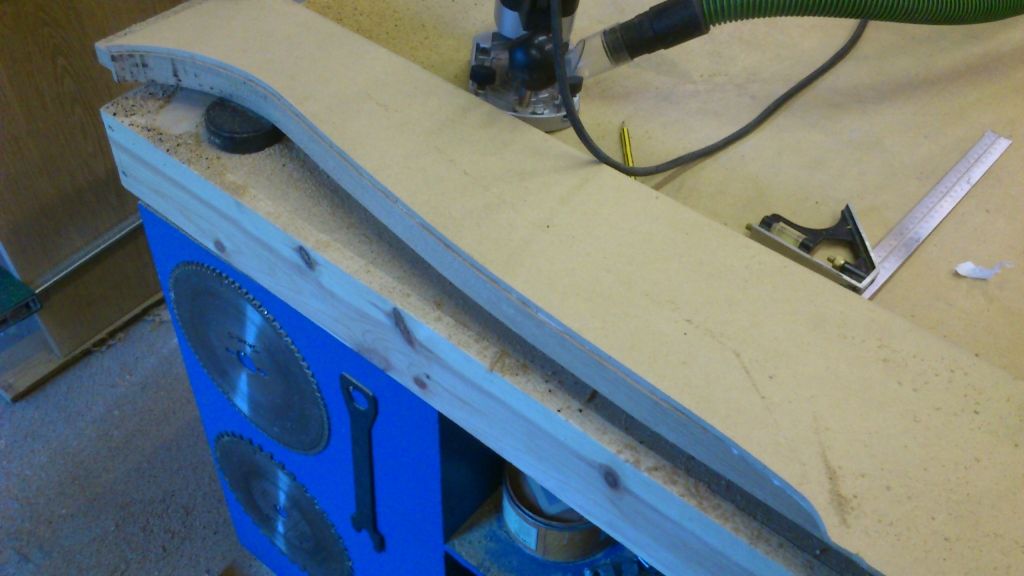
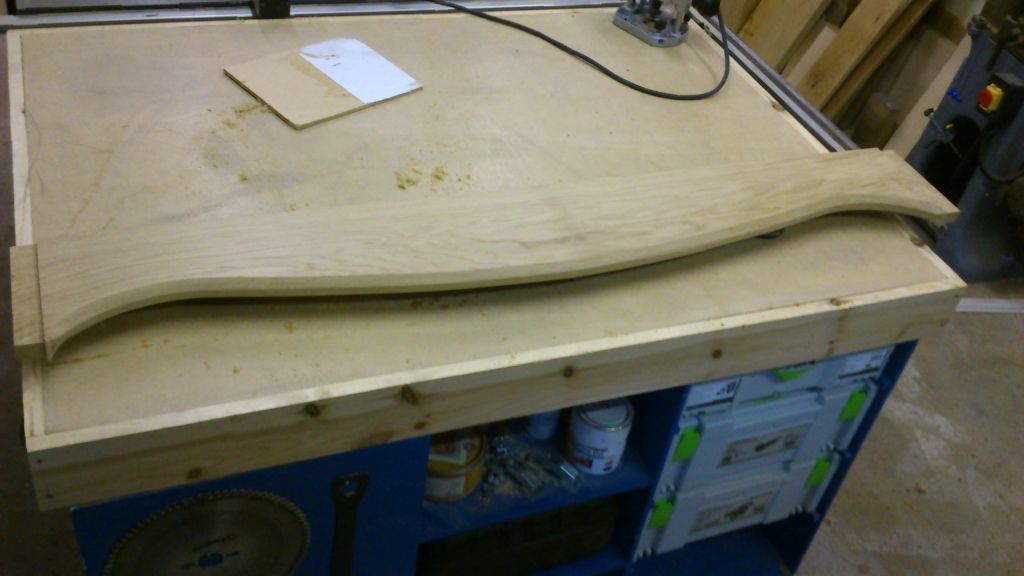
Didn't get an inbetween photo here, was trying to hard not to mess up with the router. Used a top bearing guided bit to get to shape then a large chamfer bit. Hopefully this chamfer will reflect the one I'm hoping to put on the top of the bed.
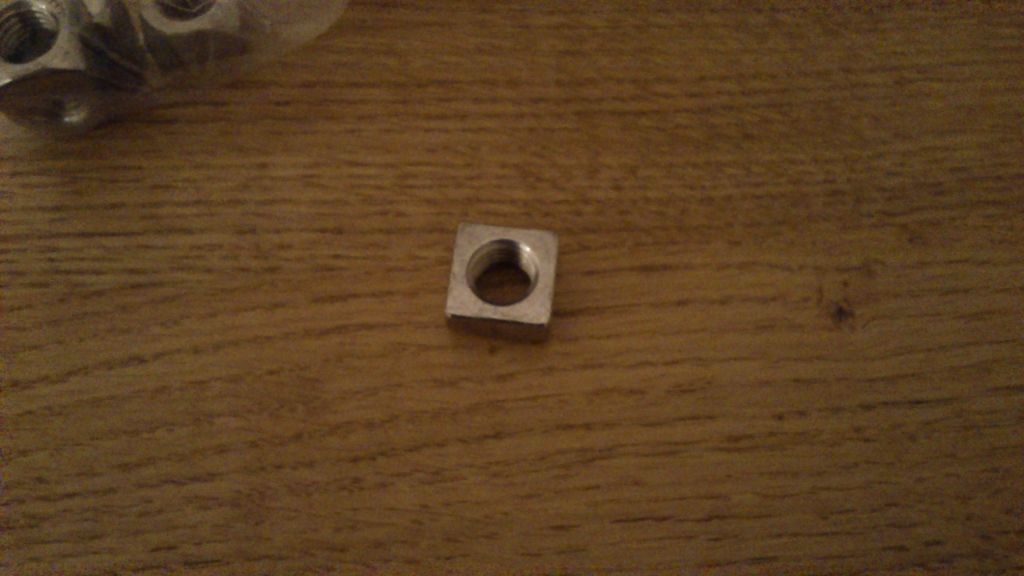
And the square nut:
Hope to get the legs all glued up next so I can start work on those mortices.
I got the hint that my Cyclone drum was a bit full when the chippings started appearing in the bottom of the Cyclone. They pile up in a nice hill so once shaken down its a bit easier to empty. Into a 1 ton bag and off to the tip for this lot. Sometimes I put it in the garden bin but I imagine the bin men emptying it and the whole street being engulfed in dust and then me getting some sort of fine or a lifetime bin collection ban.

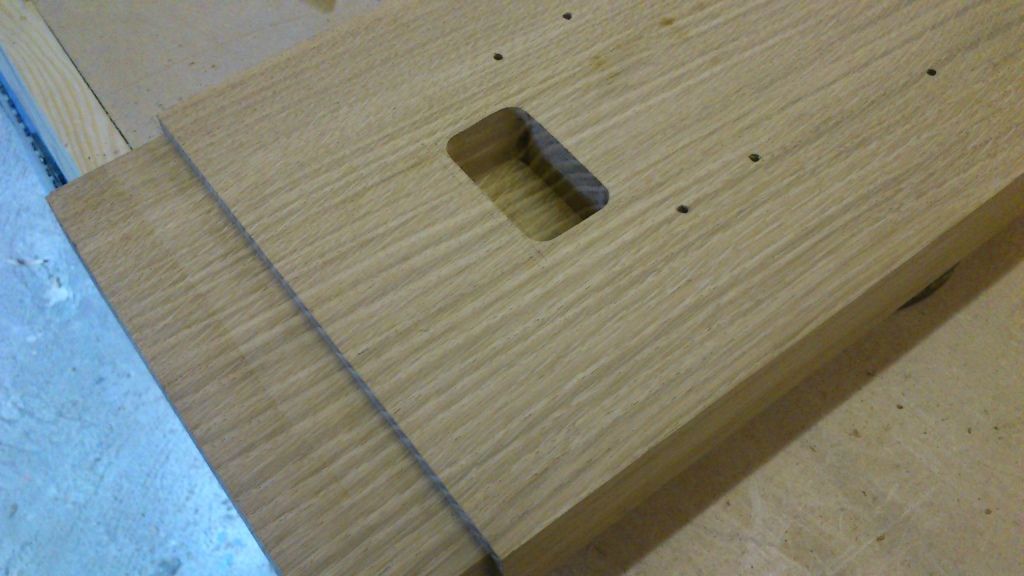
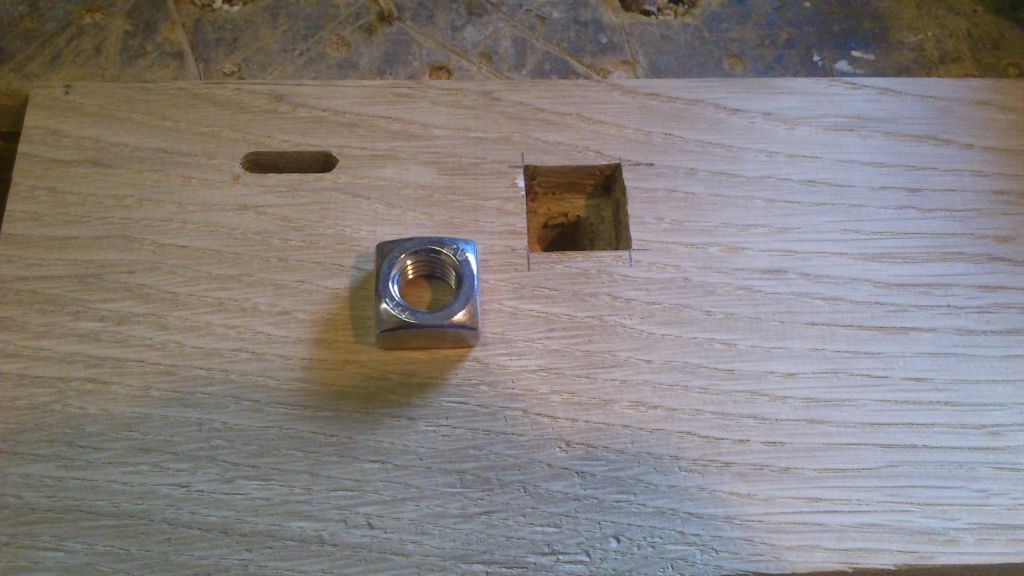
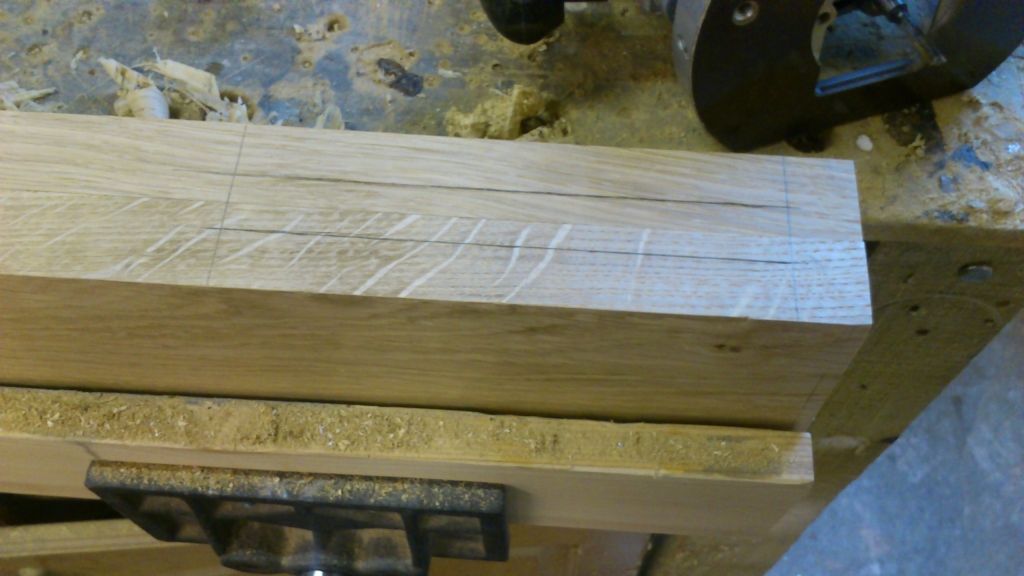
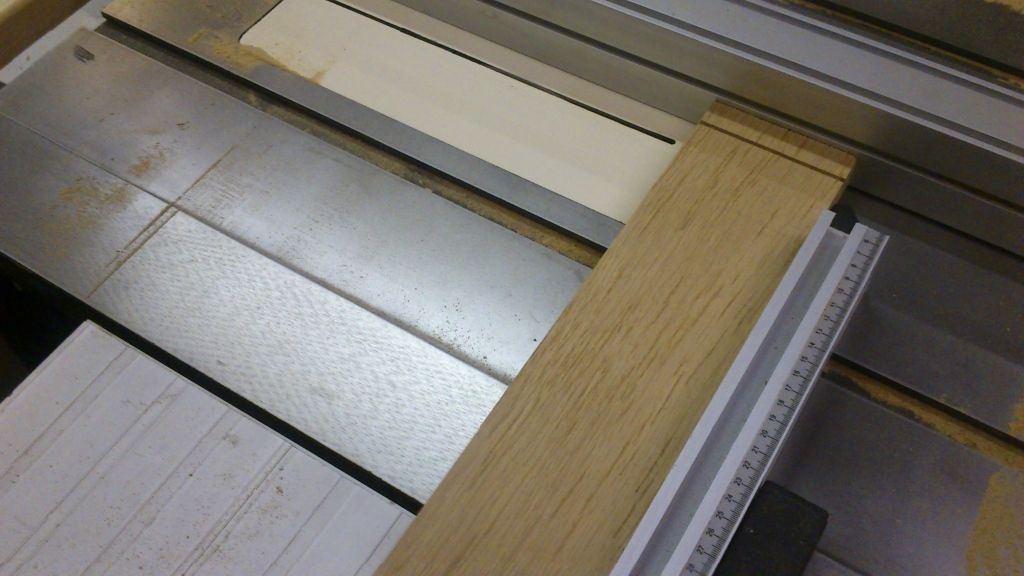
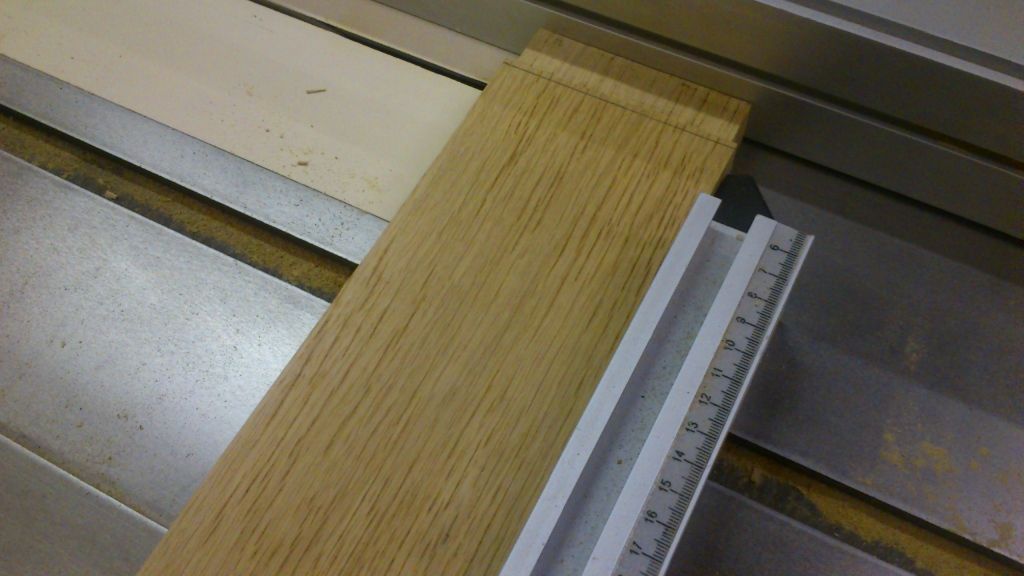
Carefully marking out the locations taking all the measurements from the mm perfect sketchup plan. Have to have faith here that I did it right on SU.
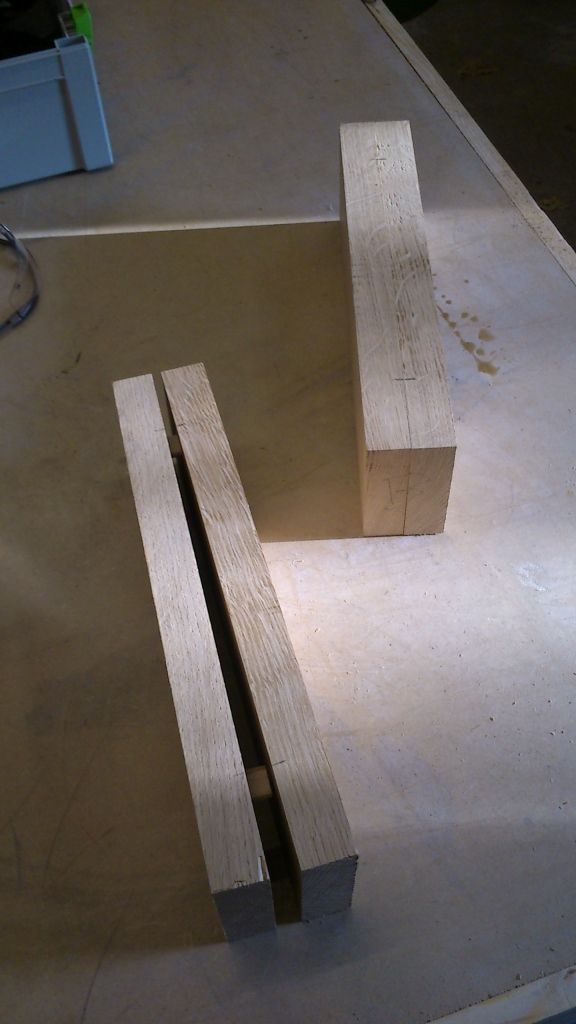
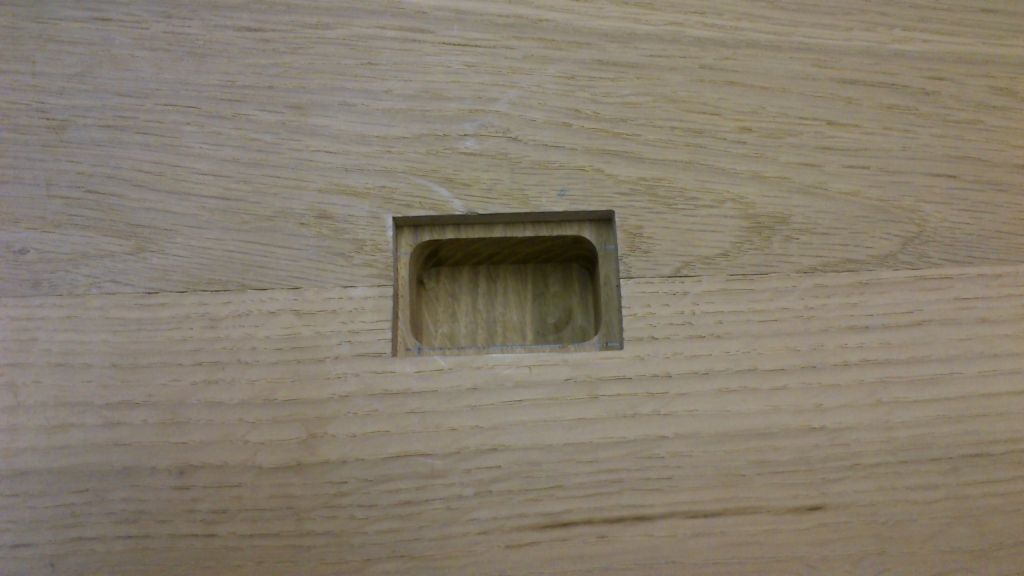
13mm hole right through one piece and a blind hole in the other to give a bit of meat for the nut to grab hold of rather than the very end of the threaded bar.
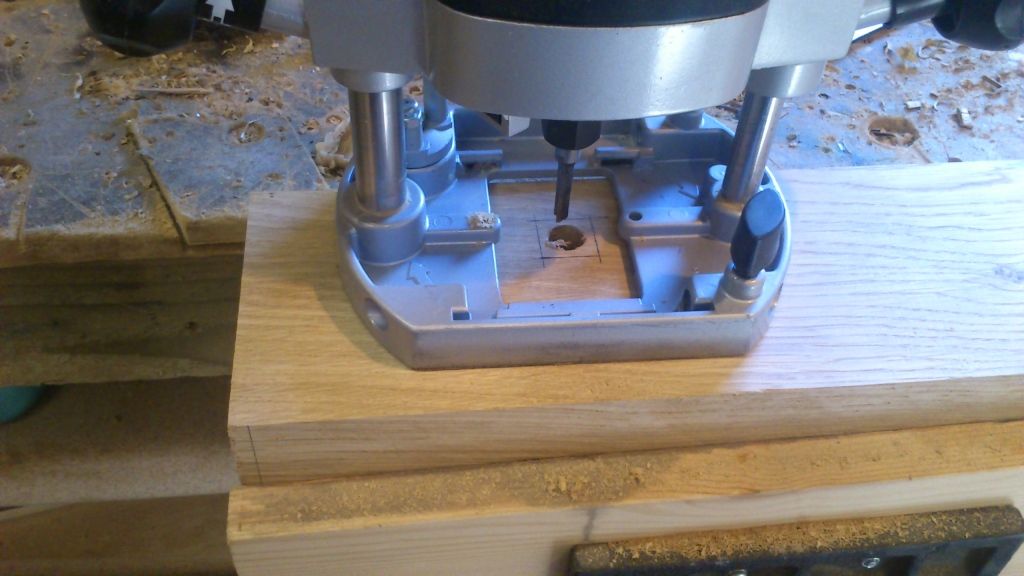
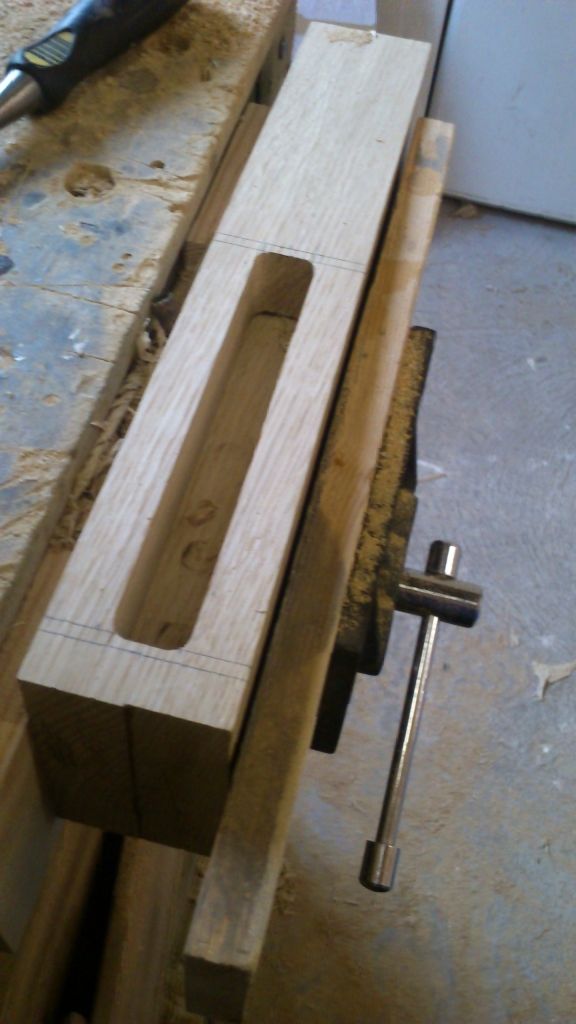
Rout out the waste.
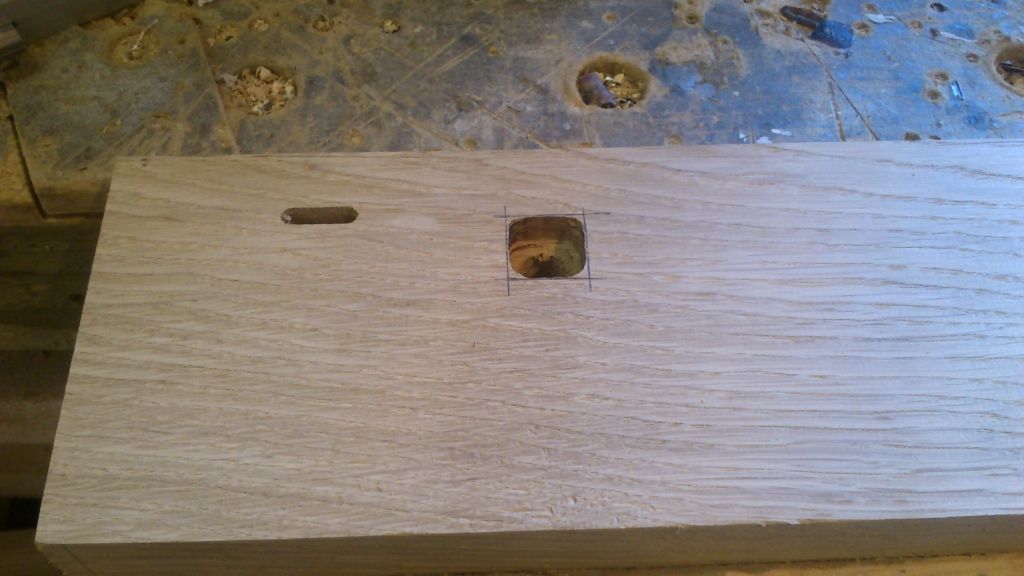
Square it up with blunt chisel
Leaving a hole tight enough that it needs a mallet to go right in.
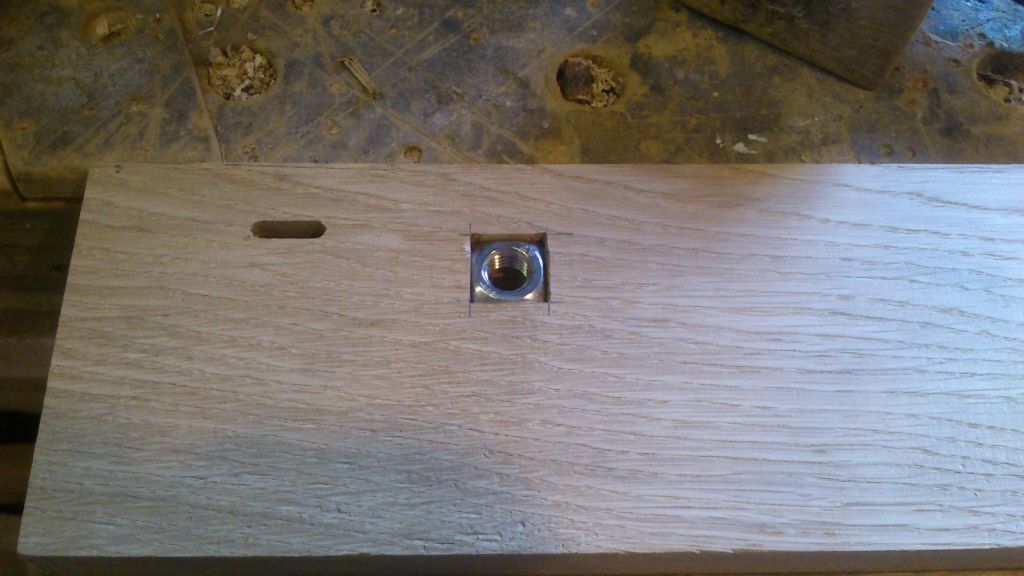
Glued into its new home.
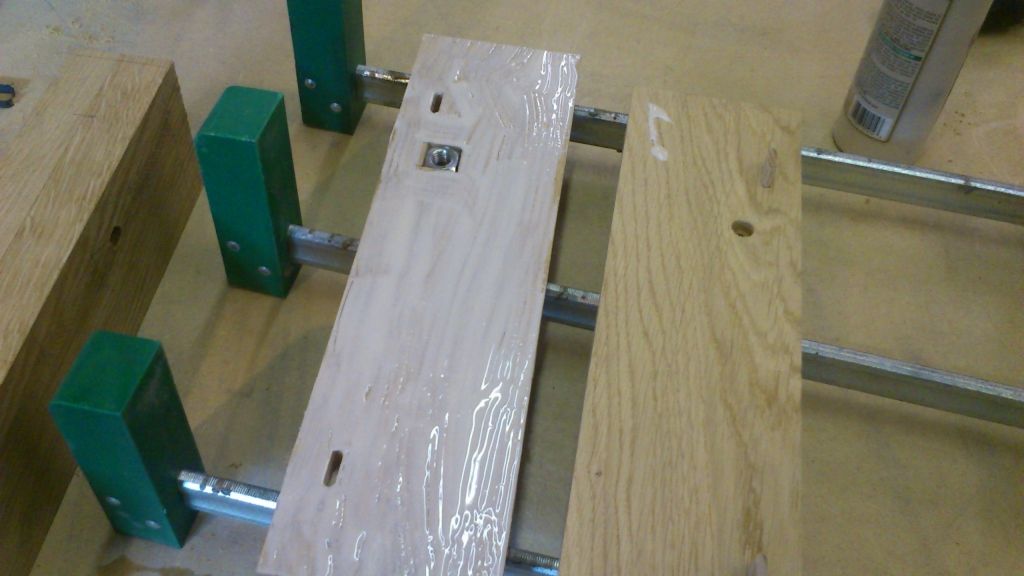
Out of clamps this afternoon and just checking the rod goes in square in all planes.
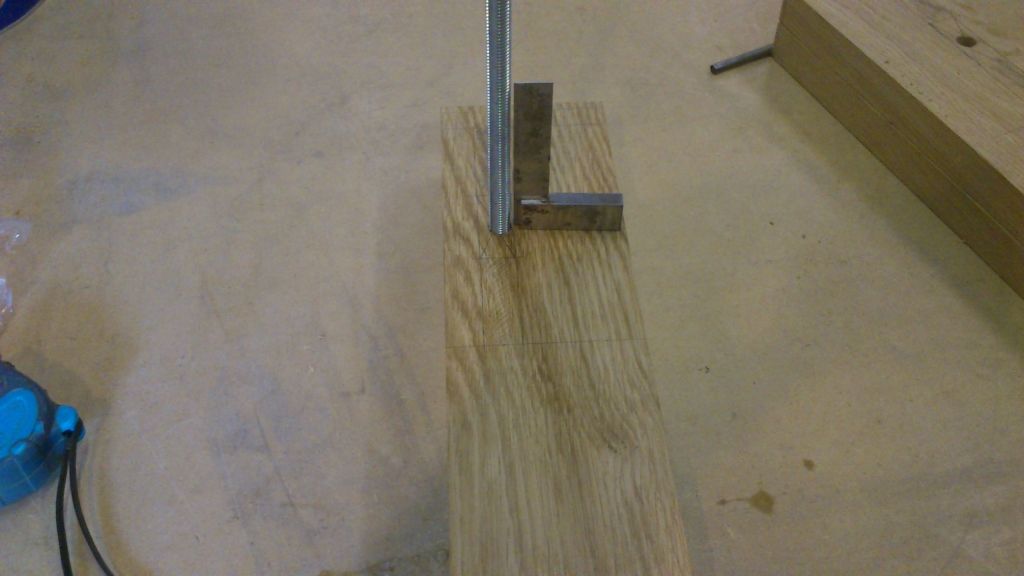
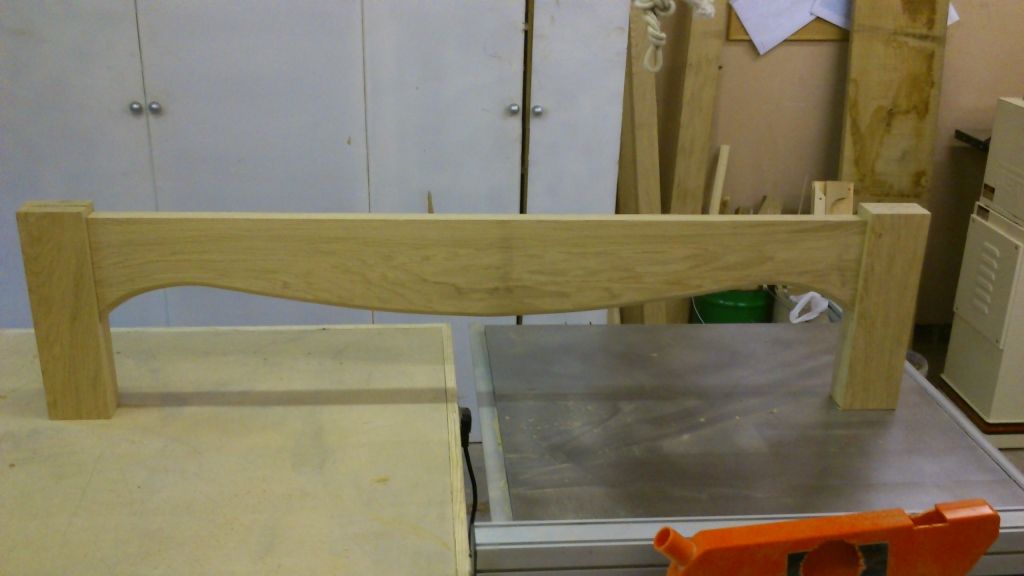
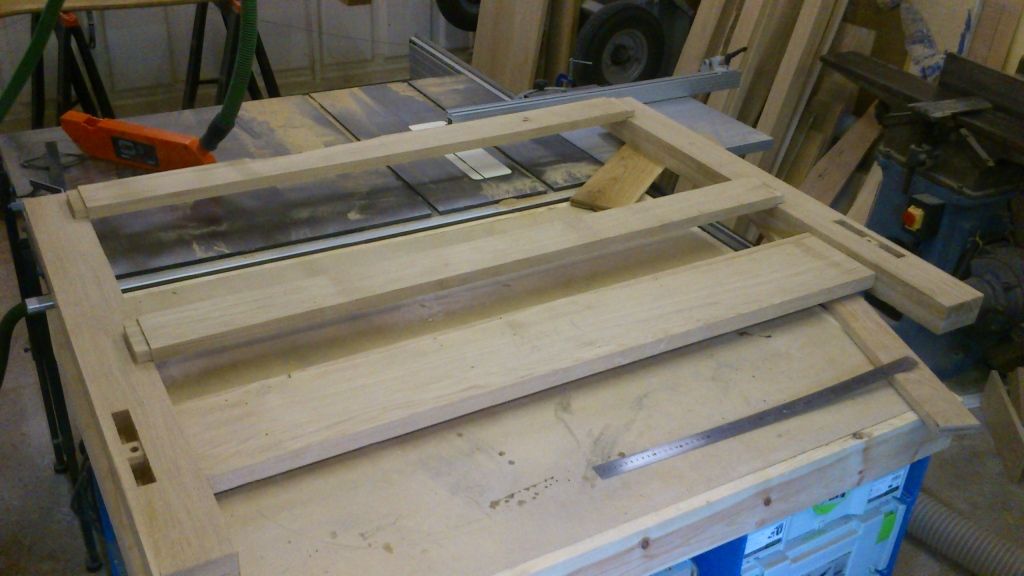
Should begin to see something that looks like a bed soon.")
Nothing very exciting to show, just a lot of holes. I've used the router and squared them by hand.
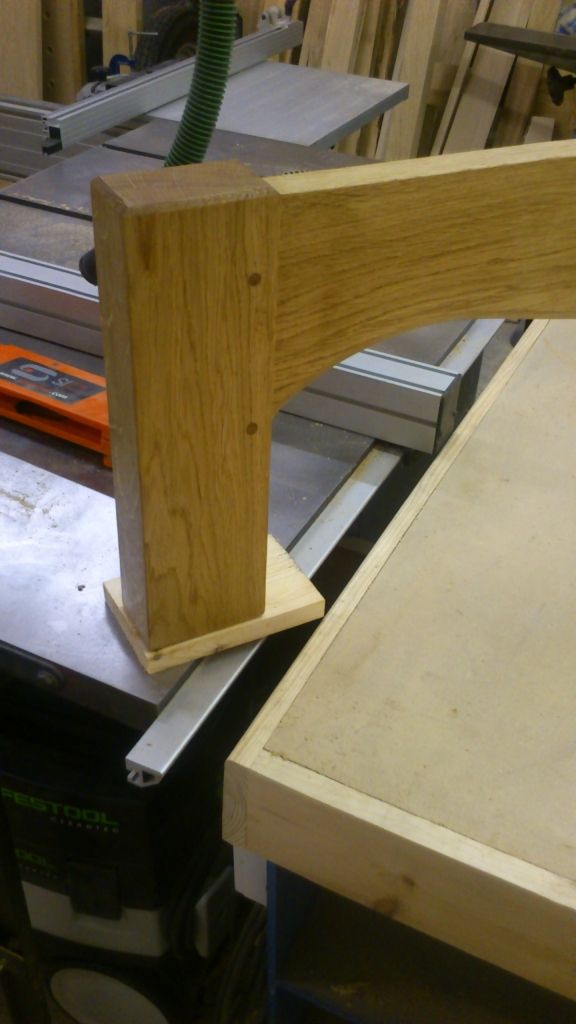
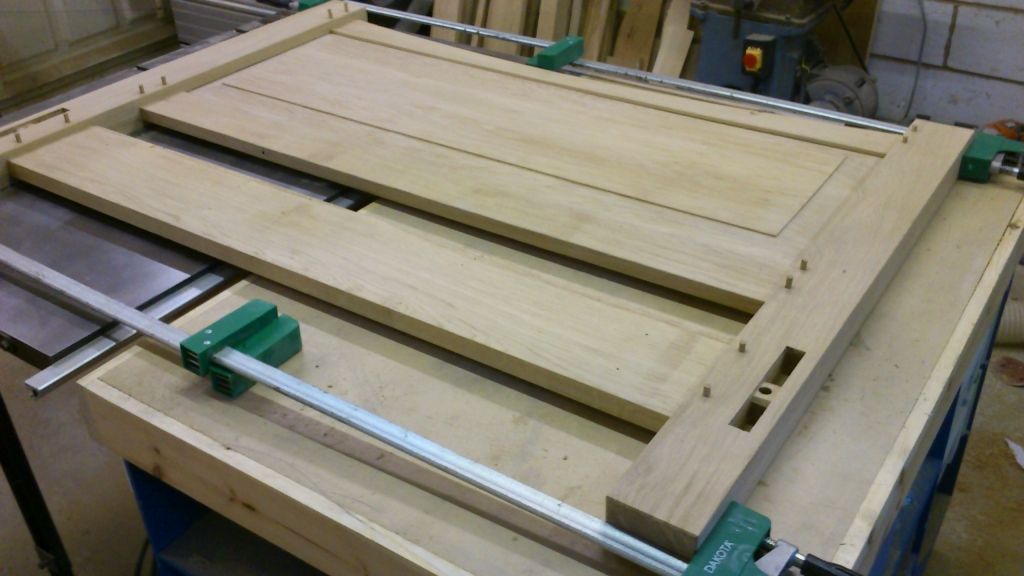
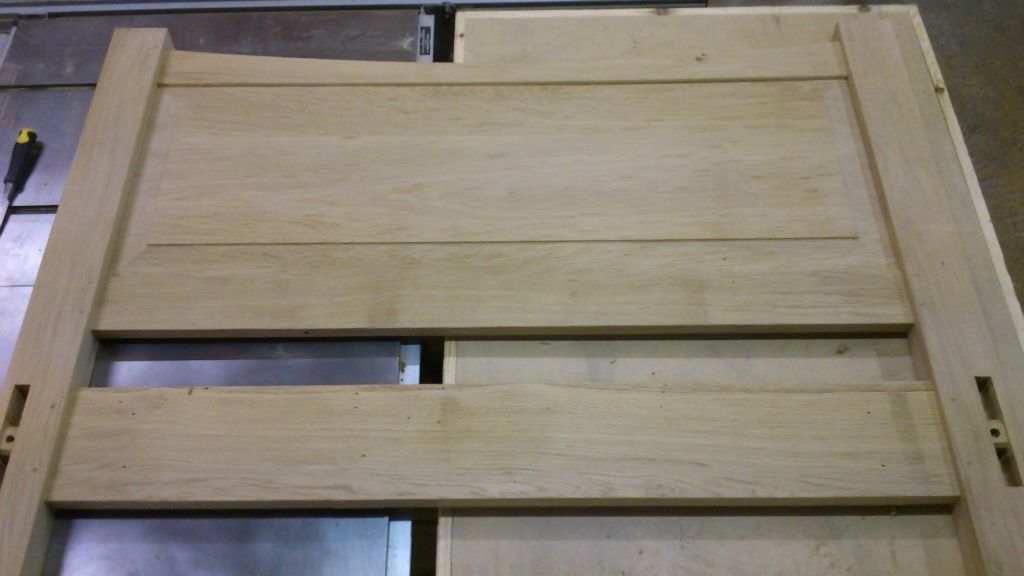
Test fit:
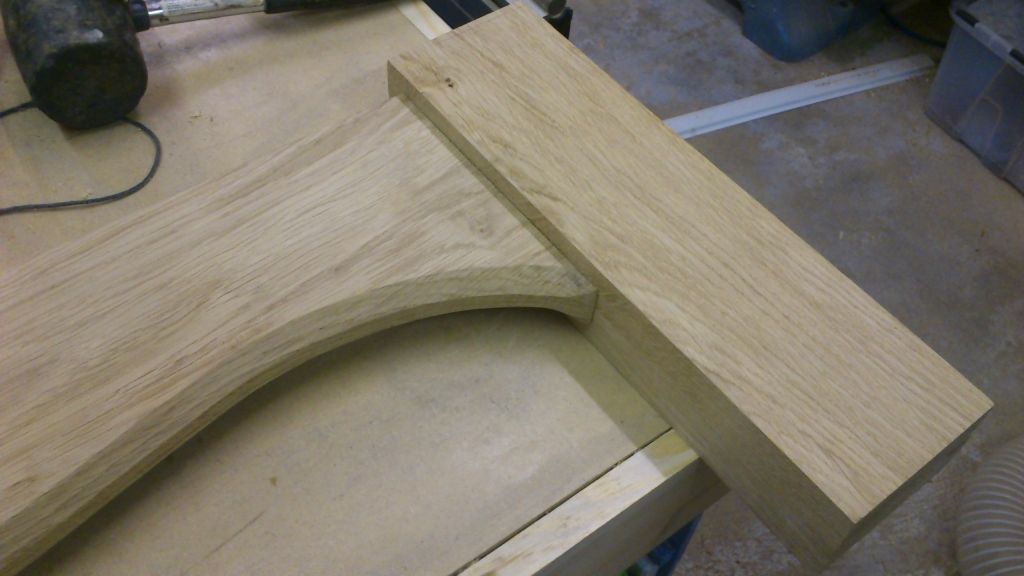
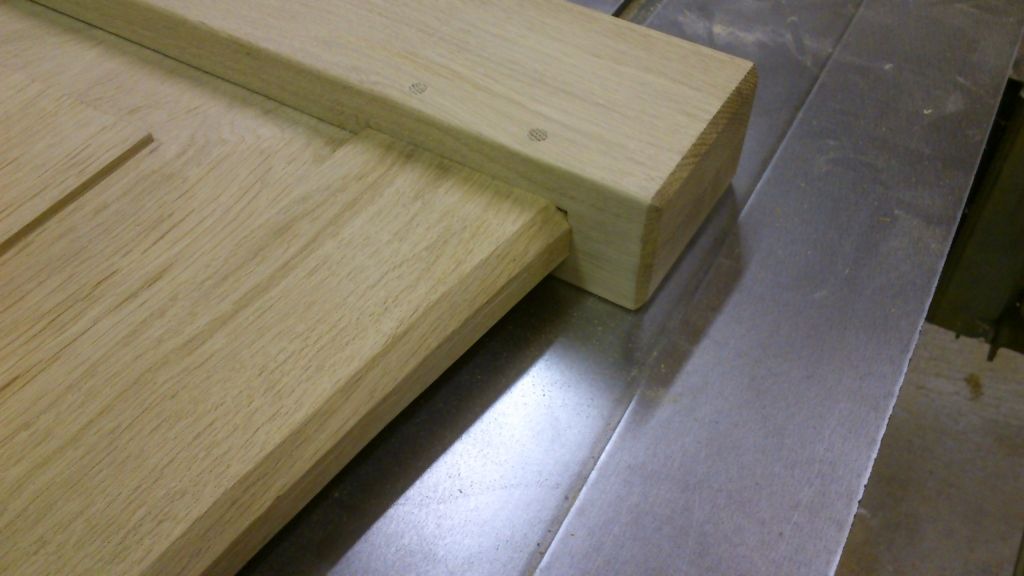
Ready to drawbore:
Mark up for the holes:
And offset on the tenon closer to the shoulder by 2mm.
Added the chamfers to the legs before final assembly:
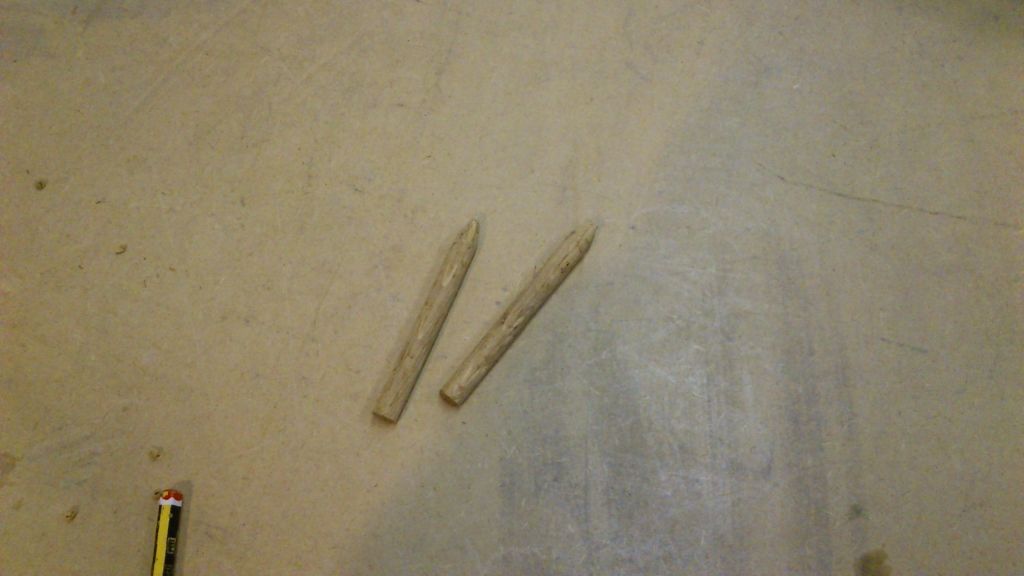
I made the dowels using the router, but I also tried out the pencil sharpener method from wood gears:
Ready the dowels to go through:
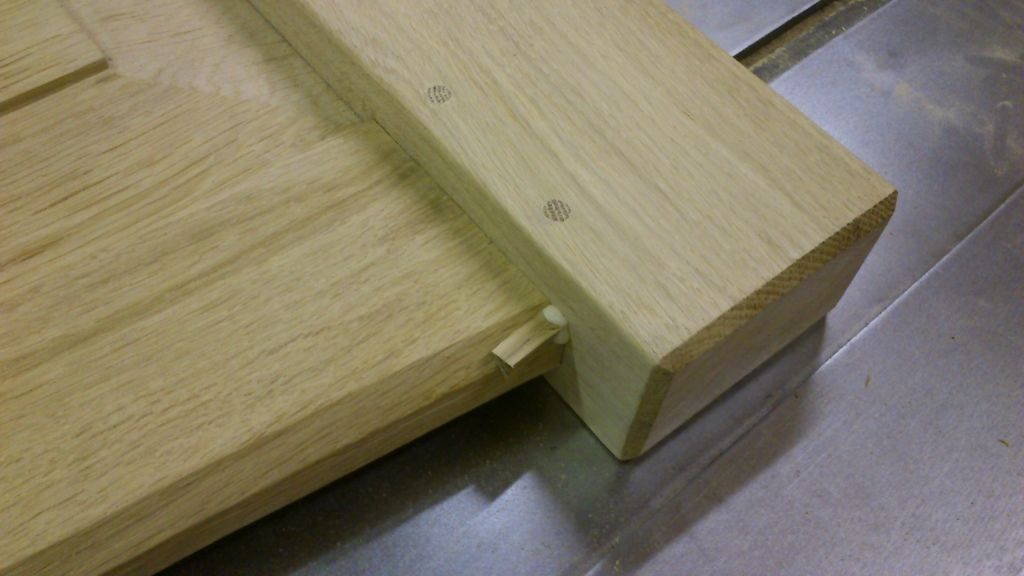
And the finished joint with its Osmo Hard Wax oil on:
Cleaning up the central support for later:
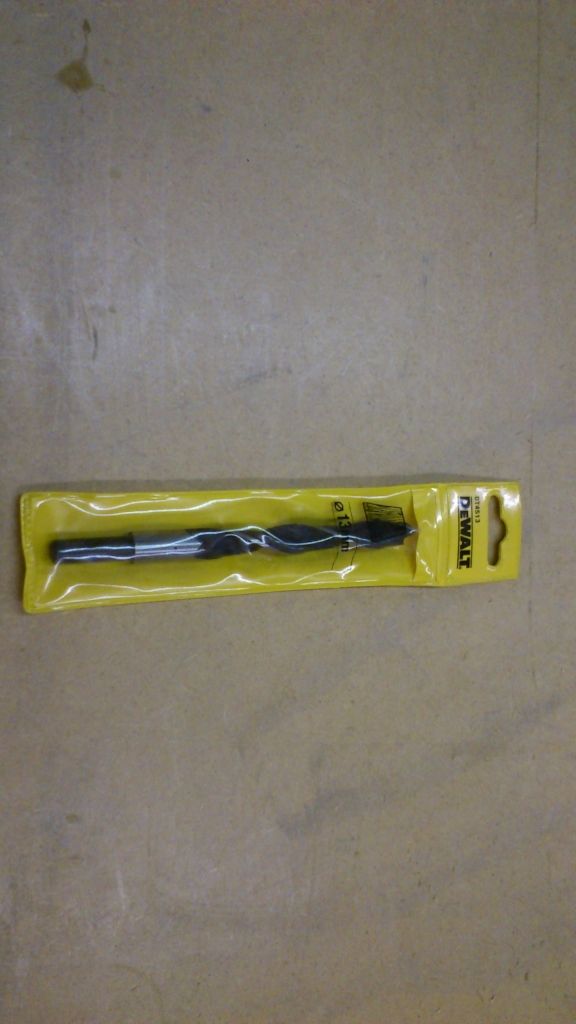
I got this bit from screwfix on offer, its 13mm and long enough to go through the rails and reach the pocket. Its a bit a monster.
Now making the tenons for the headboard, struggled to find good wood for these bits, I hope it turns out ok after the central panel is so nice. I'm using the TS method we were talking about a few months back where you feed the work in from the side over the blade. Its still a decent method although not helped by my triple cut blade been totally blunt at the mo.
Ignore the pencil line, its nothing to do with the tenon.
Laying out for the mortices:
And cut with the router and fence, I'd made templates for all the others and used a guide bush. This was a lot quicker for just these simple ones.


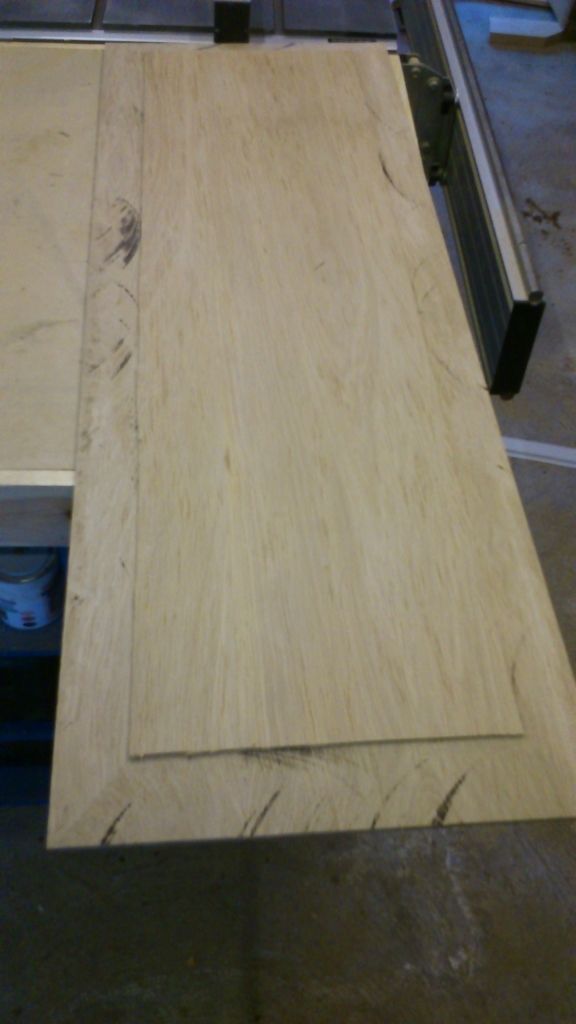
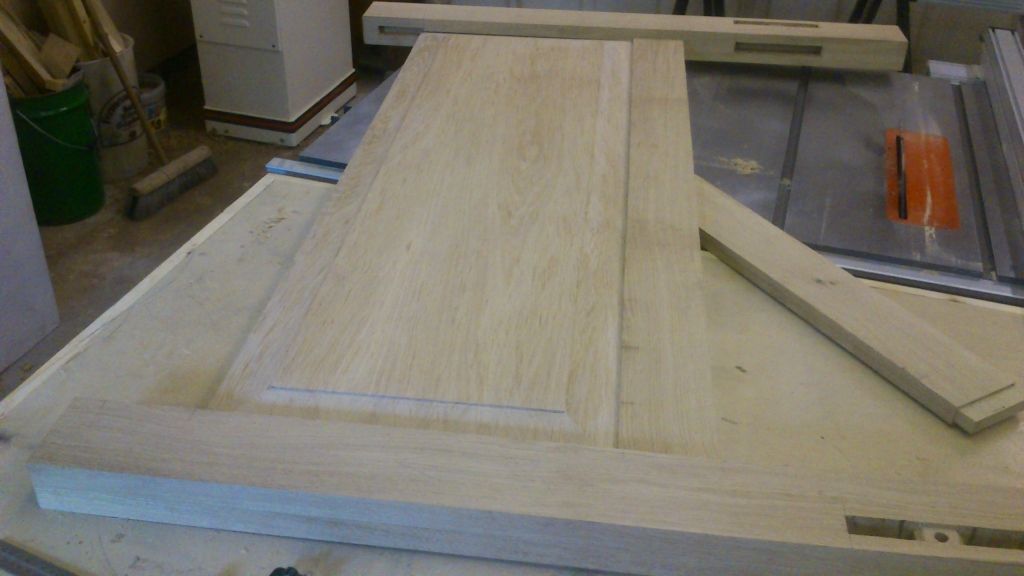
Now laying up to get the final size of the main panel, no mistakes allowed here:
And once I'd got the panel to the right size I put it through the saw. This was super dust as its a 60mm deep angled cut. Full respirator required! I tried the Chatinger method out on this one. It didn't really help as it made the panel heavy and more cumbersome. But for a smaller panel it would defo be good. Plenty of burn and stuff here:
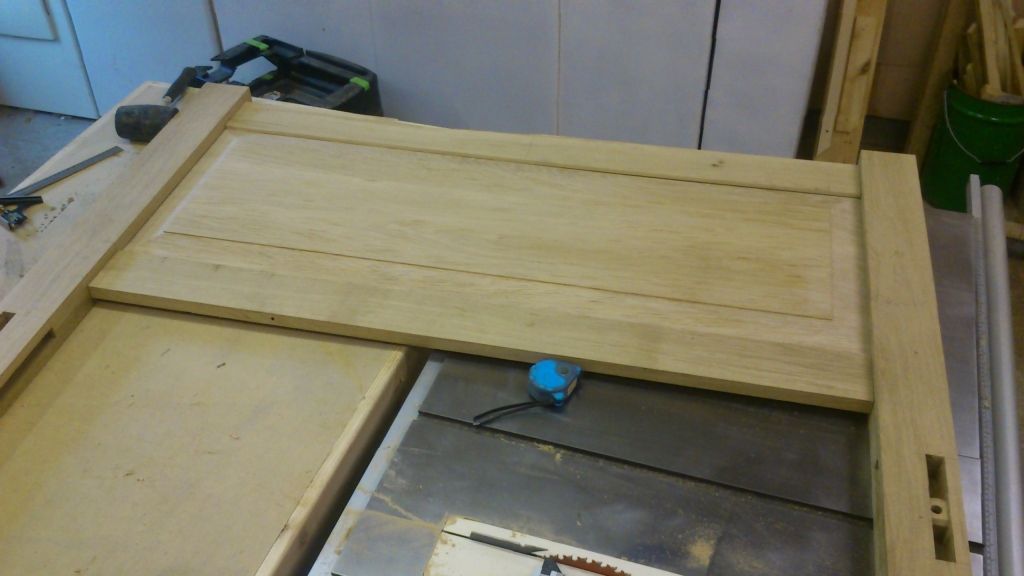
But nothing that won't plane and scrape out, the £11 I spent on my Lie Nielsen card scrapers was the best £11 I ever spent. Just the two closest sides cleaned up in this picture:
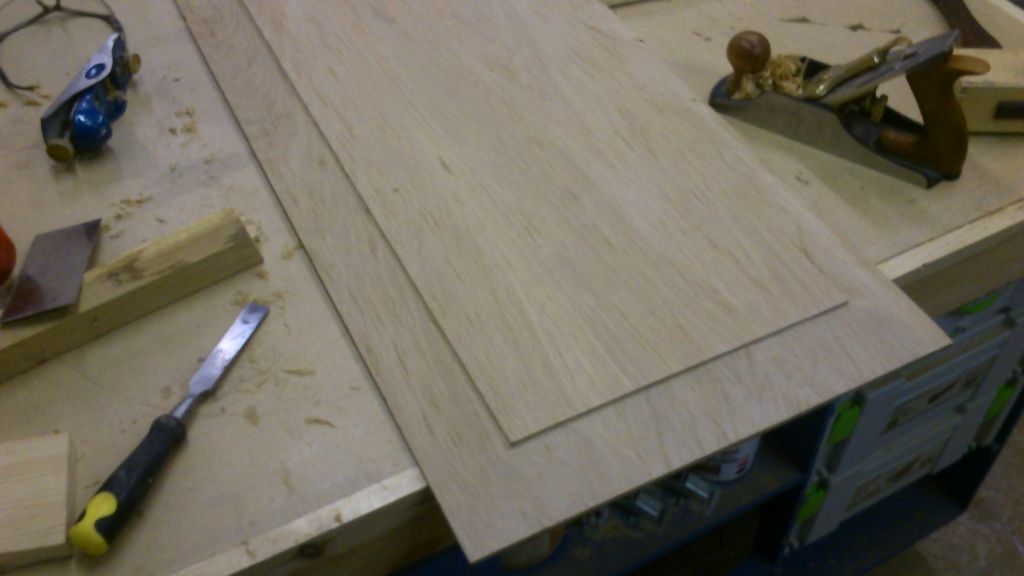
So headboard assembly tomorrow with some more drawboring. Then just fit the center and side supports and trim the Ikea slats to the correct size and fit some spacers to the edge supports for them to sit in and its job done! This larger scale joinery is fairly tricky and I certainly value my domino a lot more having returned to mortise and tenon.
Tomorrow should be the last little bits on this. Just the slats to fit and the oil to apply.
Finished off cleaning the main board and have a quick test fit once I'd grooved the rails and posts:
Then drill for the dowels before spending ages sanding and rounding over all the edges, just a few passed with a block plane and then some 180 grit has given them a nice feel.
Printed off another fullsized sketchup template of my top curve, needs to be deep enough to take out the bark in the top rail. Offset the template by 6mm and used the guide bush to cut it as I don't really like using the bearing guided cutter that I have as its very blunt and prone to catching.

Bit of a hard decision to make here, you can't really see it in this picture but I've chamfered the top edge the same as I did for the footer. I knew that if I did this I would remove the shoulder of the tenon and expose the mortice, but I really wanted to do the same as I had on the footer. Both were unplanned, on the footer I stopped short and left a flair but didn't want that here. So I went ahead and decided I'd fix the gap that would be left.
(Has anyone else got a more beaten up set of bench cookies? I've routed mine so many times now they need replacing.)
Dry fit to mark for the holes in the tenons.
In this blurry picture you might just be able to make out the two pencil marks. I've offset by around 1.5mm here.
Drilled.
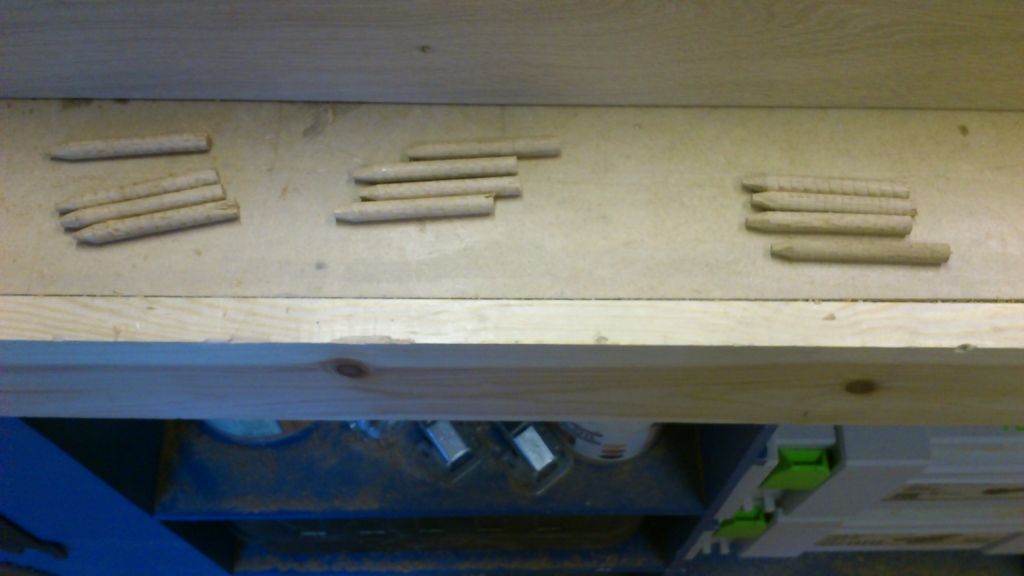
Twelve dowels ready to go.
I used clamps to get it all set before hammering them in. They went in fairly easily but could be seen to visibly pull the joint where the clamps hadn't already.
Must by a flush cut saw:
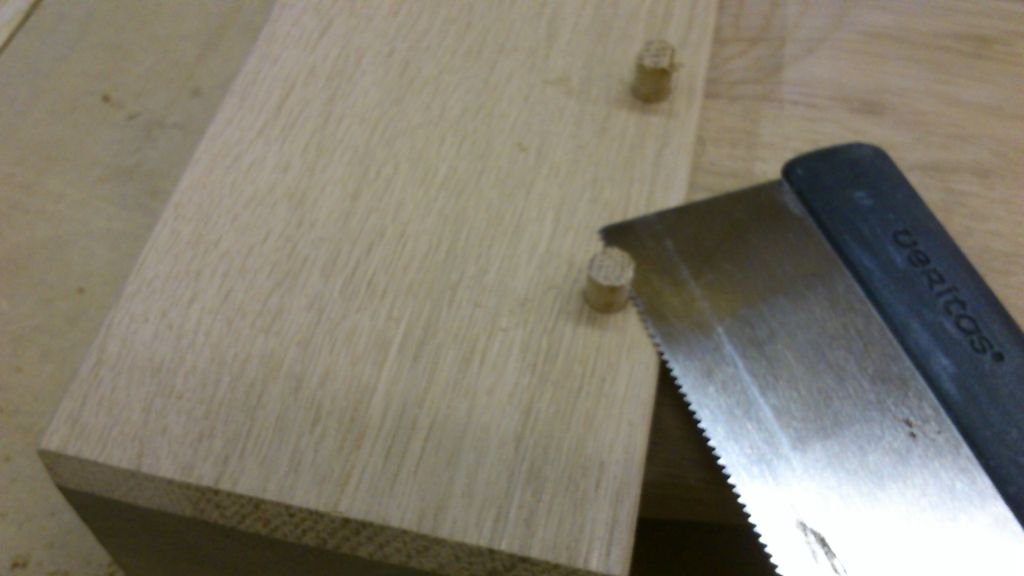
Cut down:
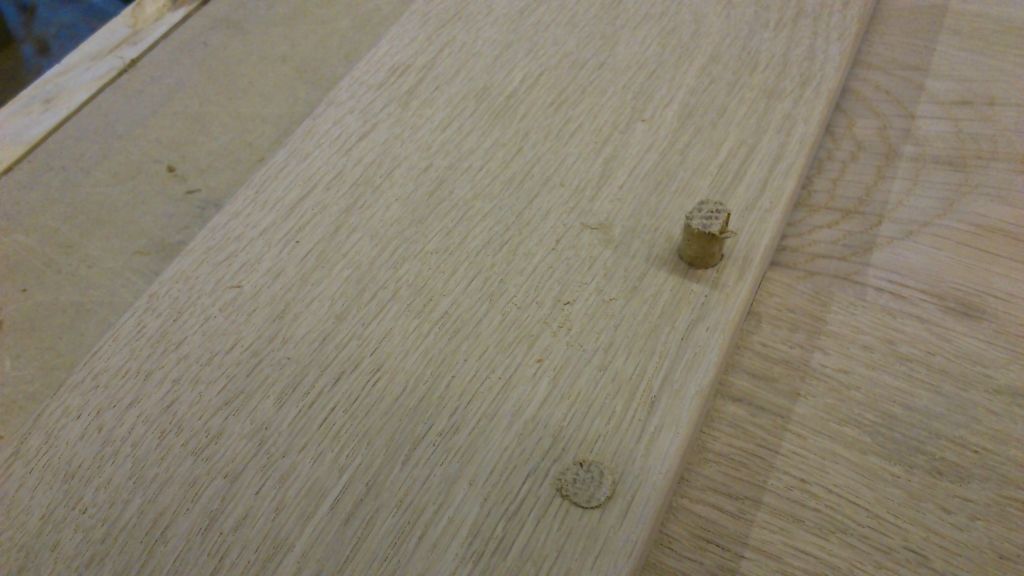
Second one cut down and the first one paried down to final height:
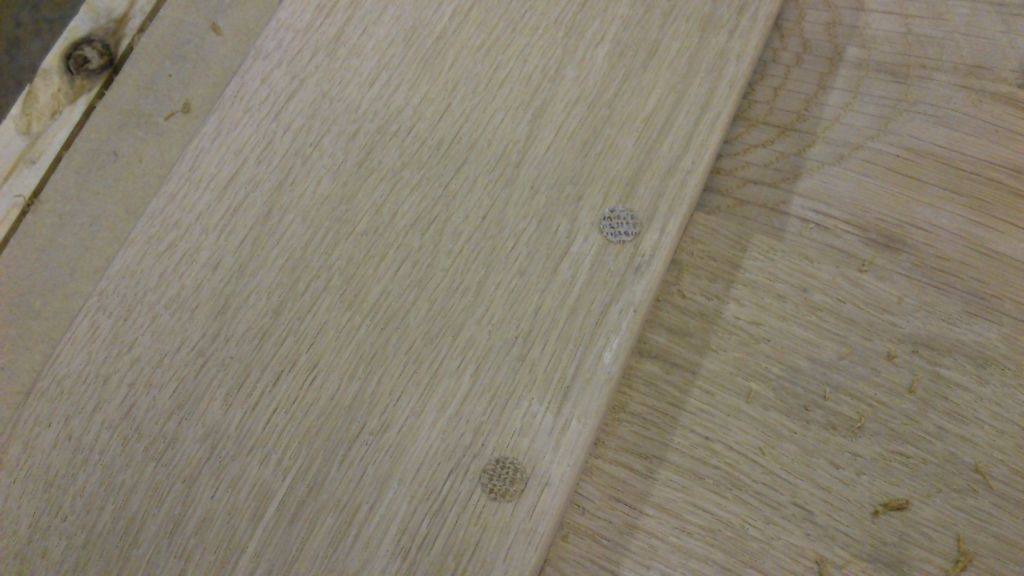
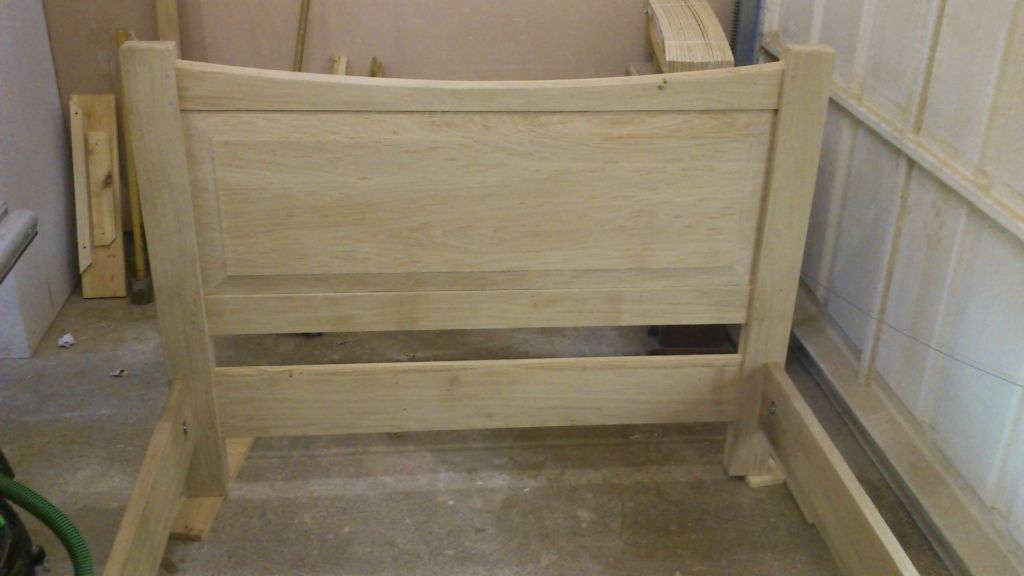
All done, seriously heavy now:
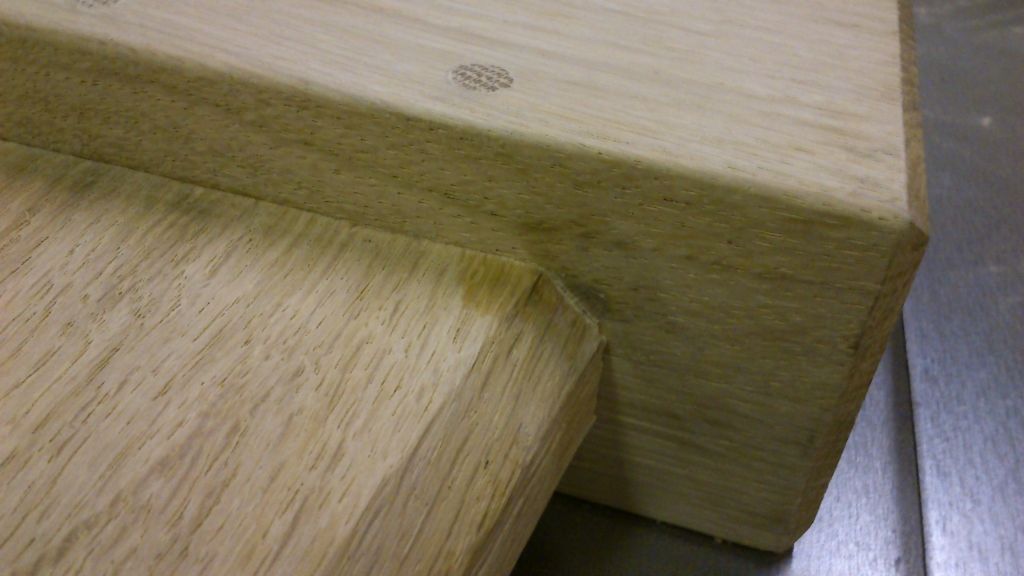
Now here is the little hole I mentioned earlier, one on either side.
I chopped off the corner off an offcut with the chisel that was wedge shaped and applied a little glue:

Then whacked it home until it would go no further:
And trimed off:
Will be a little more visible once the oil goes on, but worth it to have the chamfered top rail which makes it look much better IMO.
Final installment in the next day or so.
Finished this off over the weekend and got it in its new home. Not oiled yet a job for another day.
I needed to assemble it in the workshop to fit the support rails. Made for a difficult few days in the workshop whilst working on other things working around the bed!
The side rails are screwed in with lots of 50mm screws. The center rail is seated in two saddles.
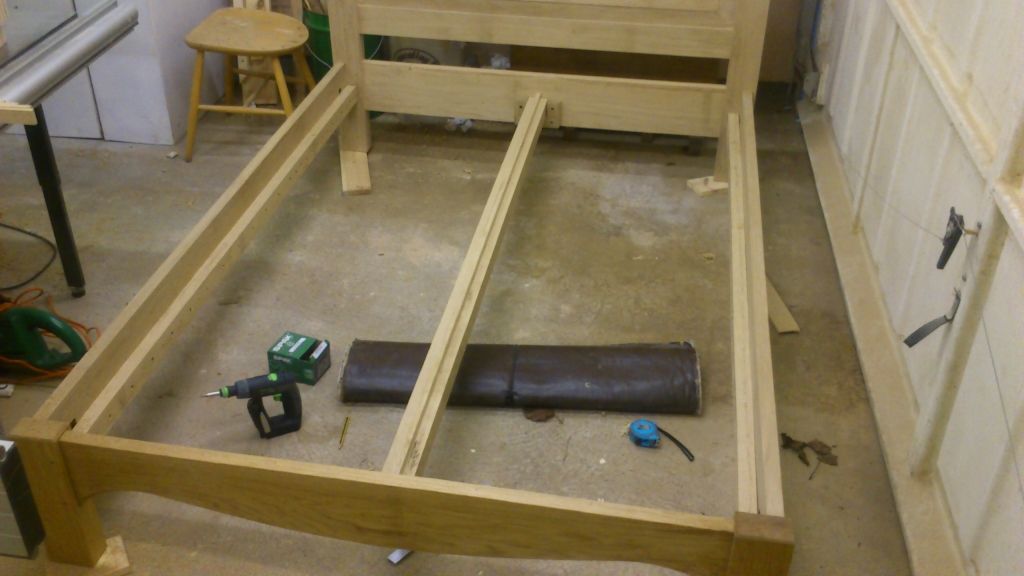
I then batch cut a load of 60mm spacers for the slats:
But as it turns out because the ikea slats have elastic between them it was only neccasary to trap the top and bottom slats in place and the others stay in place. I trimmed 11mm off the end of each side of the slats to get them to the right width for a non ikea matress.

And then final assembly, this room is undergoing a bit of a renovation, so excuse the state of it.
Very good news, the mattress fits.
I also picked up a nice piece of oak to replace the window sill. Its a very nice board:
Almost to nice for a window board!
Apologies for the phone photos, they look really dodgy today. I will take some proper ones onces its oiled.
The intial design:
Which I changed a little as I discovered what nice wood I had for the headboard and added some curves for interest.
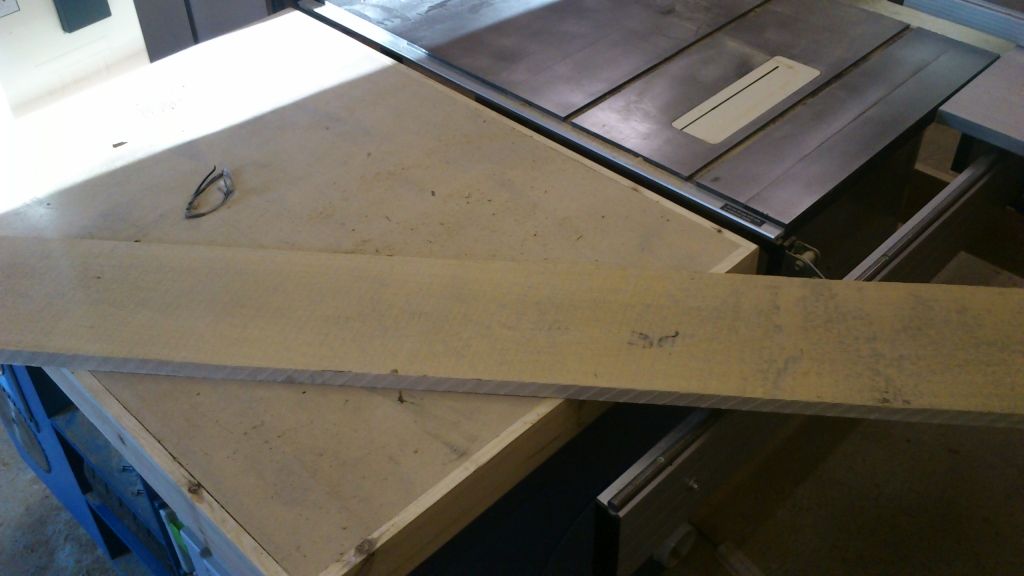
They don't look like much but a huge amount of oak, to give you an idea of scale, my outfeed and table saw make up the footprint of a queen sized bed. The board on the right is 15 inches wide. I will get the two long rails from that board.
Ripping it down, the finished rails will be 180mm wide. So I'm not leaviny myself much breathing space to get both rails from this board.
This is the bin of my Cyclone at the start of the project, after I've planned this down I'll get another shot. I'm amazed at how quickly you can fill 207 litres with waste.
Big check on this end that'll get trimmed off.
After a few days break I got back to it today. Started on my tenons, made a little jig that screws onto the back side of the rails and cut a little offset exactly for the router base and 20mm bit I was using. Then just flip the workpiece and keep routing. I've taken off 5.5mm off each rail to result in a 20mm thick tennon.
The jig, 12mm ply.
Slips over the rails:
Using the spacer to get it the right distance from my layout lines.
Soooo clean.
Keep turning the workpiece:
Really quickly got lovely tennons, I always knew I'd do it with the router as they are to big to go on the saw. So left all the waste wood on the ends to provide support for the router.
Then trim off to give 30mm tennons on the small rails and 40mm on the long rails.
Making a start on the small end legs. These need to be 60mm thick so laminating two 30mm pieces. Cut from the same board to hopefully get the best grain match.
You can just see here I've used two 5mm dominos to align the pieces. Before I glue any of the legs I want to insert a captive square nut into the join. Then I will use some 12mm threaded rod to go into this before bolting on the long rails.
A picture is better, here is the layout of the tenons and the bolts, seen as I am having to laminate to get my 60mm this seems a good way to avoid any standard bed bolts so it really should last forever:
General view:
Close up, I will be cutting out the central part of the tenon to allow space for the threaded rod and the captive nut in the leg.
Started cutting the pockets in the back of the long rails today. Will finish tomorrow and then make some Oak dowel using the RT.
Prepare for lots of pictures!
I haven't done a lot this week as I've been waiting on the square bolts, which arrived today but I didn't see them left by the front door by the postie till this evening. Now that I have them I can glue the legs up which has been holding me back.
Cutting the pockets on the rails for the bolts to go in using a template and guide bush.
Next to cut the middle of the tenon out to allow the bolt to pass through. Since I had the router and guide bush out this was the quickest way:
Some more wood, to be laminated to make the legs, headboard and quite a bit left over for later use.
Ripping and planning a face and an edge for the tall legs at the head end. Each pair make a leg.
Printed off a full scale template of the curve that I want for the rail that will be the foot end.
Putting a straight edge on this board, sometimes its just easier to go outside to Gods workshop when you know your not going to be able to contain the dust.
These two boards will become the panels in the headboard, the plan called for two panels but I may make one large panel as the wood is so nice I think the flowing grain will look good.
Ripped to 330mm and I can reglue the offcuts I think to get a nice plank for something else.
Planed and thicknessed the center support which was previous laminated. Its 80x60mm and I had to hand plane one edge square as I couldn't be bothered to joint such a long heavy piece on the planer.
Next few shots are the big boards being squared and jointed before being glued. The final panel will only be a little over 2/3 of this panels size, but I want the glue joint to be central rather than one large board and small piece on the edge to give it the right width. A mirror frame is looking likely for the offcuts.
Glue on after the edges have been cleaned with 4.5
Clamps on, trying really hard to get them level without dominos as if I use dominos I will surely expose one later on when panel raising.
Glued the template to some 6mm MDF with PVA woodglue, never tried that before but worked fine.
Can't really see in this one but I got close to the line then got it spot on with belt sander free hand.
Template on.
Guide bush still in the router so used this as my jigsaw is broken to get within 3mm off the desired profile.
Didn't get an inbetween photo here, was trying to hard not to mess up with the router. Used a top bearing guided bit to get to shape then a large chamfer bit. Hopefully this chamfer will reflect the one I'm hoping to put on the top of the bed.
And the square nut:
Hope to get the legs all glued up next so I can start work on those mortices.
I got the hint that my Cyclone drum was a bit full when the chippings started appearing in the bottom of the Cyclone. They pile up in a nice hill so once shaken down its a bit easier to empty. Into a 1 ton bag and off to the tip for this lot. Sometimes I put it in the garden bin but I imagine the bin men emptying it and the whole street being engulfed in dust and then me getting some sort of fine or a lifetime bin collection ban.
Carefully marking out the locations taking all the measurements from the mm perfect sketchup plan. Have to have faith here that I did it right on SU.
13mm hole right through one piece and a blind hole in the other to give a bit of meat for the nut to grab hold of rather than the very end of the threaded bar.
Rout out the waste.
Square it up with blunt chisel
Leaving a hole tight enough that it needs a mallet to go right in.
Glued into its new home.
Out of clamps this afternoon and just checking the rod goes in square in all planes.
Should begin to see something that looks like a bed soon.
Nothing very exciting to show, just a lot of holes. I've used the router and squared them by hand.
Test fit:
Ready to drawbore:
Mark up for the holes:
And offset on the tenon closer to the shoulder by 2mm.
Added the chamfers to the legs before final assembly:
I made the dowels using the router, but I also tried out the pencil sharpener method from wood gears:
Ready the dowels to go through:
And the finished joint with its Osmo Hard Wax oil on:
Cleaning up the central support for later:
I got this bit from screwfix on offer, its 13mm and long enough to go through the rails and reach the pocket. Its a bit a monster.
Now making the tenons for the headboard, struggled to find good wood for these bits, I hope it turns out ok after the central panel is so nice. I'm using the TS method we were talking about a few months back where you feed the work in from the side over the blade. Its still a decent method although not helped by my triple cut blade been totally blunt at the mo.
Ignore the pencil line, its nothing to do with the tenon.
Laying out for the mortices:
And cut with the router and fence, I'd made templates for all the others and used a guide bush. This was a lot quicker for just these simple ones.
Now laying up to get the final size of the main panel, no mistakes allowed here:
And once I'd got the panel to the right size I put it through the saw. This was super dust as its a 60mm deep angled cut. Full respirator required! I tried the Chatinger method out on this one. It didn't really help as it made the panel heavy and more cumbersome. But for a smaller panel it would defo be good. Plenty of burn and stuff here:
But nothing that won't plane and scrape out, the £11 I spent on my Lie Nielsen card scrapers was the best £11 I ever spent. Just the two closest sides cleaned up in this picture:
So headboard assembly tomorrow with some more drawboring. Then just fit the center and side supports and trim the Ikea slats to the correct size and fit some spacers to the edge supports for them to sit in and its job done! This larger scale joinery is fairly tricky and I certainly value my domino a lot more having returned to mortise and tenon.
Tomorrow should be the last little bits on this. Just the slats to fit and the oil to apply.
Finished off cleaning the main board and have a quick test fit once I'd grooved the rails and posts:
Then drill for the dowels before spending ages sanding and rounding over all the edges, just a few passed with a block plane and then some 180 grit has given them a nice feel.
Printed off another fullsized sketchup template of my top curve, needs to be deep enough to take out the bark in the top rail. Offset the template by 6mm and used the guide bush to cut it as I don't really like using the bearing guided cutter that I have as its very blunt and prone to catching.
Bit of a hard decision to make here, you can't really see it in this picture but I've chamfered the top edge the same as I did for the footer. I knew that if I did this I would remove the shoulder of the tenon and expose the mortice, but I really wanted to do the same as I had on the footer. Both were unplanned, on the footer I stopped short and left a flair but didn't want that here. So I went ahead and decided I'd fix the gap that would be left.
(Has anyone else got a more beaten up set of bench cookies? I've routed mine so many times now they need replacing.)
Dry fit to mark for the holes in the tenons.
In this blurry picture you might just be able to make out the two pencil marks. I've offset by around 1.5mm here.
Drilled.
Twelve dowels ready to go.
I used clamps to get it all set before hammering them in. They went in fairly easily but could be seen to visibly pull the joint where the clamps hadn't already.
Must by a flush cut saw:
Cut down:
Second one cut down and the first one paried down to final height:
All done, seriously heavy now:
Now here is the little hole I mentioned earlier, one on either side.
I chopped off the corner off an offcut with the chisel that was wedge shaped and applied a little glue:
Then whacked it home until it would go no further:
And trimed off:
Will be a little more visible once the oil goes on, but worth it to have the chamfered top rail which makes it look much better IMO.
Final installment in the next day or so.
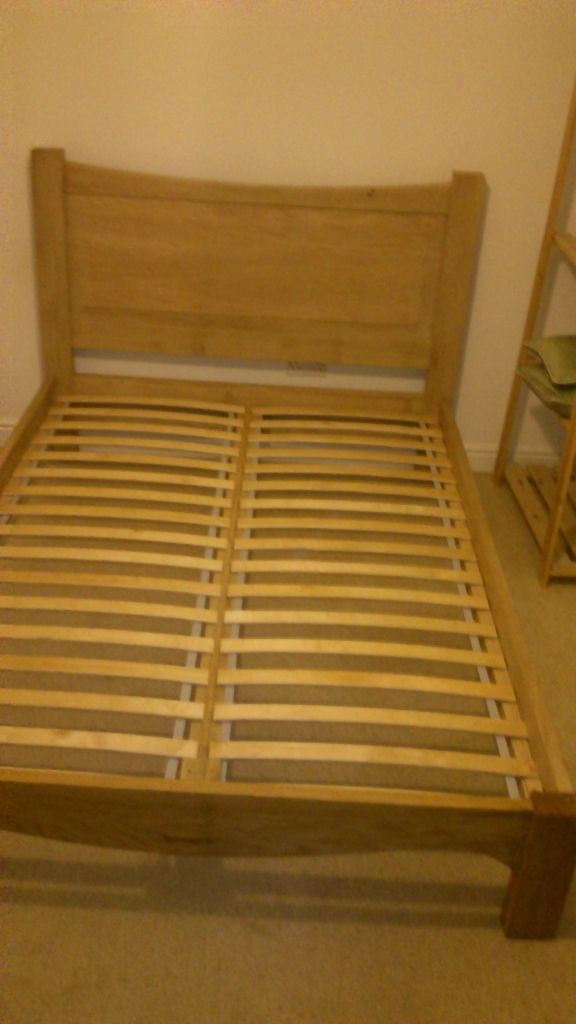
Finished this off over the weekend and got it in its new home. Not oiled yet a job for another day.
I needed to assemble it in the workshop to fit the support rails. Made for a difficult few days in the workshop whilst working on other things working around the bed!
The side rails are screwed in with lots of 50mm screws. The center rail is seated in two saddles.
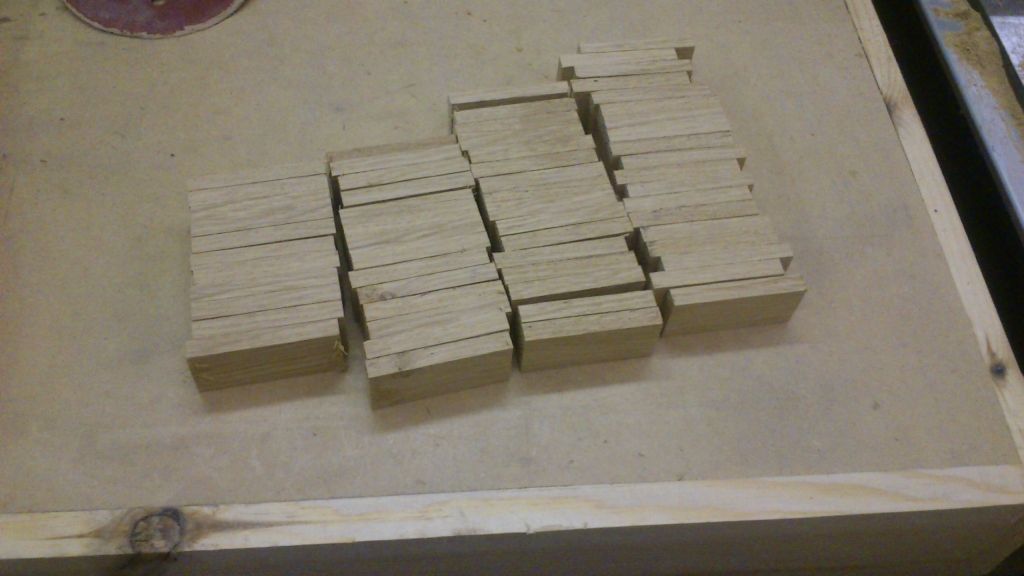
I then batch cut a load of 60mm spacers for the slats:
But as it turns out because the ikea slats have elastic between them it was only neccasary to trap the top and bottom slats in place and the others stay in place. I trimmed 11mm off the end of each side of the slats to get them to the right width for a non ikea matress.
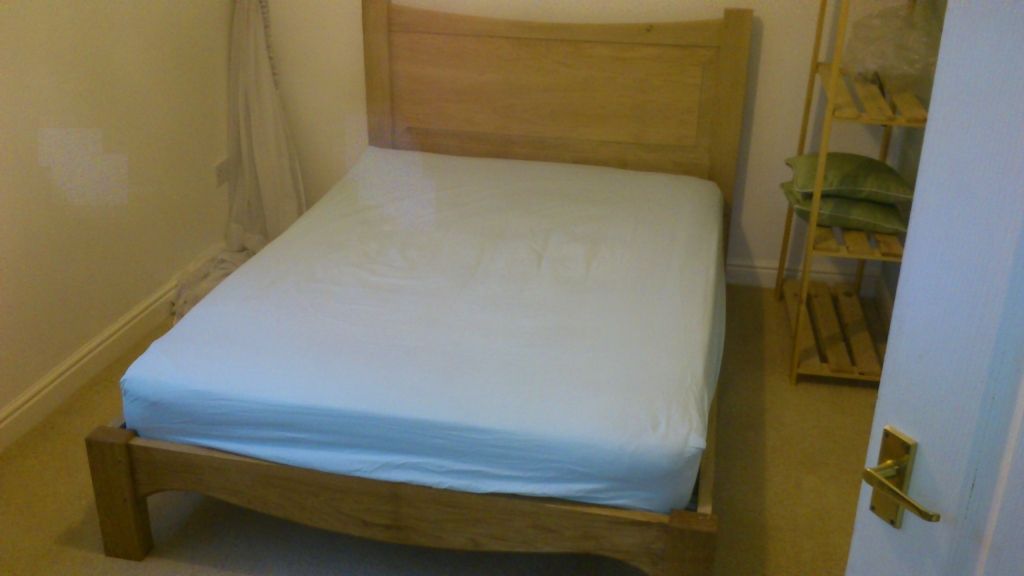
And then final assembly, this room is undergoing a bit of a renovation, so excuse the state of it.
Very good news, the mattress fits.
I also picked up a nice piece of oak to replace the window sill. Its a very nice board:
Almost to nice for a window board!
Apologies for the phone photos, they look really dodgy today. I will take some proper ones onces its oiled.