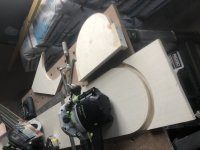
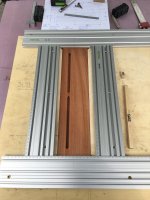
It's a bit hard to see from the pictures, but you don't seem to have a template covering the inner curve (only the convex side of the workpiece). Given I have seen this correctly: This leads to the channel being wide open on the 'offcut' side.
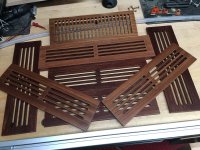
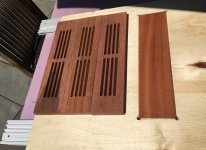
You might have an easier life using a template with a channel: It would close up the workpiece against the router base (and, given you make the alignment blocks along the whole template and a bit wider, the sides of the groove) which should make the DC attachment suck through the freshly made channel and hopefully collect more of what's in there. Would also make guiding easier as it would prevent the bit from escaping the intended path - or allow to use a smaller bit and two passes (one along each edge of the channel) for a cleaner (and possibly quicker, as a smaller bit needs to remove way less material) result.
Having such a template below the workpiece (using a bit with a bearing on the tip) might make life even easier as you could permanently clamp the template to the table (given that it's wide enough, but that shouldn't be a problem), then you would only need to clamp the workpiece aligned against a single-sided alignment block/strip (which would also be the perfect place to put any alignment markings you might need to reference the workpiece against) on the template.
Sitting such a template on a small box would also allow you to add dust collection from below (through the groove of the template) by connecting an additional vac to the box. Would likely be quicker to handle as you would only need to move/clamp the workpiece (not the template as that would stay) which could well compensate any time spent making that kind of jig (especially when you have to process hundreds of workpieces).

")