JonathanJung
Member
- Joined
- Apr 7, 2018
- Messages
- 267
Sparktrician said:Joe, that countertop looks wonderful. I really like how you got the Osmo finish just right. Which two colors did you use? [smile]
Also interested. Turned out really well!
Sparktrician said:Joe, that countertop looks wonderful. I really like how you got the Osmo finish just right. Which two colors did you use? [smile]


Jim Kirkpatrick said:Snip.
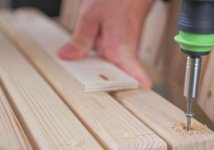
But I also used the Domino to cut the mortises for the back slats. First cutting the mortises then milling the back slat stock to the right thickness and then I think I used an 1/8" round over bit in the router table to fit the corner curves of the mortise.
Jim Kirkpatrick said:Ok, I've been saving this one. Not saving but this swing just came out of winter storage so I couldn't take any pictures. I built this porch swing 11 yrs ago. And I used my Domino 500 in the usual way for joinery. It's Norm Abram's design and I used sipo dominos to help stand up to the weather.
But I also used the Domino to cut the mortises for the back slats. First cutting the mortises then milling the back slat stock to the right thickness and then I think I used an 1/8" round over bit in the router table to fit the corner curves of the mortise. Worked out great and happy to say, it's still holding up after all these years and the domino joints are just as tight as the day I glued them up.
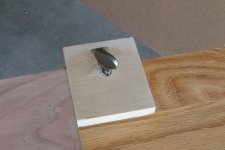
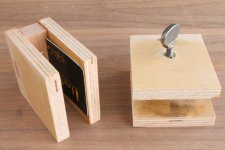
HarveyWildes said:On a Baltic birch shop box for holding accessories, use Dominos at each end (3/4") to line up the box top and bottom, then (in theory) use spring latches to latch to box shut. I'll post a pic if I remember after the latches get here.
") .
.ChuckM said:Q: Why do you need three sets of fence kits?
Jim Kirkpatrick said:Ok, I've been saving this one. Not saving but this swing just came out of winter storage so I couldn't take any pictures. I built this porch swing 11 yrs ago. And I used my Domino 500 in the usual way for joinery. It's Norm Abram's design and I used sipo dominos to help stand up to the weather.
But I also used the Domino to cut the mortises for the back slats. First cutting the mortises then milling the back slat stock to the right thickness and then I think I used an 1/8" round over bit in the router table to fit the corner curves of the mortise. Worked out great and happy to say, it's still holding up after all these years and the domino joints are just as tight as the day I glued them up.
Jim Kirkpatrick said:Started this thread for all to post pictures and ideas for uses of the Domino other than it's intended purpose of loose tenon joinery. Mods please move if this has already been covered. I think this would be a great sticky. If you have an idea, please post here.
I just built some tables and I used my 500 to cut slots in the aprons for the table top hold down clips. I used to just route or cut a long dado but this looks more professional.