- Joined
- Oct 16, 2015
- Messages
- 5,791
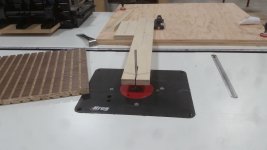
Hand-made attachment for the router table anyway.
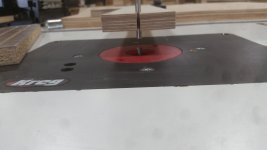
One of the guys in the assembly area came to me today asking if I had way to put the grooves in the opposite side of these parts. Ah....no, but give me 10 minutes. This was a quick make-shift thing, but it works, at least for this purpose. It's not as capable as some of the factory made models, because the pin cannot be quickly tilted up to allow for inside pocketed cuts, but it literally took only minutes to build. It also was not necessary in this case.
I had one before the fire that took everything, but it has been this long (2 years as of last month) since I have needed it. I might spend a little time making it better later, but if it is that long between uses?