- Joined
- Oct 16, 2015
- Messages
- 5,826
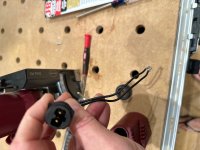
Michael Kellough said:For me using the Festool sleeved hose/cord combo with a pigtail adapted tool is a pain because the the power cord can’t retract far enough, or the pigtail is too long. I could open the tool and shorten the pigtail but then I’d loose the very nice crimped ends on the wires.
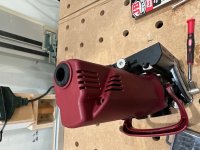
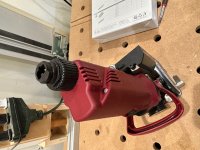
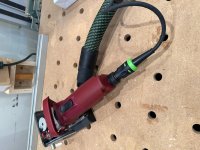
Here is the original belt sander.

That's really wild looking. I have never seen Holz-Her hand tools of any kind, only large industrial machines (Edge banders, dowel inserters, and the like)
Much like Paul does, I move the Plug-it cable and tool hose between tools as I use them. I don't use a sleeved hose though, they seem to bulky and stiff to me. I just wrap a velcro strap around them at the tool end, near the Blu-tooth button. That makes it easier to slide the cable in or out as needed. Some tools need more slack because the connections are further apart. The sanders have them very close together, but the DF500 and MFK 700 need to separate them a little more.
The two tools I would most like to have the Plug-it ability are the RAS and the Lamello Zeta.
Definitely first world problems, but annoyance none the less.
Do you really think I could get ahold of an AEG one? Where?