OK, here is some data on my experience. I had to this point left the factory stops as they were and I had used my Woodpecker 1281 square to square the cutting guide/track to the fence. I have watched many videos on this process and felt like I knew how to do so. And as I said in my first post, I have struggled getting square cuts.
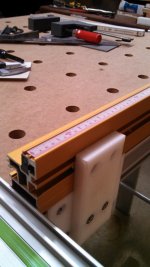
So I decided to first adjust my fence to be parallel to the 2nd row of dog holes using Qwas Dogs. I then checked the guide rail for squareness using my square and I thought it looked square so I performed the 5 cuts test. And my final piece was...
31.6mm at one end, and
33.5mm at the other. So obviously not square. And this is likely better than what I was getting before.
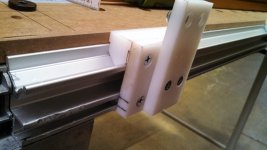
So next I used my parallel guides to cut a strip of plywood to be 50mm wide and I used the plywood strip to align my cutting rail to a column of dog holes. My strip of plywood was 50.16mm at one end and 50.25mm at the other. So I loosened the feather keys and adjusted them to this measurement. (Same as Paul Marcel video.) I then checked the distance of the rail to each of the dogs I was using for setup and they were within 0.1-0.2mm of each other.
Finally I performed another 5 cut test with the following result...
22.2mm at one end
20.95mm at the other. So still a bit over 1mm off.
I am not sure if this is close enough or if I need to try again. And this was all using the MFT3 cutting kit. I am also going to try out a set of Parf Dogs and see if I can do better with this. But I need to figure this out before I get back to my Sysports I am trying to build because I have already burned through a sheet of Plywood in this process.
And a couple more things I thought of...
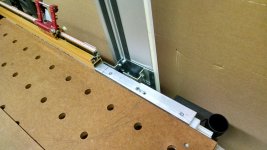
-I checked my square with drawing two lines and it seems to be square.
-I do have the Slop Stop installed in my guide rail.
Finally here are some pictures...
Setting up fence with Qwas Dogs:
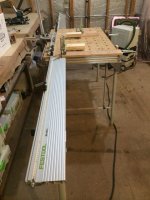
Setting up Guide Rail with Dogs and Spacer:
Square:
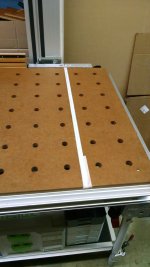
Final Cuts:
Thanks for further comments.
")