Dane
Member
- Joined
- Jan 27, 2008
- Messages
- 461
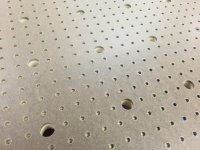
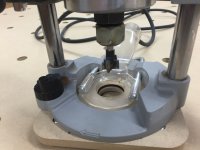
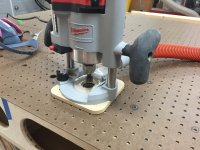
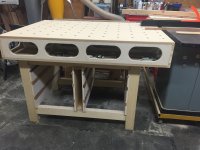
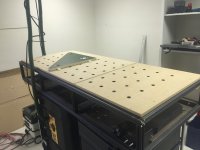
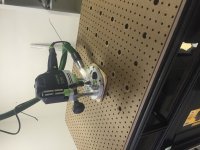
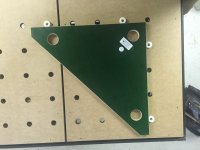
I don't see a lot of mention of the Woodrave jig here- so I thought I'd throw in my 2'cents. It works remarkably well and quickly for a very low cost. It took me about 20 minutes start to finish to set up for and complete a 2ft x 5ft custom top. When finished, I checked for square using the Anderson Plywood MFT square and couldn't find any issues. Pics below.
")