Merry Christmas!
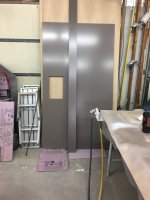
I am a newbie with spraying and trying to spraying the kitchen cabinets. Today I test sprayed a few pierces of wood and on paper with Kem Aqua Plus tinted and found the following problems.
1) I timed the viscosity of Kem aqua plus and it is over a minute but not as other suggested 30 seconds. I added a little Floetrol to it.
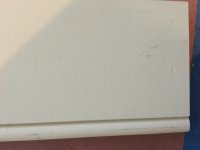
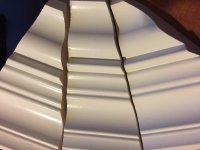
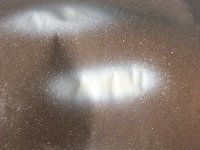
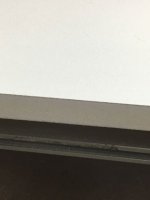
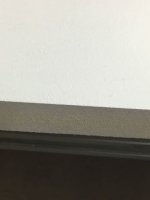
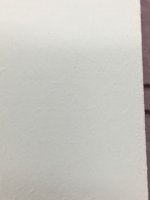
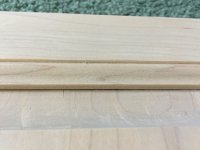
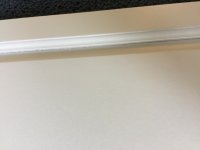
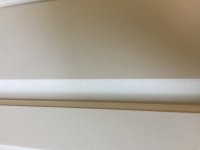
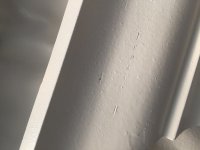
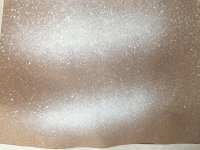
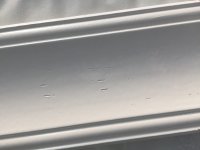
2) Then I used 1.5mm needle ,adjusted to a medium fan pattern and opened the air to halfway and got a kinda splatter pattern. The pictures are attached. Is it normal?
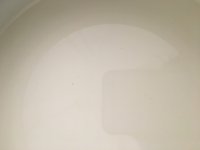
3) When I opened the can, there are bubbles in the can even after stirred well. The finish showed some uneven surface and tiny bubbles as well.
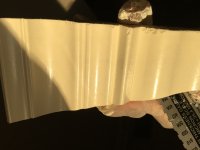
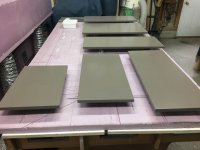
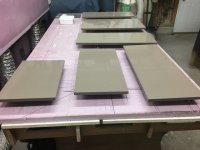
4) I sprayed following the instruction as wet as lake, but mil is more than 4 [sad]
I am not sure where I did wrong. Before this, I tried superpaint on vinyl shutters and it also was splattering a little but the final finish is pretty flat. Is the temperature causing it? My room is 60 degrees with fan facing to a open window. Outside is 40 degrees.
Please help me diagnose the problems. Really appreciate your advice.
I am a newbie with spraying and trying to spraying the kitchen cabinets. Today I test sprayed a few pierces of wood and on paper with Kem Aqua Plus tinted and found the following problems.
1) I timed the viscosity of Kem aqua plus and it is over a minute but not as other suggested 30 seconds. I added a little Floetrol to it.
2) Then I used 1.5mm needle ,adjusted to a medium fan pattern and opened the air to halfway and got a kinda splatter pattern. The pictures are attached. Is it normal?
3) When I opened the can, there are bubbles in the can even after stirred well. The finish showed some uneven surface and tiny bubbles as well.
4) I sprayed following the instruction as wet as lake, but mil is more than 4 [sad]
I am not sure where I did wrong. Before this, I tried superpaint on vinyl shutters and it also was splattering a little but the final finish is pretty flat. Is the temperature causing it? My room is 60 degrees with fan facing to a open window. Outside is 40 degrees.
Please help me diagnose the problems. Really appreciate your advice.

")