Bugsysiegals
Member
- Joined
- Mar 19, 2016
- Messages
- 908
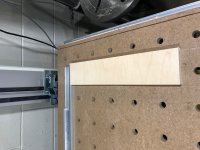
I've a really nice SawStop with Incra fence but figured I'd use my TS55 and MFT/3 to cut some cabinet parts. An optimizer had laid out stetchers so that they would be cross cut from a width I'd ripped previously. The stretchers were 100mm wide which meant I couldn't use the end stops to make repeatable cuts. I know they're only stretchers but it took a lot of time continuously marking and aligning the guide rail for these cuts. Is there something I've not considered here that would have made it easier and repeatable?