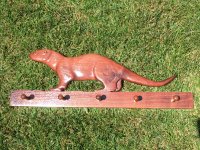
I recently wrapped up a quick project for a wildlife biologist friend of mine who just retired, and who also shares an interest in furbearers. The project started with 12" wide rough sawn walnut that was never stickered, so it had a natural cup to it. Not being able to use it for furniture and certainly not wanting it to go to waste it, I put the curve to some use in a relief carving of an otter. Here are the steps:
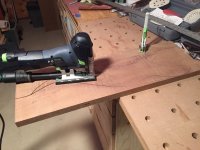
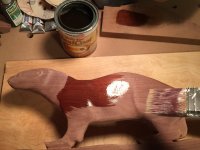
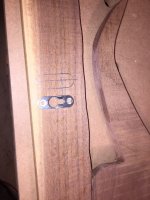
First is the layout and cutting.
[attachimg=1]
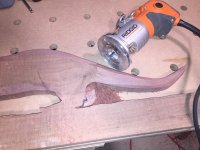
Then I used a small angle grinder to round the edges of the back and tail, and some relief cutting with my trim router to seperate the hind feet.
[attachimg=2]
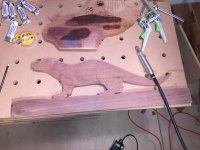
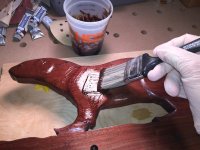
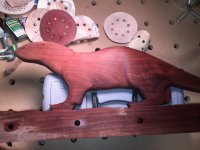
Then went to town with my foredom carver to rough out the main muscle groups and head, and work on developing the color for the upcoming gel stain.
[attachimg=5]
[attachimg=3]
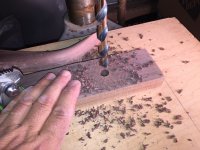
I needed to figure out which peg size to go with. Options were 5 large for coats, or a dozen smalls for hanging tanned furs. Went with the large and drilled away…
[attachimg=4]
First is the layout and cutting.
[attachimg=1]
Then I used a small angle grinder to round the edges of the back and tail, and some relief cutting with my trim router to seperate the hind feet.
[attachimg=2]
Then went to town with my foredom carver to rough out the main muscle groups and head, and work on developing the color for the upcoming gel stain.
[attachimg=5]
[attachimg=3]
I needed to figure out which peg size to go with. Options were 5 large for coats, or a dozen smalls for hanging tanned furs. Went with the large and drilled away…
[attachimg=4]