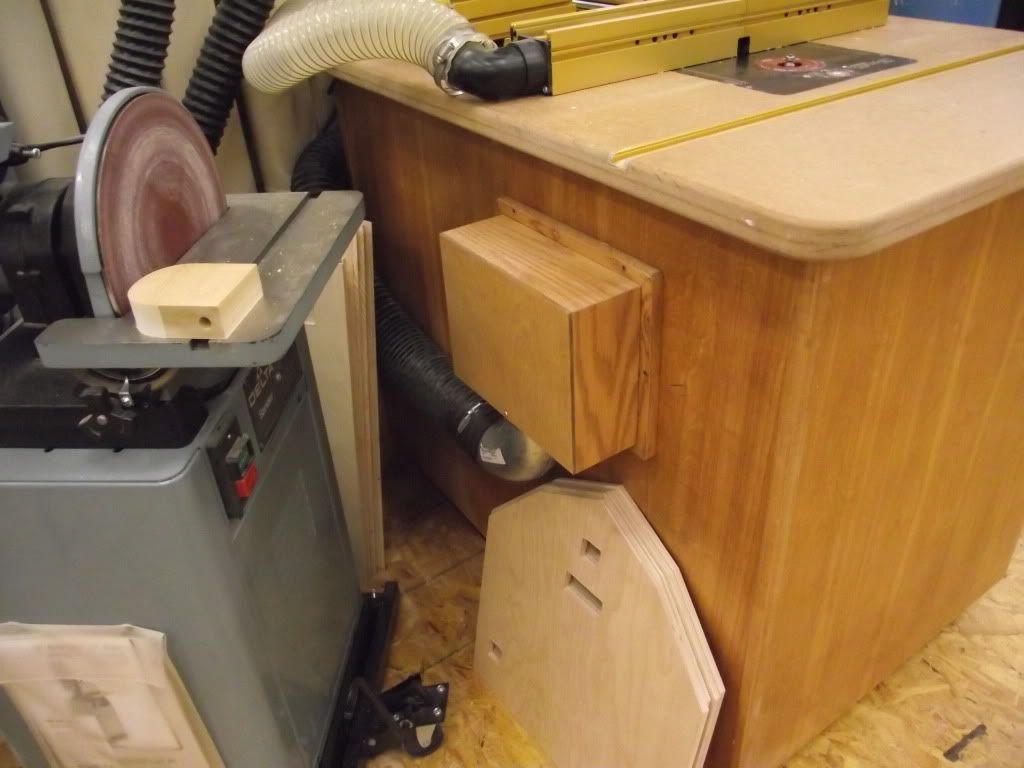
Ignoring the cabinet and dust collection (lots of great ideas on that are around -- including the previously posted pictures).
I have been watching and using different solutions always finding the fence adjustments painful, and the top-insert fence-gap too easy to NOT be flat and my materials tend to catch on either or both the inset and the 2nd fence 1/2.
I just finished taking a furniture course at my local community college. The old boy that was our instructor cleared up some things. Other than a lift, we usually are over thinking this. My collection of thoughts:
1) A router to fence/material is a single point of tangent. It is ALWAYS square to the bit.
2) Inserts and split fences always suck and will always cause some sort of failure due to catching the material or causing inconsistent spots in the path of travel of our materials.
His ideas:
1) Put an mdf/mdf-melamine sheet over the material path/cutting area. Basically, a piece of 1/4" or thicker mdf over the work area. Drill a hole to roughly match the bit (you can raise the bit through it to make a perfect match). Drill other holes to match your router lift as needed. Clamp the sheet to your work surface with a couple of F clamps.
2) Build a fence out of some scrap sized to fit your top and the needed height of your project (feather boards, blade depth, etc). Rough cut a spot to bury your blade if it has a bearing. Use a couple more F clamps to hold it. The fence will be over item 1.
Use:
Raise the router while running to make a perfect hole for the bit (also reducing tear out).
Adjust the fence into the bit (as needed) to fit the bit to the fence. You need ONLY move one end. Also makes for less tear out.
Mark the fence reference position with a pencil, adjusting to the needed position. The mark will be on the back side of the fence when moving it towards the bit, on the front when moving it back from the bit (the most normal use of a fence -- making progressively deeper cuts). You still only move one end of the fence.
No more catching, no more unintended large fence movements (moving only one end a scosh is far less movement at the blade, so most movement gives tiny changes at the bit).
And when you are done, replace the pieces as needed.
I added a refinement to the fence (saving me 2 clamps and cleaning up the clutter). I made a cleat/clamp for each end.
The fence needs to be 4~6" longer than the top. You need 4 carriage bolts/washers/wing nuts, a couple of scraps of wood side.
One piece of wood is the same thickness as your top or a bit less; the length is ~1/2-1" less than the extra length of the fence. Cut this in two.
The other piece of wood is ~2-3" longer than the first piece. Cut it in two.
Clamp them to each end of the fence. Top=fence, middle=shorter piece, bottom=longer piece.
This will sandwich the table top.
Drill two holes in each stack, one near each end. Insert the carriage bolts. The outside end bolts are simply to hold it all together and inline. You could use a T nut here if you like and a conventional bolt.
Drill 2 more holes near the table clamp end. This is for the carriage bolts. Now adjust the middle piece to get good clamping pressure.
It's not fancy (though you could embellish it) but I find it much less error prone than the typical plate/insert/top edges to catch on, and the corresponding split fence edge just past the bit. Better work means less finish work.
Obviously this doesn't address finger boards, but I am sure that could be easy to fix with a couple of carriage bolts.
We tend to make things really neat and over think them. Back to the basics and why we are here -- to build stuff for use elsewhere.


