S
six-point socket
Guest
Hi all,
I thought I start a thread to collect all of my smaller projects, small day to day tasks and so on.
So I posted some tool reviews and now I think it's time to show some of the stuff I have done over time. Please keep in mind that I'm not a professional by any means, I do not offer services or sell stuff of any kind to 3rd parties - everything I do is solely for my personal projects.
Preface to this is as follows: I was remodeling my basement and put tiling on all floors, to gain space I moved the doors out - they had to be cut anyway. You will notice that this is a pretty old and cheapish door, the problem in my basement is that not 2 doors come at the same size - they are all different. Since these doors serve no real purposes for me I decided against having new ones build. Then, after moving the doors a few times around I left one standing upright by accident - of course a little wind came up and blew that door right to the ground. Of course it didn't fell flat to the ground but into something pointy that destroyed a nice section of the door leaf.
Taking into consideration what I wrote above - I couldn't simply buy a new one - and if I had someone custom build it for me, I would have wanted all doors to look alike. So I decided to repair it myself - after all, it's just a basement room door.
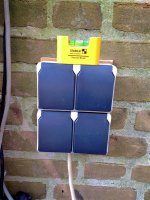
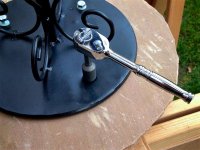
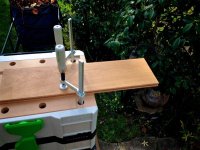
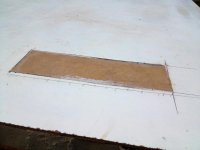
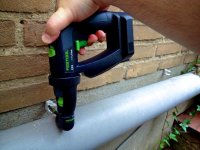
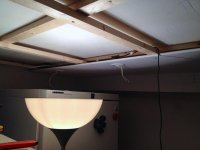
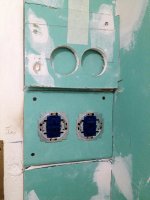
Stupid me didn't take a picture of the damaged door leaf, so we start with a picture where I had already cut out the damaged portion and put in a piece of MDF. The cut was made with a Multicutter and I glued in a support structure made from wood dowels for the little piece of MDF.
[attachimg=1]
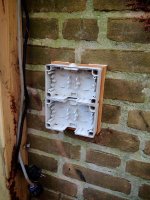
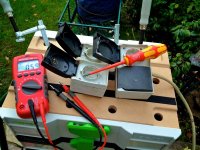
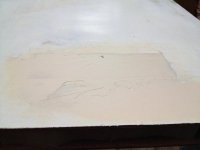
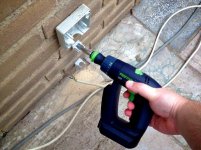
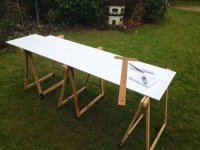
Next I applied wood filler
[attachimg=2]
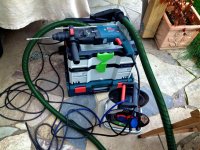
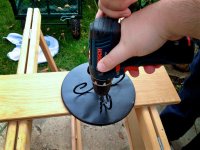
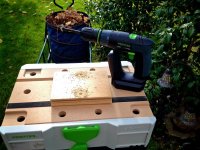
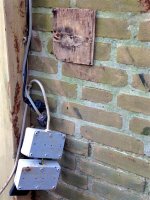
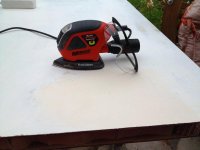
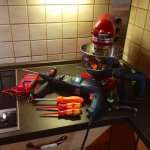
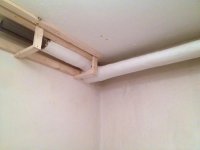
Then started the process of sanding. (Of course I used a dust extractor during sanding)
[attachimg=3]
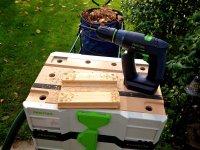
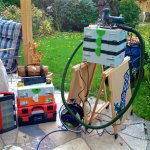
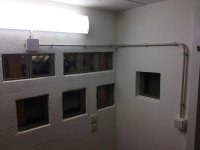
more sanding
[attachimg=4]
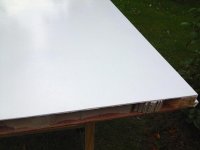
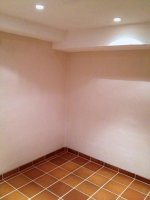
And then the final layer of paint.
[attachimg=5]
Personally I think this turned out pretty well, not so "Quick and dirty" after all and might be an Idea if you face a problem similar to mine.
During normal lighting you won't see no see the formerly affected portion - if you search for it under direct lighting you can find a fine line on the right side.
Kind regards,
Oliver
I thought I start a thread to collect all of my smaller projects, small day to day tasks and so on.
So I posted some tool reviews and now I think it's time to show some of the stuff I have done over time. Please keep in mind that I'm not a professional by any means, I do not offer services or sell stuff of any kind to 3rd parties - everything I do is solely for my personal projects.
Preface to this is as follows: I was remodeling my basement and put tiling on all floors, to gain space I moved the doors out - they had to be cut anyway. You will notice that this is a pretty old and cheapish door, the problem in my basement is that not 2 doors come at the same size - they are all different. Since these doors serve no real purposes for me I decided against having new ones build. Then, after moving the doors a few times around I left one standing upright by accident - of course a little wind came up and blew that door right to the ground. Of course it didn't fell flat to the ground but into something pointy that destroyed a nice section of the door leaf.
Taking into consideration what I wrote above - I couldn't simply buy a new one - and if I had someone custom build it for me, I would have wanted all doors to look alike. So I decided to repair it myself - after all, it's just a basement room door.
Stupid me didn't take a picture of the damaged door leaf, so we start with a picture where I had already cut out the damaged portion and put in a piece of MDF. The cut was made with a Multicutter and I glued in a support structure made from wood dowels for the little piece of MDF.
[attachimg=1]
Next I applied wood filler
[attachimg=2]
Then started the process of sanding. (Of course I used a dust extractor during sanding)
[attachimg=3]
more sanding
[attachimg=4]
And then the final layer of paint.
[attachimg=5]
Personally I think this turned out pretty well, not so "Quick and dirty" after all and might be an Idea if you face a problem similar to mine.
During normal lighting you won't see no see the formerly affected portion - if you search for it under direct lighting you can find a fine line on the right side.
Kind regards,
Oliver


")


")