AlexThePalex
Member
- Joined
- Nov 12, 2008
- Messages
- 7,757
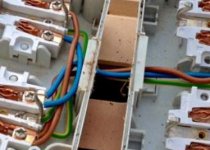
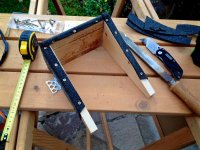
Alex said:I hope you used outdoor cable in your new set up to connect the two boxes, because using the single insulated wire is not according to specs.
[attachimg=1]
tjbnwi said:I don't see a space/gap between the boxes. How does this affect the cable used? Here it would not be considered exposed so outdoor cable would not be required. Of course the feeder cable would have to be outdoor rated.
Alex said:tjbnwi said:I don't see a space/gap between the boxes. How does this affect the cable used? Here it would not be considered exposed so outdoor cable would not be required. Of course the feeder cable would have to be outdoor rated.
Just butting two boxes against each other is not a water tight seal and doesn't count as such legally. In practice it probably won't do any harm the way it is done now, just pointing out it is not according to official specs.
six-point socket said:Picture especially taken for [member=44099]Cheese[/member] [big grin]
[attachimg=1]
Kind regards,
Oliver
Cheese said:[member=20162]Wuffles[/member]
He was right, you can't pull the wires out if you pull them straight out of the Wago, it's like a Chinese finger puzzle, but if you walk the wires out from side to side and kind of unscrew them they'll come out without damaging the connector or wire.
Wuffles said:No mate, I know that, I mean he was cutting them off and throwing them away after one use with the stubs of wire still sticking out.
Wuffles said:six-point socket said:Picture especially taken for [member=44099]Cheese[/member] [big grin]
[attachimg=1]
Kind regards,
Oliver
Once you go Wago. Love them.
Interesting fact btw, I once met an electrician who swore blind they were single use (the push in ones) because you can't just pull them out. Idiot.
")
richy3333 said:A 'spark' who was working on a site I was on, but not working with me was given some 3 port Wagos. He proceeded to push the line, neutral and CPC all into the one Wago. He couldn't fathom the tripping when the power was turned on again!
")


six-point socket said:...
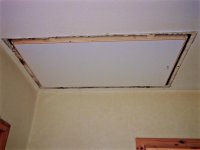
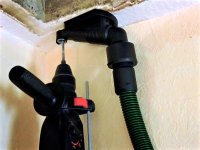
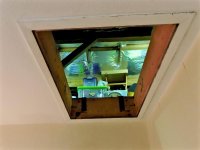
Of course, the ceiling needed some holes, too. The CTL-SYS with the drilling attachment came in very handy.
[attachimg=8]
...
Kind regards, and as always I hope you enjoy my postings.
Oliver
six-point socket said:...
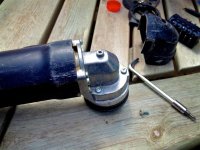
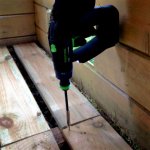
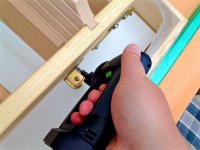
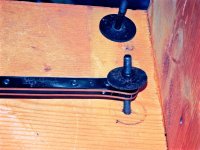
Placing hammer set anchors in my slab for the water tap.
[attachimg=4]
Kind regards,
Oliver