sicd_steve
Member
- Joined
- Feb 26, 2013
- Messages
- 163
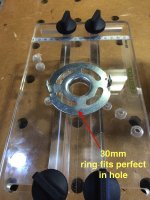
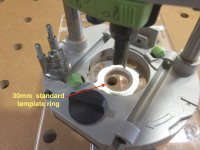
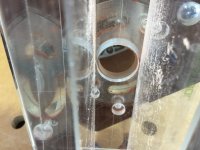
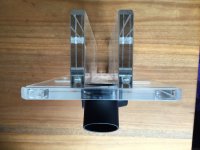
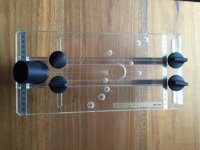
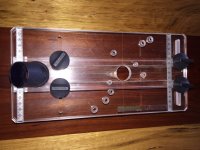
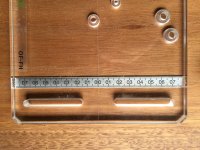
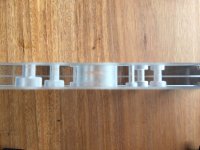
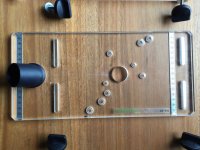
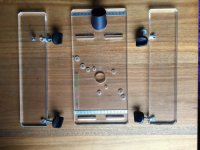
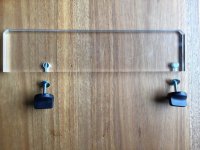
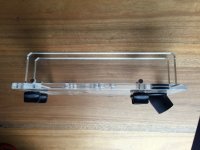
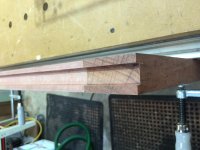
Hi guys I recently bought the "clear Router Aid" so I can trench into the sides of panels and doors. It's a really nice set up to use and have always wanted to be able to that better and more accurate. But I found it was off in my first trench [huh]and I found there was a little bit of play when screwing on the router to the base to centering. This "play" adjustment was my error. Then I found if you put your router 30mm copying ring on the router it fits perfect into the "hole in the router Aid" then tight your screws ....and now perfect alignment to the dead centre. Didn't seem to find this anywhere in the the piece of paper they call a "manual". Yet again the Festool SYSTEM works again everything thing fits into something else. I LOVE IT!!!