Believe it or not, this home improvement started out as a simple pencil box. My wife is into adult coloring books and has a lot of colored pencils. Back in early December I decided I'd make her a pencil chest as a Christmas gift. Five or six drawers, each holding 35 or so pencils. I got the inspiration from some [member=1854]Dave[/member] Stanton videos on one he made for his mom.
December here in New England was unusually cold and my "workshop" is my garage. I started on this project hoping I could finish it by Christmas which didn't pan out. It was too cold to work in the garage and I ran into a number of unexpected snags. I did wind up getting some nice pencils for her that Dave recommended in his videos.
It came down to this - since I'm recently retired and if I'm to pursue a woodworking hobby, I need a dedicated place to work, not the garage. It's too hot in the summer, too cold in the winter, cars need to be moved, tools aren't easily accessible, etc. So the decision was made to carve out a space in the basement. In January we proceeded to empty out the accumulation in the basement, some going to trash, some to recycling, a lot to charitable donations.
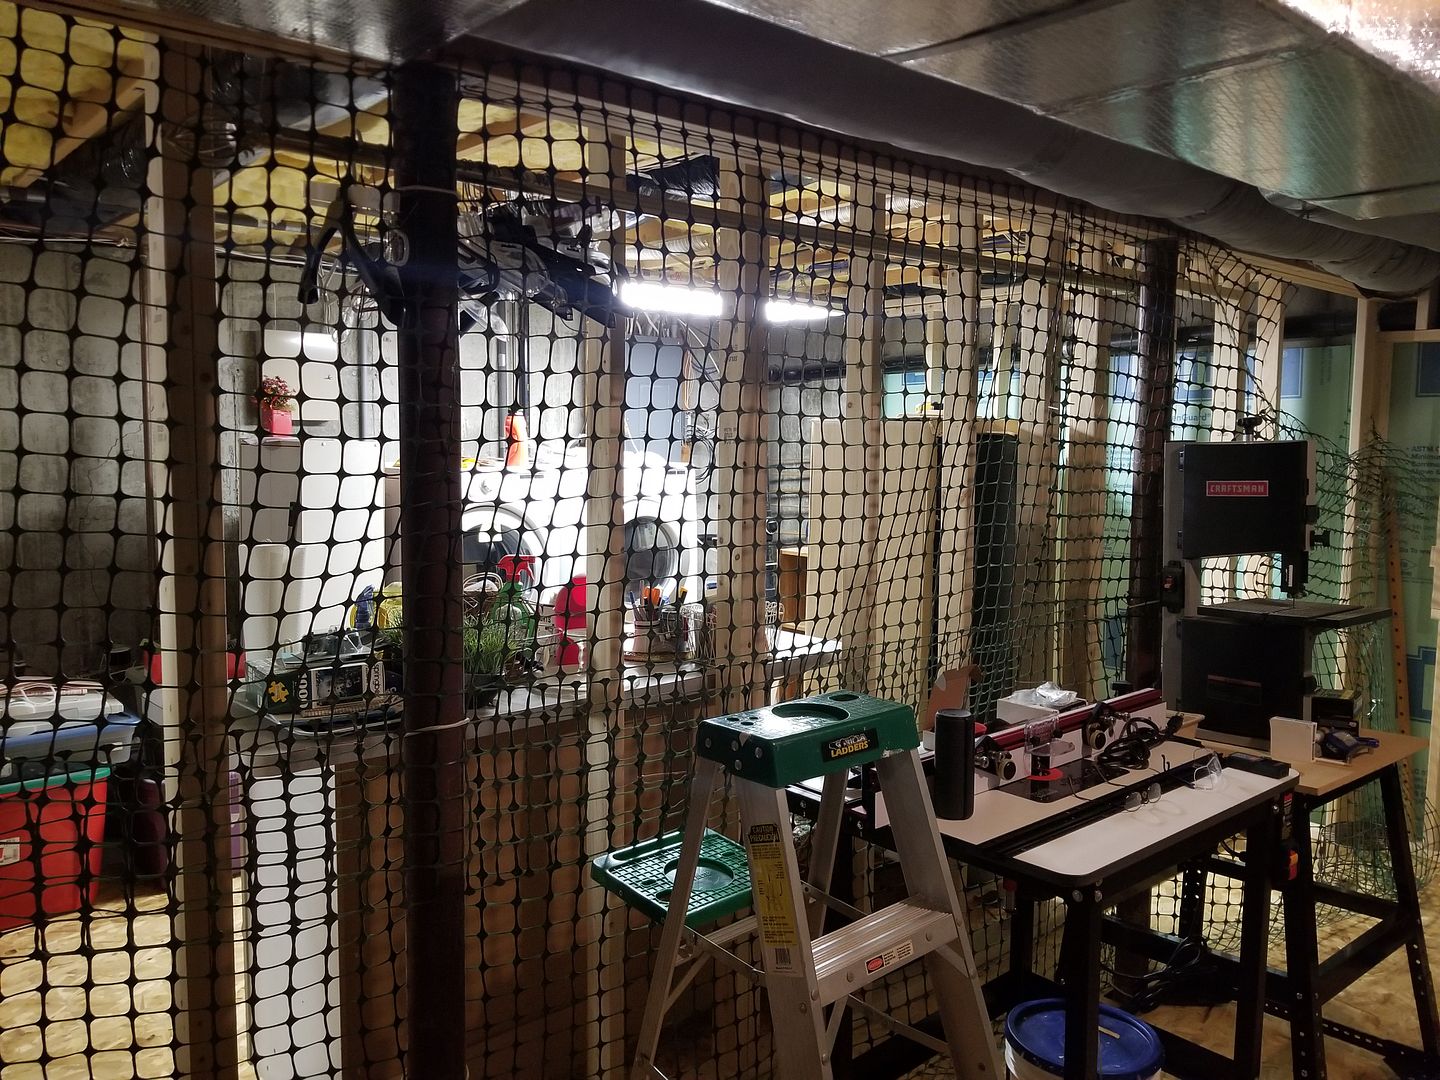
I don't have a real before picture, but here's a view of the area from what is now the shop. The netting is in place to keep our cats from hiding in areas of the basement where they don't belong. Their litter boxes are in the laundry area. I had to work around this during framing to keep them out.
I already had my JessEm router and bandsaw moved out of the garage and into the basement. The hassle was not having a clear space to work in, there were some things still in the way along with the washer and dryer which I was constantly moving.
And the view from the laundry area -
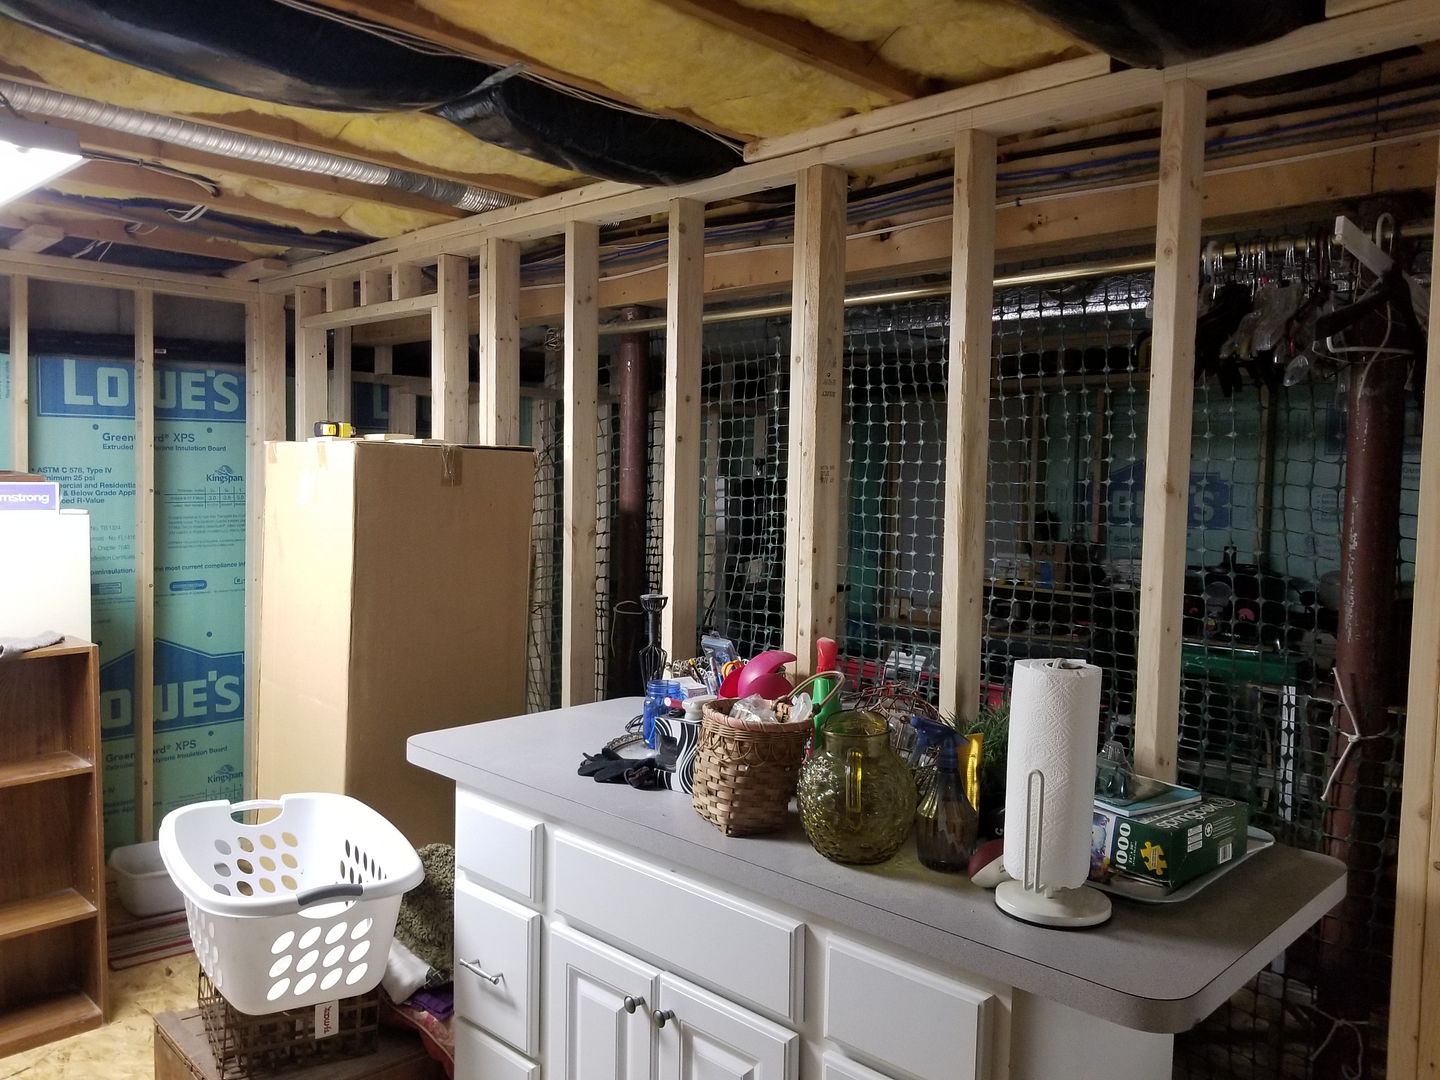
The subfloor is DriCore, the same stuff I used in my wife's closet which occupies another area of the basement. The framing of the outside walls went smoothly as I could build an 8 ft long wall on the floor and stand it up into place. The wall between the laundry and shop was a challenge as I didn't have the floor space, plus the washer and dryer were always in the way (and I had to maintain a working laundry room). So I built those walls in smaller 4 ft sections in the shop, brought them under the main beam sideways and stood them in place, piecing them together.
The main goal was to get the shop up and running but as I was essentially working on two rooms at once, I decided it was more important to get the laundry room completed. I won't bore you with too many construction pics. Here's the closet framing behind the washer/dryer for access to the water meters and electrical panel down at the far end. I had an electrician come in to add a subpanel in the shop which worked out well, I've got plenty of 20 amp circuits.
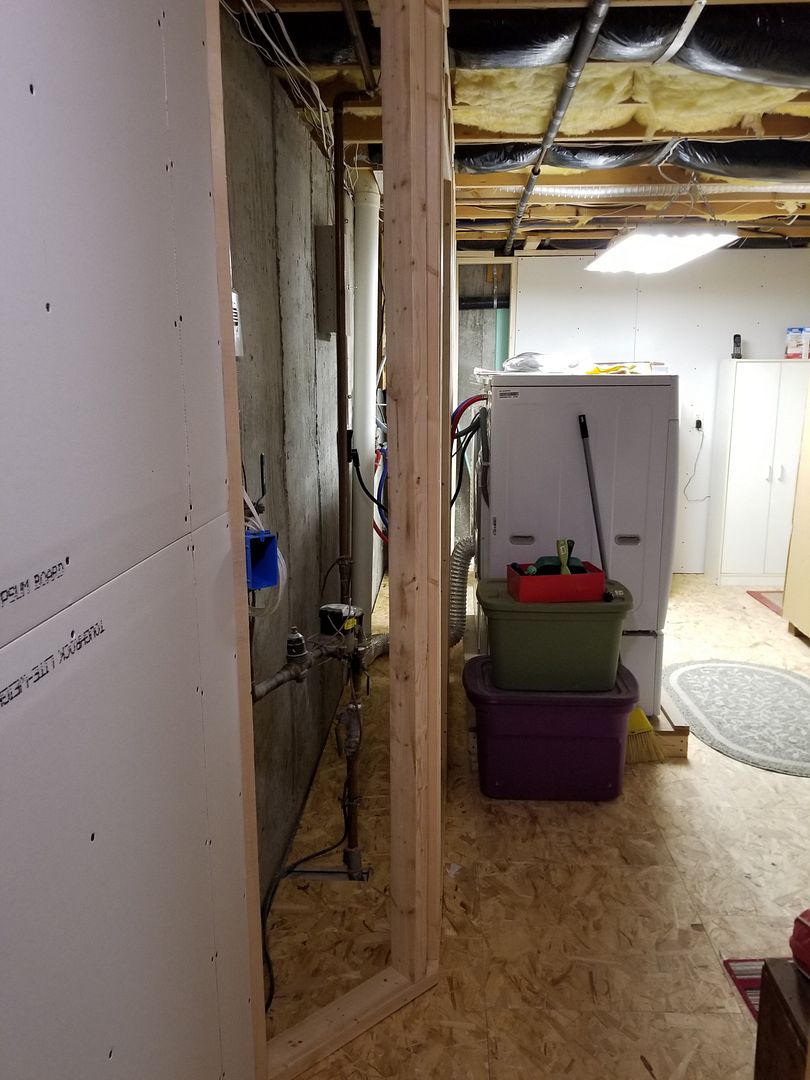
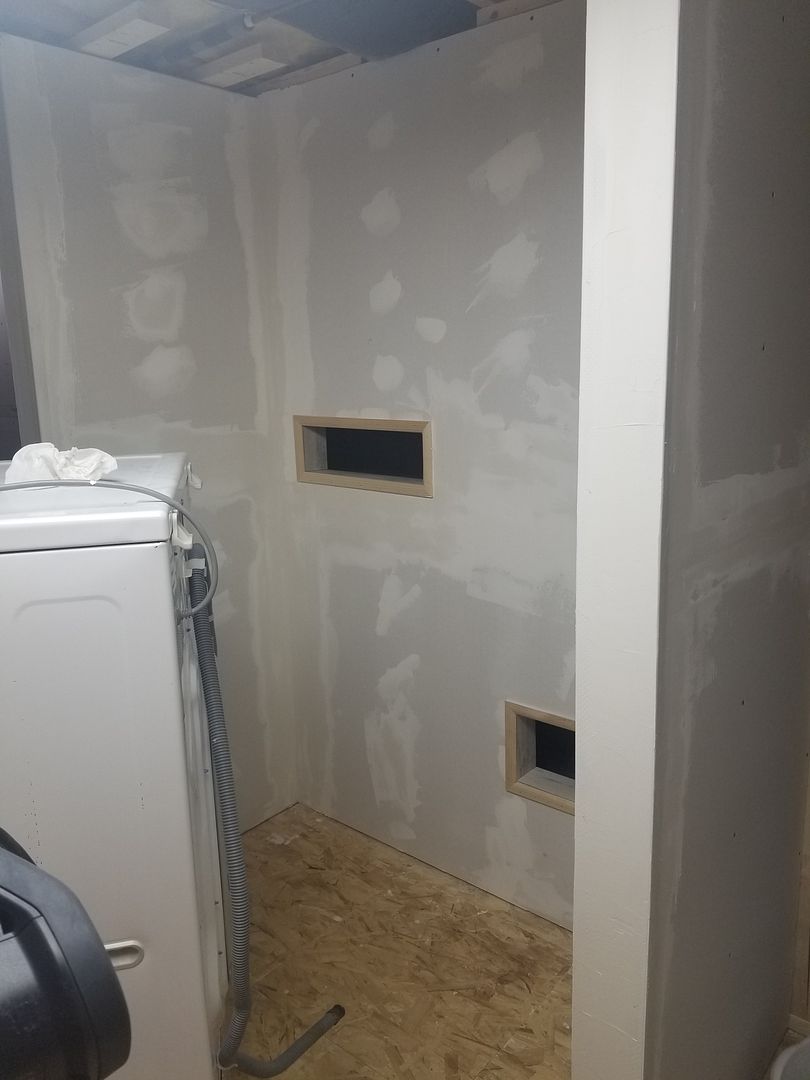
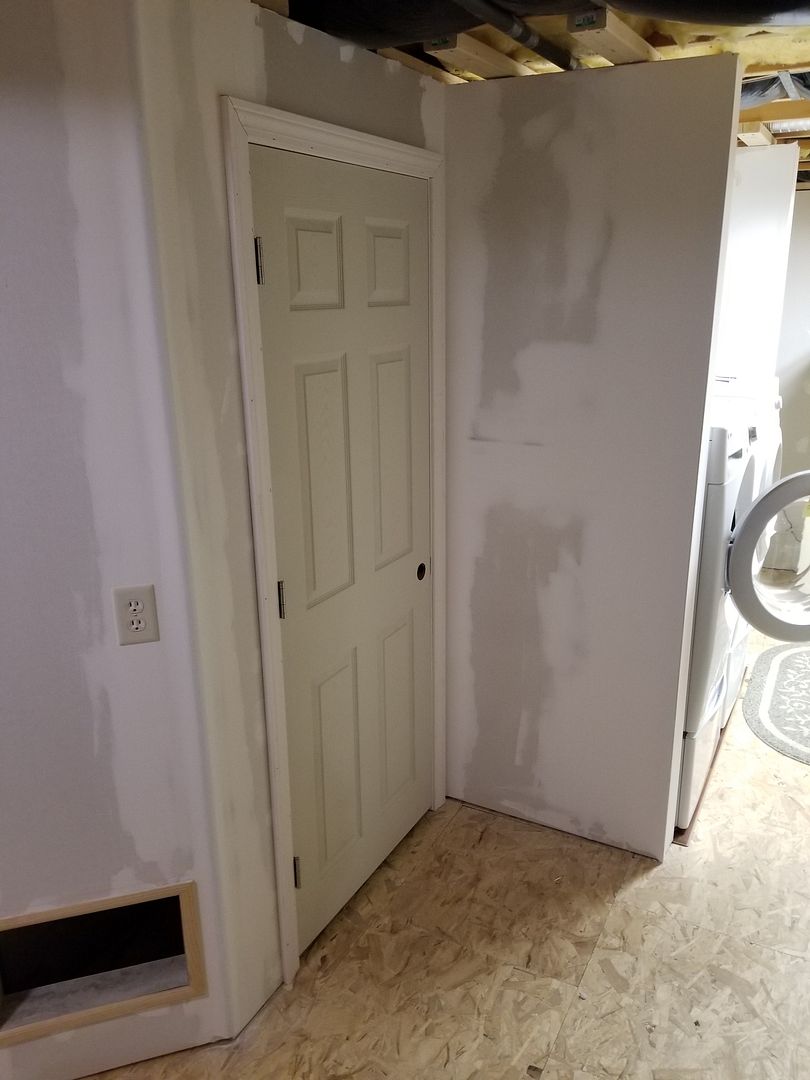
Not wanting to see the sides of the washer/dryer as you come down the basement stairs, I decided to build walls around them so they'd be in their own cubby. Access for water and drain hoses and dryer vent are through these holes behind the machines, meaning I didn't need to move any plumbing off the concrete wall. It's accessible by opening the closet door in front of the electrical panel.
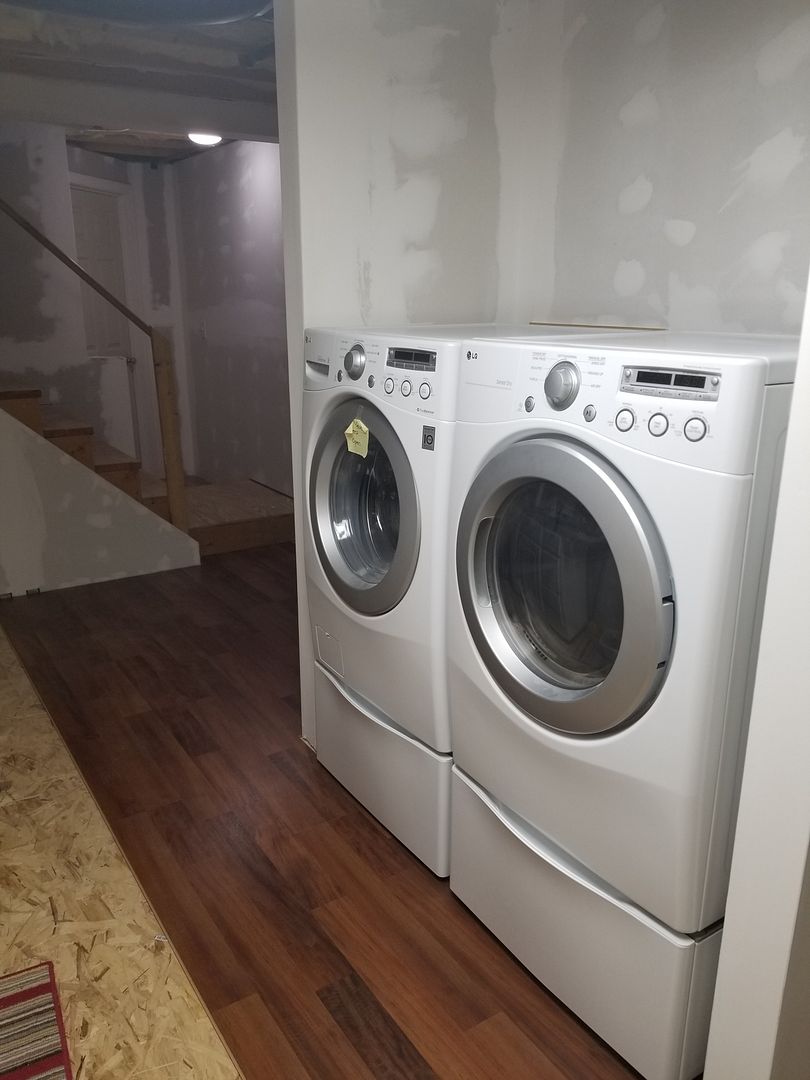
Washer/dryer in place. The flooring is laminate and needed to be installed under the w/d first, then I installed the rest afterwards.
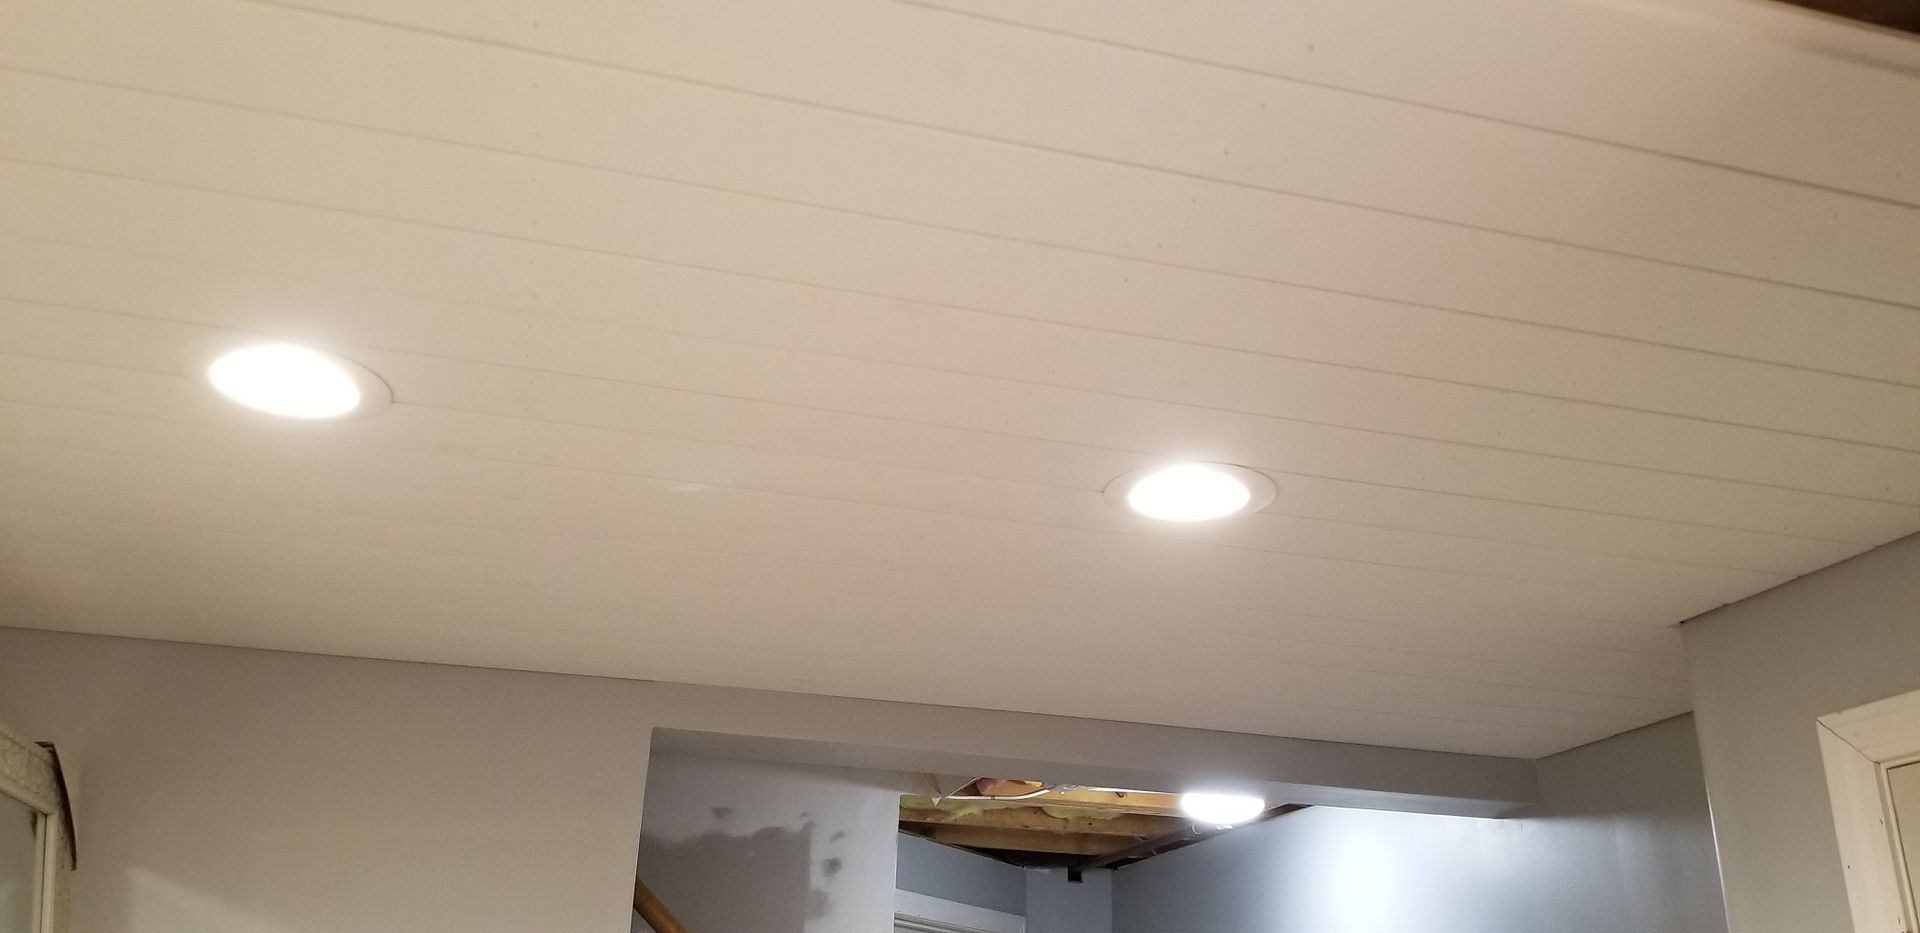
Lights are all LED, recessed. Rather than go with a suspended ceiling as I did in her closet, I opted to go with shiplap. I can work in wood faster than I can work in metal. There's nothing in this section of the basement that needs to be accessed, all the HVAC ductwork is in the shop area.
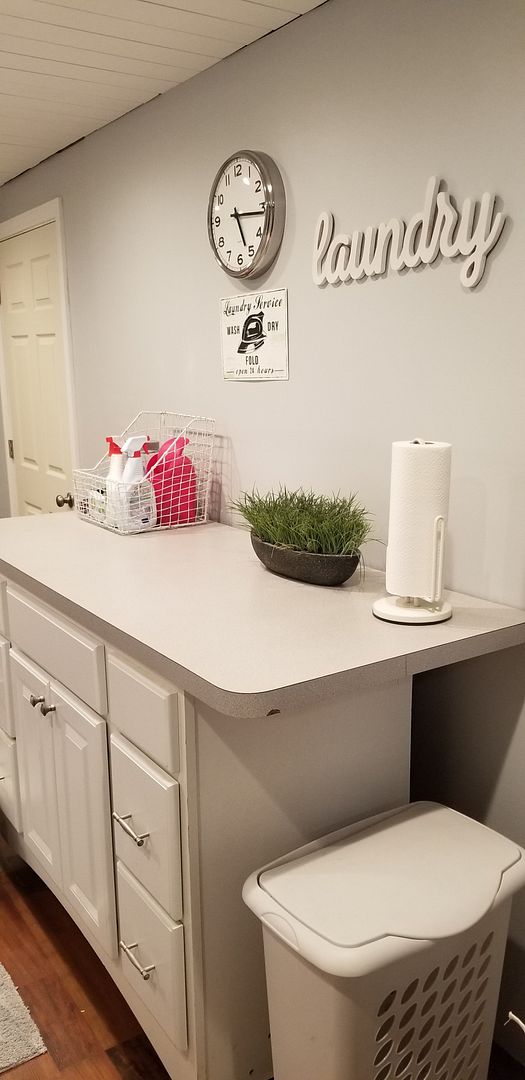
Complete. Right now this wall has that folding area/island on it. Plans within the next few months are to build floor to ceiling cabinets the complete length of the wall for much needed storage. Not shown in this pic is the ceiling moulding.
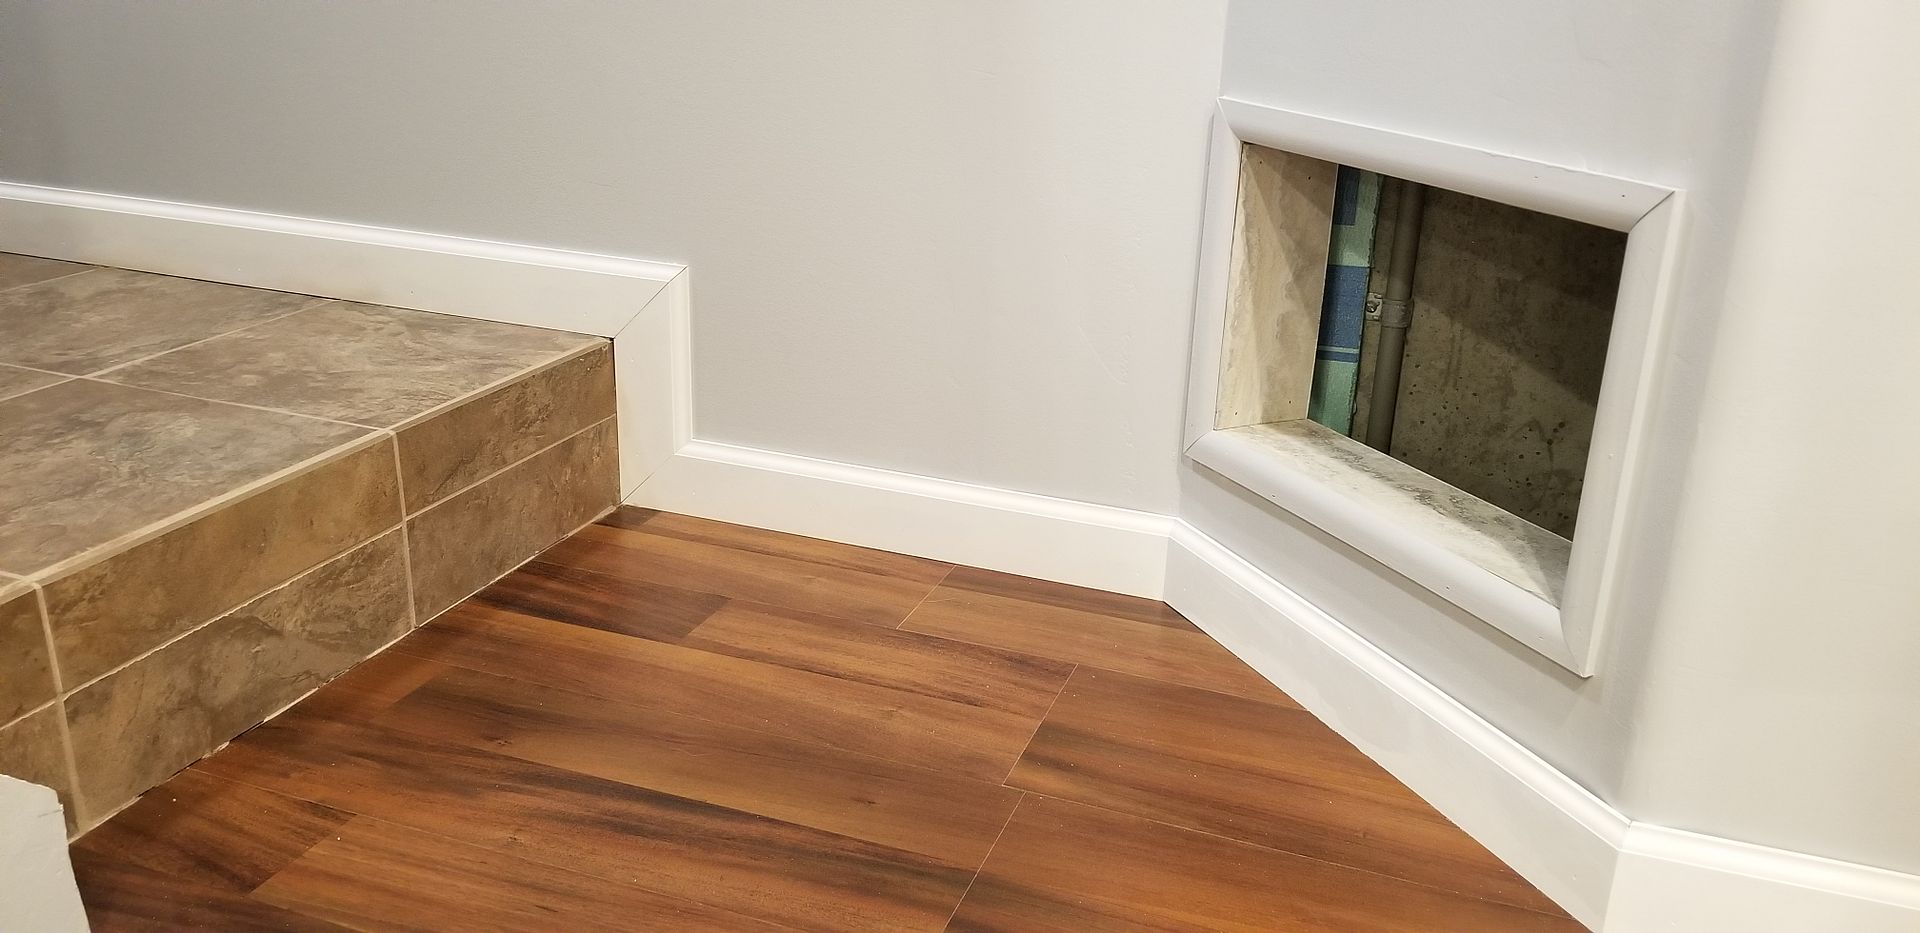
I broke out the tile saw and tiled the bottom of the landing. The access hole is for the cats, since their litter boxes are inside the closet. There's another access hole down the other end of the wall.
I wound up cutting my own ceiling moulding using a Whiteside Double Ogee bit on the JessEm out of construction grade lumber. I have one more 8 ft section of moulding to cut and install. I wasn't happy with the offerings from Lowe's or Home Depot and I figured I've got a capable router and the ability to make it, so why not? It turned out quite well. I got the size I want and saved some cash.
This was about a 3-4 month project, one man 8-10 hrs/day. My wife and I are pleased with the results. It's nice going downstairs to a finished laundry area with nice flooring, walls, excellent lighting and a finished ceiling. No concrete walls, no insulation overhead, no cobwebs, etc.
What's left to do?
That one moulding piece.
The wall of cabinets.
Stairs. The basement stairs are 2x10 lumber, nailed to the carriage, installed by the builder when the house was built in the 90s. I bought the oak treads, the newel post, balusters, lumber for stringers. Autumn project, something I've never tackled before but I hope will turn out fine. I may be asking questions now and then.
And that's it. Thanks for checking out this post. At some point I'll post another thread with shop pics, but at the moment the shop isn't complete. It's functional, but there are no cabinets, my workbench is still up in the garage, etc. All my machines are in place and accessible, so it's a lot better than trying to work in the garage.
-Dom
(Oh yeah, I still owe her a pencil case!)
December here in New England was unusually cold and my "workshop" is my garage. I started on this project hoping I could finish it by Christmas which didn't pan out. It was too cold to work in the garage and I ran into a number of unexpected snags. I did wind up getting some nice pencils for her that Dave recommended in his videos.
It came down to this - since I'm recently retired and if I'm to pursue a woodworking hobby, I need a dedicated place to work, not the garage. It's too hot in the summer, too cold in the winter, cars need to be moved, tools aren't easily accessible, etc. So the decision was made to carve out a space in the basement. In January we proceeded to empty out the accumulation in the basement, some going to trash, some to recycling, a lot to charitable donations.
I don't have a real before picture, but here's a view of the area from what is now the shop. The netting is in place to keep our cats from hiding in areas of the basement where they don't belong. Their litter boxes are in the laundry area. I had to work around this during framing to keep them out.
I already had my JessEm router and bandsaw moved out of the garage and into the basement. The hassle was not having a clear space to work in, there were some things still in the way along with the washer and dryer which I was constantly moving.

And the view from the laundry area -

The subfloor is DriCore, the same stuff I used in my wife's closet which occupies another area of the basement. The framing of the outside walls went smoothly as I could build an 8 ft long wall on the floor and stand it up into place. The wall between the laundry and shop was a challenge as I didn't have the floor space, plus the washer and dryer were always in the way (and I had to maintain a working laundry room). So I built those walls in smaller 4 ft sections in the shop, brought them under the main beam sideways and stood them in place, piecing them together.
The main goal was to get the shop up and running but as I was essentially working on two rooms at once, I decided it was more important to get the laundry room completed. I won't bore you with too many construction pics. Here's the closet framing behind the washer/dryer for access to the water meters and electrical panel down at the far end. I had an electrician come in to add a subpanel in the shop which worked out well, I've got plenty of 20 amp circuits.

Not wanting to see the sides of the washer/dryer as you come down the basement stairs, I decided to build walls around them so they'd be in their own cubby. Access for water and drain hoses and dryer vent are through these holes behind the machines, meaning I didn't need to move any plumbing off the concrete wall. It's accessible by opening the closet door in front of the electrical panel.


Washer/dryer in place. The flooring is laminate and needed to be installed under the w/d first, then I installed the rest afterwards.

Lights are all LED, recessed. Rather than go with a suspended ceiling as I did in her closet, I opted to go with shiplap. I can work in wood faster than I can work in metal. There's nothing in this section of the basement that needs to be accessed, all the HVAC ductwork is in the shop area.

Complete. Right now this wall has that folding area/island on it. Plans within the next few months are to build floor to ceiling cabinets the complete length of the wall for much needed storage. Not shown in this pic is the ceiling moulding.

I broke out the tile saw and tiled the bottom of the landing. The access hole is for the cats, since their litter boxes are inside the closet. There's another access hole down the other end of the wall.

I wound up cutting my own ceiling moulding using a Whiteside Double Ogee bit on the JessEm out of construction grade lumber. I have one more 8 ft section of moulding to cut and install. I wasn't happy with the offerings from Lowe's or Home Depot and I figured I've got a capable router and the ability to make it, so why not? It turned out quite well. I got the size I want and saved some cash.
This was about a 3-4 month project, one man 8-10 hrs/day. My wife and I are pleased with the results. It's nice going downstairs to a finished laundry area with nice flooring, walls, excellent lighting and a finished ceiling. No concrete walls, no insulation overhead, no cobwebs, etc.
What's left to do?
That one moulding piece.
The wall of cabinets.
Stairs. The basement stairs are 2x10 lumber, nailed to the carriage, installed by the builder when the house was built in the 90s. I bought the oak treads, the newel post, balusters, lumber for stringers. Autumn project, something I've never tackled before but I hope will turn out fine. I may be asking questions now and then.
And that's it. Thanks for checking out this post. At some point I'll post another thread with shop pics, but at the moment the shop isn't complete. It's functional, but there are no cabinets, my workbench is still up in the garage, etc. All my machines are in place and accessible, so it's a lot better than trying to work in the garage.
-Dom
(Oh yeah, I still owe her a pencil case!)